Sunday, September 29, 2019

An Explanation of DBA_BR

A small number of people of people have expressed interest in my house rules that I call DBA_BR.

The rules were developed from a friend who authored the original based on the first version of DBA. He is also a 6mm solo gamer in DBA and his goal was to keep it simple. He introduced me to the rules when we decided to do his rules in 1\72 scale.

After I learned what he had in mind he turned them over to me for further modification.

I learned early on it is not wise to mess too much with the DBA math. If you do, you lose all semblance of what DBA was about.

My only two objections\annoyances to DBA in it's original form are; 1) I do not care for unhistorical match ups and 2) I don't like the element limitation and the visual associated with single bases.

To "fix" the first annoyance I decided to use the Command and Colors Ancients scenarios and adapt them to a war-game table that measures 4' by 4'. Adapting CCA scenarios requires some historical knowledge because the terminology in the game systems do not match but it's not all that hard to make valid comparisons.

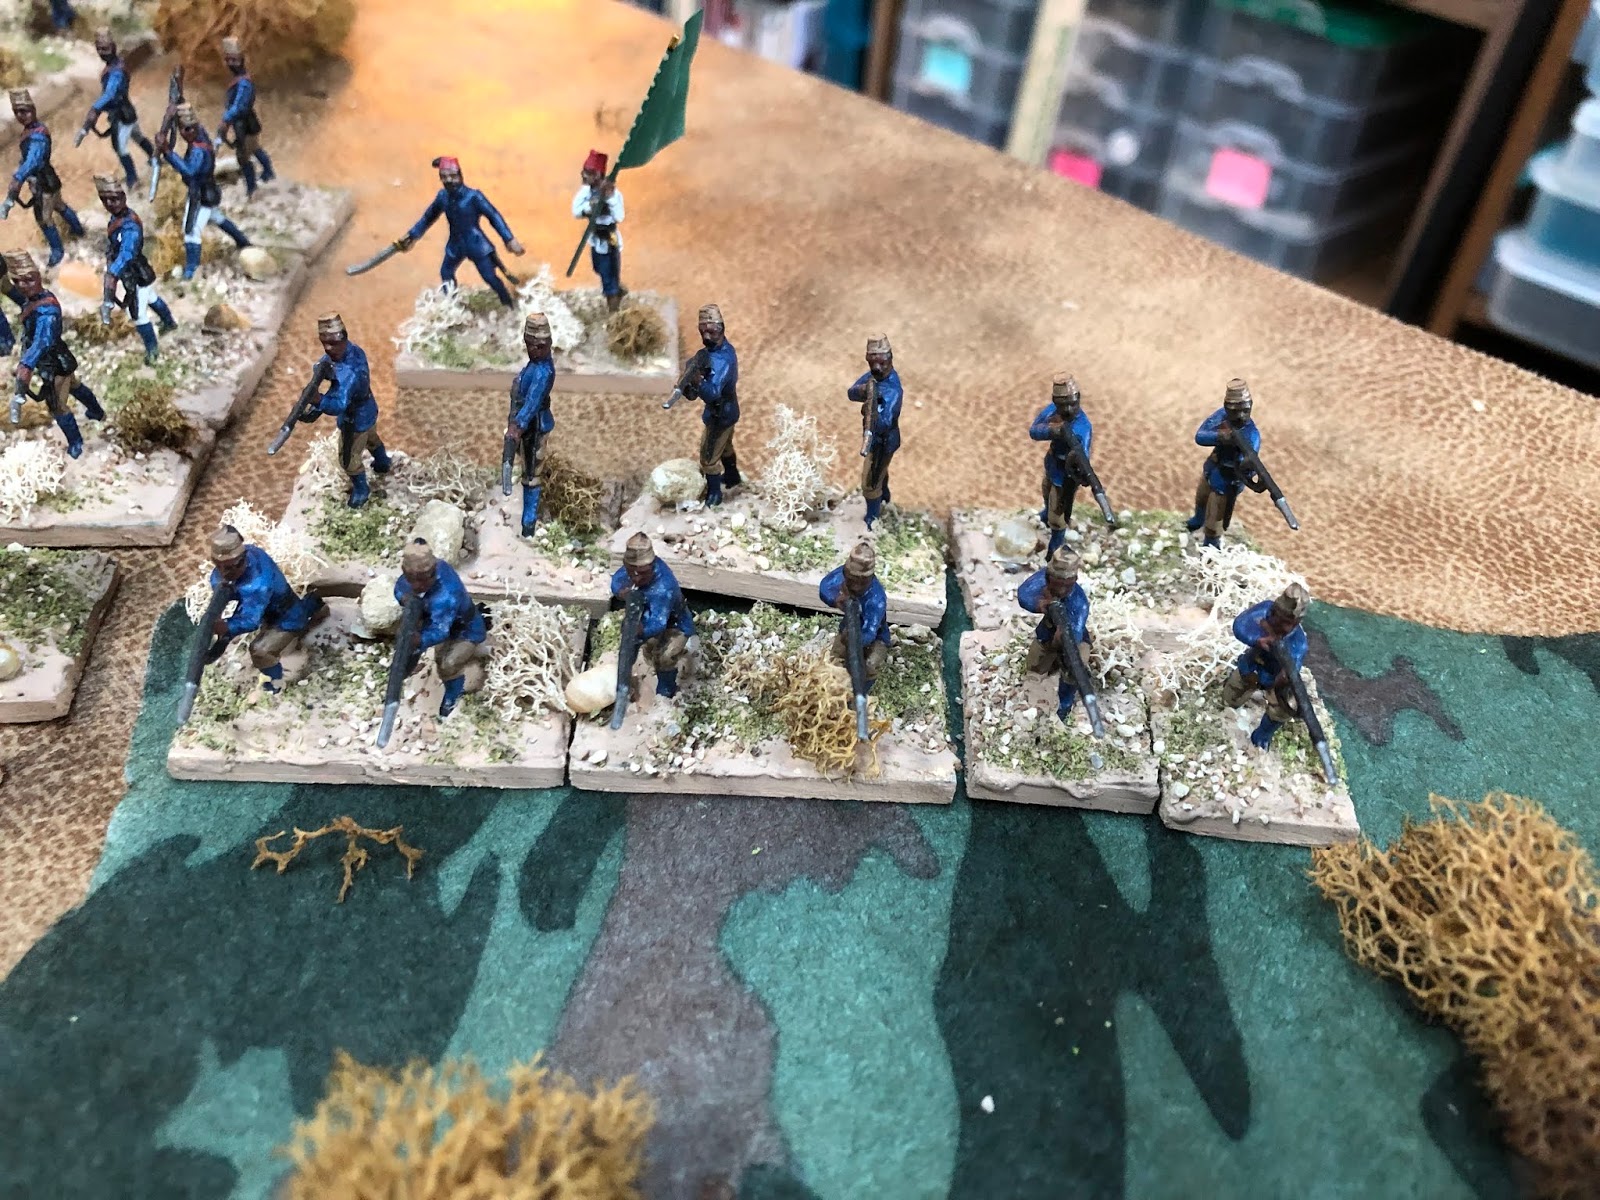
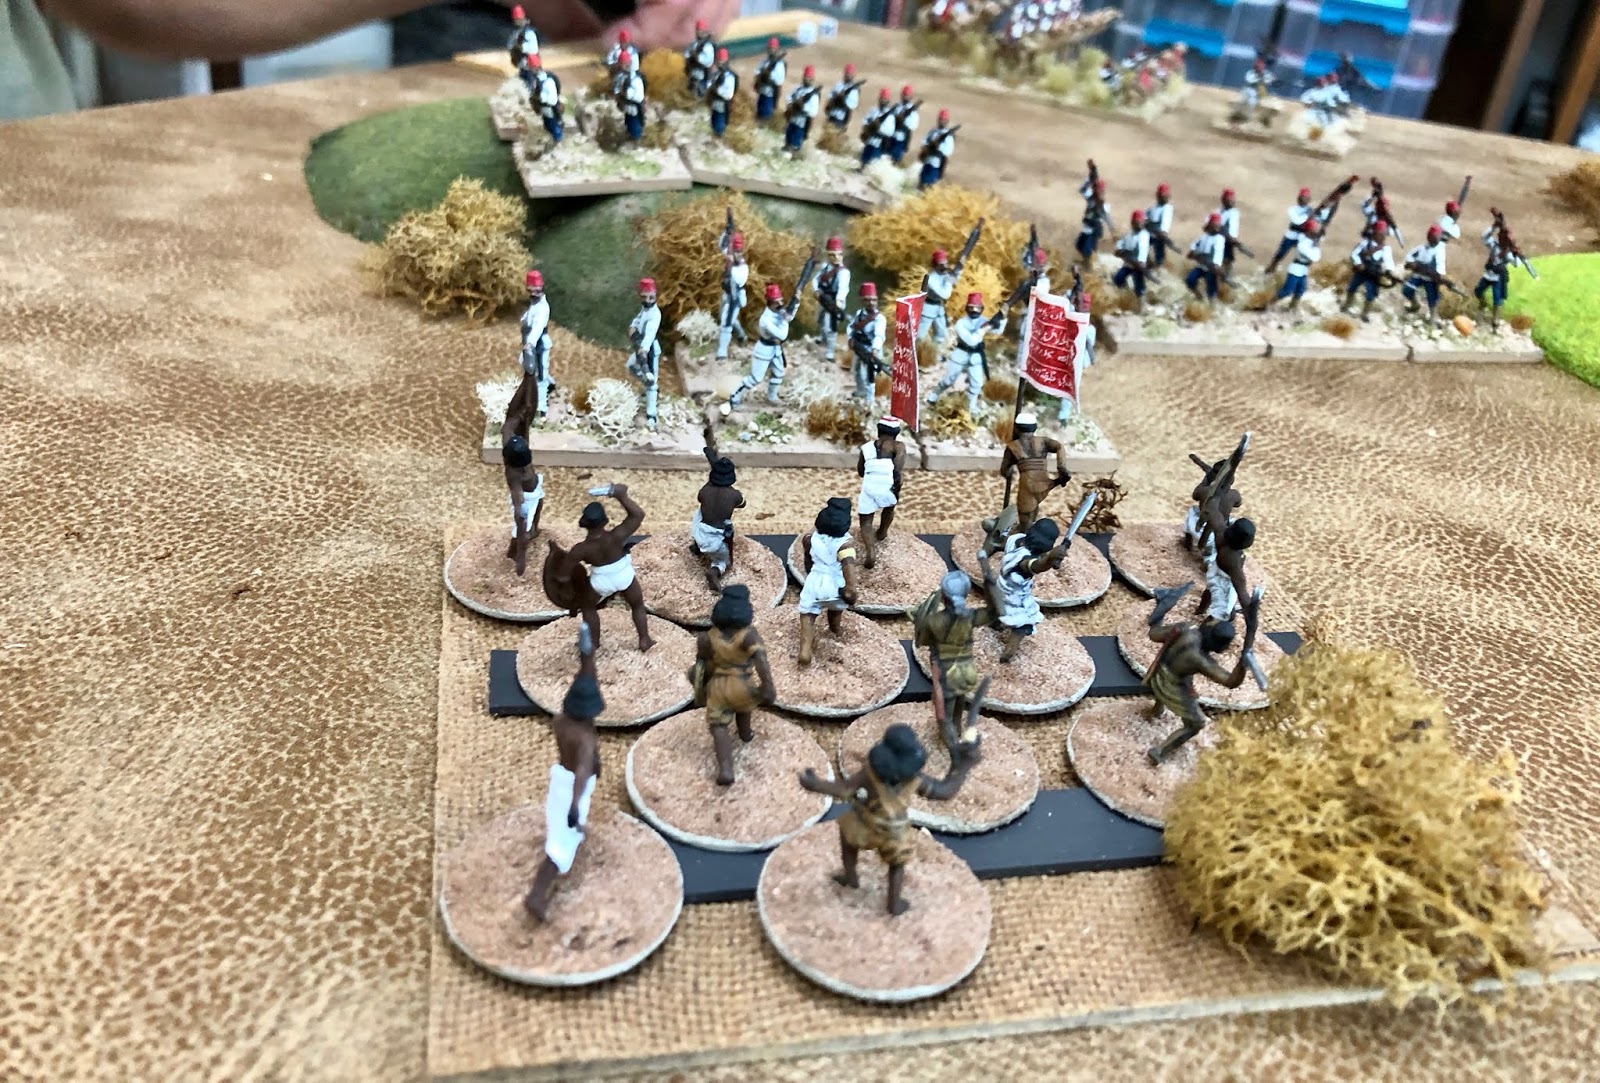
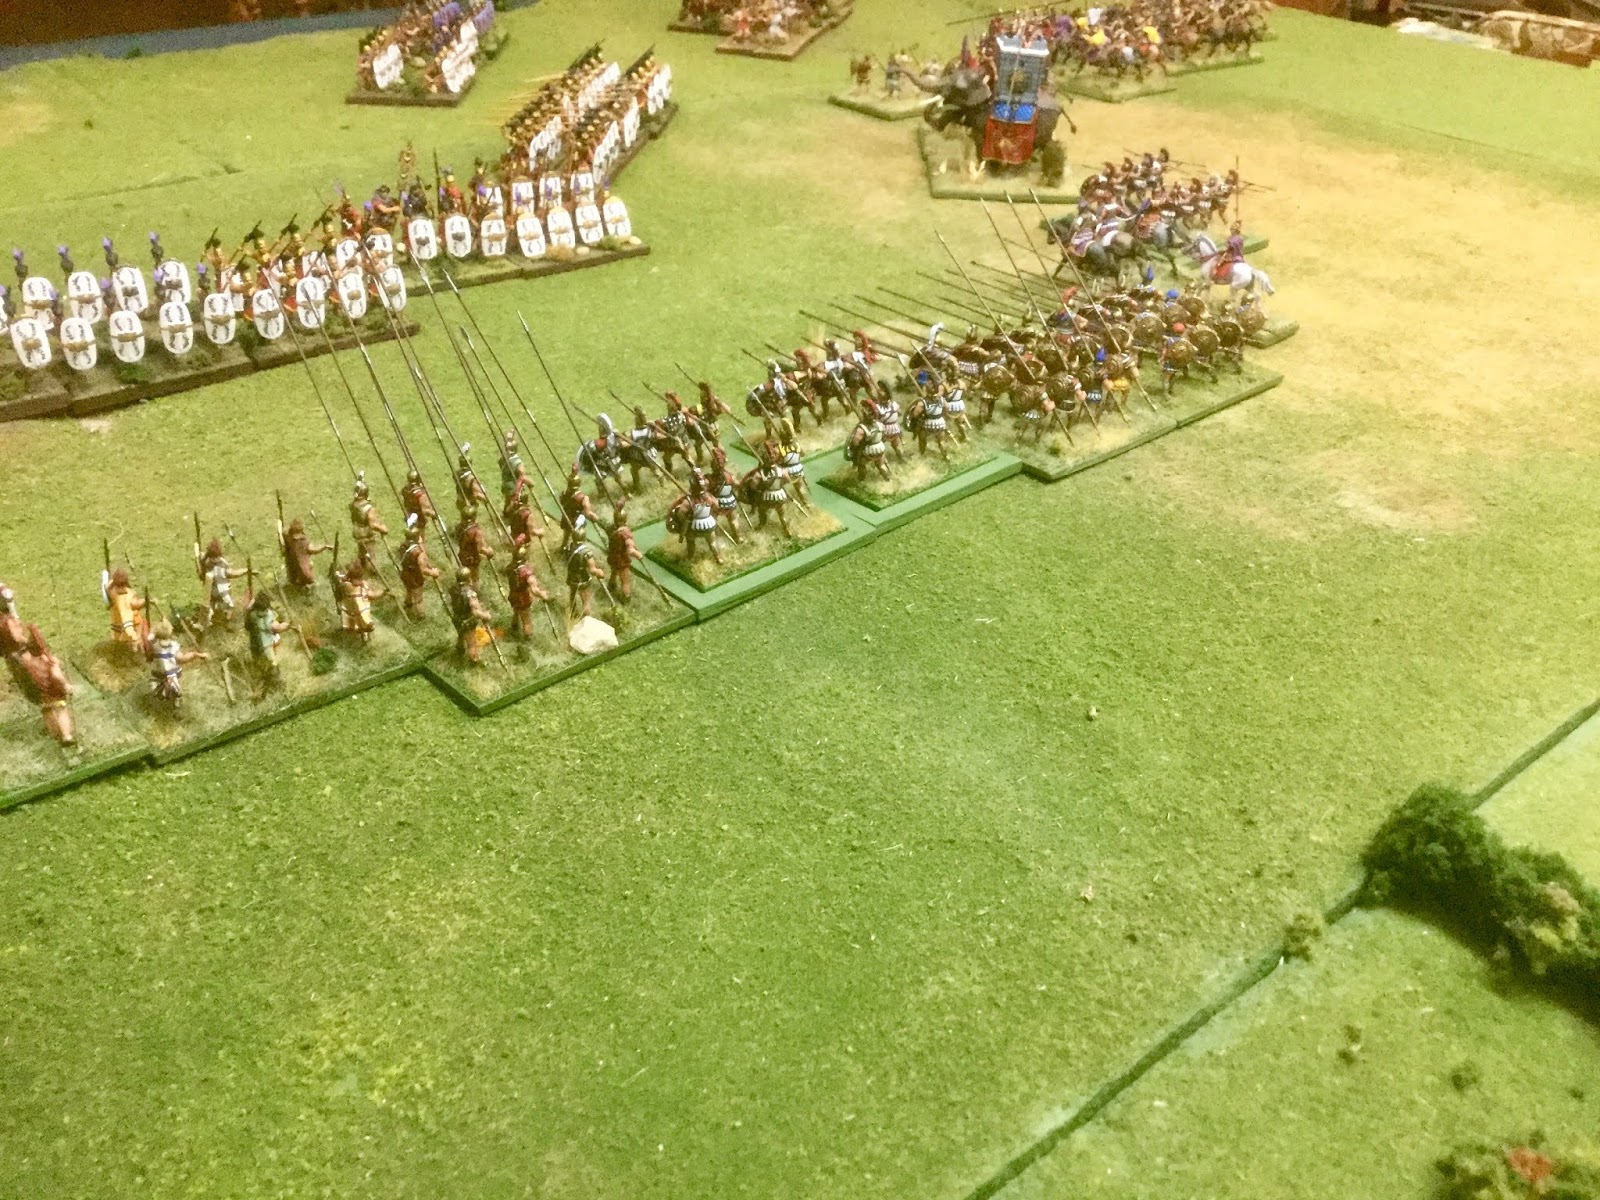
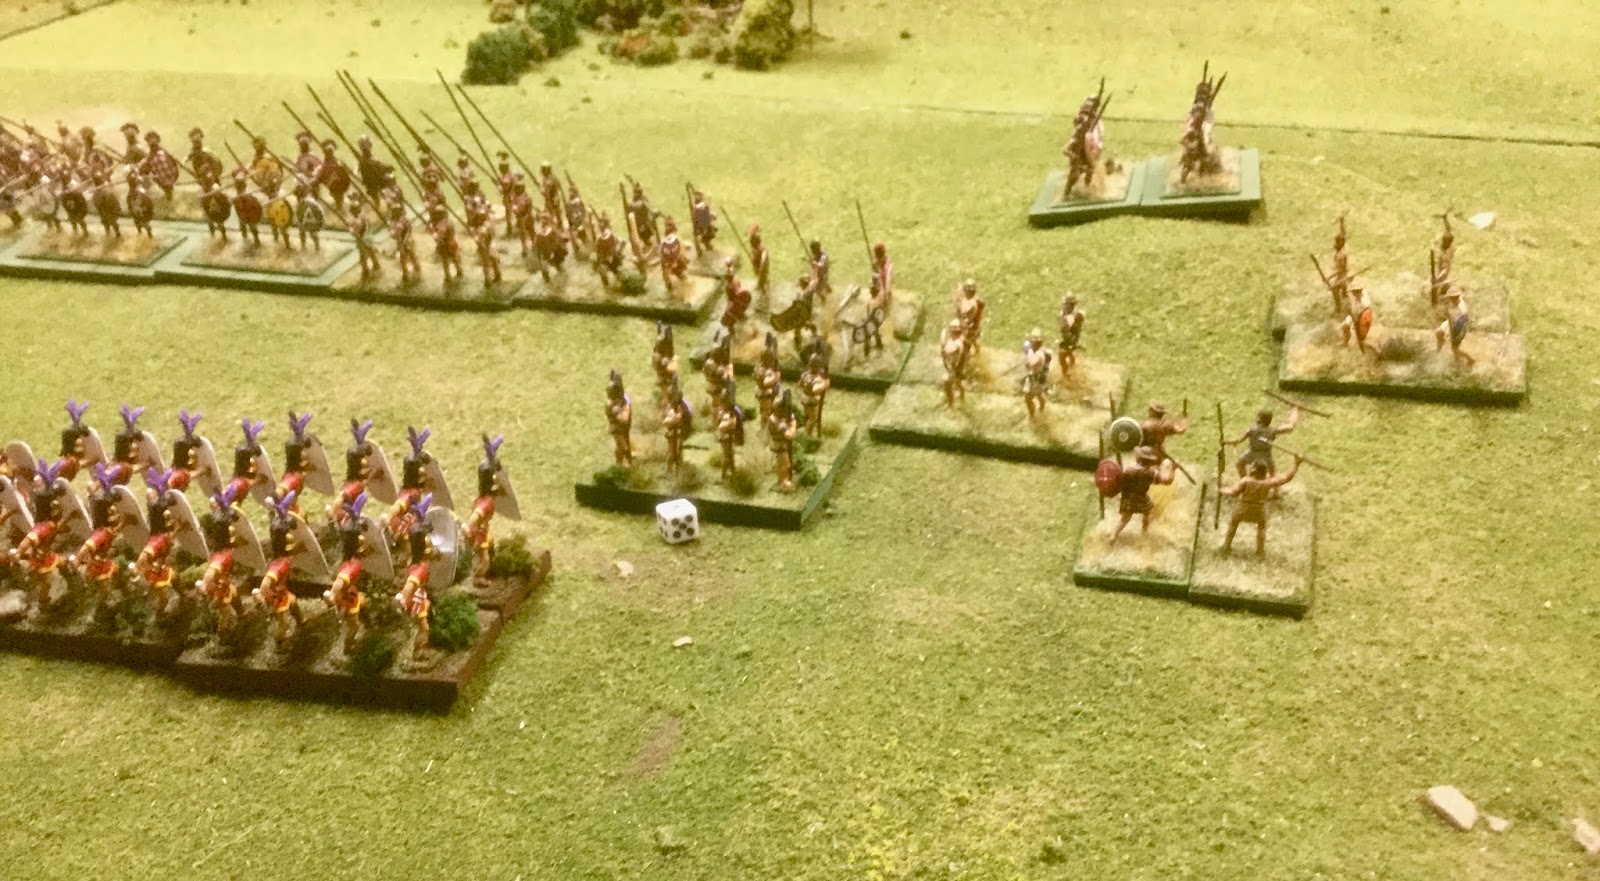
To "fix" the second annoyance I decided to add a second base to the element types that would not ordinarily get them for the rank bonus. The second base for the types are meaningless for game purposes. You simply get more of a "unit feel" than you do with single element bases.

Here's a couple of examples:

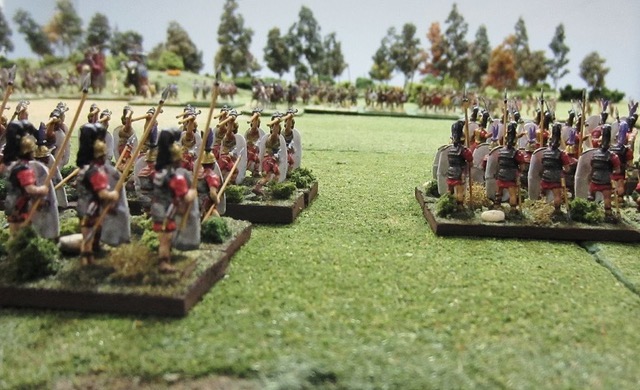
Two elements of Ps archers flanked by elements of Legionaries. The second rank does not matter in the least. It's just for looks. 

Four elements of Romans, not eight!

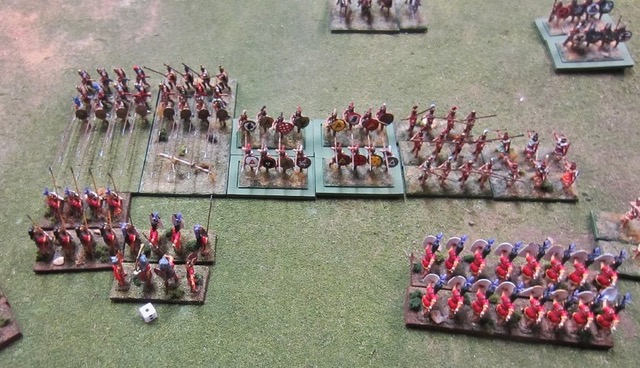
Two elements of German Batavian cavalry in Roman service battle two elements of Britons. The  extra  bases of cavalry are just for the looks but in my rules a Wb does get a bonus for s second rank. The base on the left in the third rank is a leader base. In my games leader bases are treated like another element rather than add the +1 to the CF. If the cavalry recoil the Briton element in front of the leader base they will be destroyed.

Chariots and Elephants never get the extra base for looks. These are three elements of LtChar.
It's important to keep in mind when the second rank counts as a bonus. This is not hard to do. Rank bonuses are awarded for Pks, Sps, Lt\Sps, Wb and in rare cases for Ps supporting certain other elements.

This is what I mean by a better visual. Most of the games I've converted from CCA will have  13-18 elements on a side, rarely 20+. If you were to double a DBA list in the number of figures you would pretty much have all you need for a CCA scenario.

Two elements of El vs three elements of Bds.
Pks in three ranks and hoplites in two ranks for a bonus. The two Triarii elements on the left would also gain a bonus. The Hastatus (Bds) elements on the right do not.
Now for rules...It's my goal to get all the rules on one page. I like games that take 3-4 hours and my system fits that nicely.

Melee
Vs Foot
Vs Horse
Bd
5
3
El
4
5
Sp
4
4
LtSp
3
3
Kn, Pk
3
4
Cv. Ch
3
3
Ax
3
2
Bw (R=6”)
4
4
LH, PS
2
2
Cam
3
2
Wb
3
2

Melee Modifiers
+1 Second rank of SP, LtSp, Wb vs all foot except Bw and Ps, +1 vs Kn, Cat, El
+1 Uphill

+1 General attached (unless an individual element)
+3 PK in 3 ranks (except against Ps and Bw, +2 vs Kn, Cat, El
+1 Ax. Bd, Lt\Sp, Sp, with a rear rank of Ps vs mounted, El, Wb
-1 flank
-1 to defender for each flank over lapped
-1 to defender for each BW element aiding firing (max of 2, but note priority target rule)
-1 Pk recoiled (permanent)
-2 art, Bd, Pk, Sp, Lt/Sp or mounted in melee with enemy in bad going.

Distant Shooting Factors (BW)
-1 Bd, El
+1 General element shot at
+2 Ft in camp


Melee Results
  • *  Element hit in rear is destroyed
  • *  Element hit in front or flank, fight front first, if
    defeated element destroyed, if not fight flank
  • *  1-1 recoil base\block width unless
    * EL is destroyed by Ps
    * Kn is destroyed by Lh, Bw, El
    * AX is destroyed by Lh, Bw, El, Mtd in good going * Bw is destroyed by H\Char or Cv
    * Ps is destroyed by Kn, Cv in good going
  • *  2-1
    * All destroyed except...

    • *  LH is destroyed by any Mtd. or BW, otherwise flee
      10”
    • *  PS is destroyed by any Mtd, AX, or other PS,
      otherwise flee 6 Destruction via Morale\Recoils Element Rating
page1image65842240

  1. Destruction via Morale\Recoils Element Rating


    1st Recoil 2nd Recoil 3rd Recoil 4th Recoilpage1image65842240
Superior   NE.           NE.              -1 CF.         -2 CF
Ordinary   NE.          -1 CF.           -2 CF.         Elim
Inferior.      -1 CF.     -2 CF.            Elim

NE-No Effect
CF=both combat factors
Recoils need not be consecutive


All elements are assigned a morale rating based on historical knowledge of the battle in question. The vast majority of elements are ordinary. The recoil system here prevents an endless shoving match and make a recoil count for something.


Movement Basic
LH 10”
CV, LtChar 8”
EL. AX, Lt SP, BW, PS, KN, CAM, Char, WB 6”
BD, SP, PK 4”


Group Movement (all elements same facing)
-may move full forward
-Facing change\wheel, pivot on center of element and move 1\2, no contact allowed -move in reverse at 1\2

45 degree oblique at full move

Single element movement
-may move forward or an oblique 45 degree
-Facing change\wheel, pivot on center of element and move 1\2, contact allowed -move in reverse at 1\2

A single element that has overlap may wheel in on a flank assuming it does not present a flank to an opposing element within 6”

I hope this is helpful to interested DBA players.


Wednesday, September 25, 2019

Another Disaster in the Sudan

I decided to link together all the Sudan scenarios we've done in the past in a type of story line campaign. I'm calling it, The Sun Never Sets.

So what exactly is a story line campaign you ask?

First, I wanted the outcome of a previous game\battle to have some bearing on the overall strategic situation. For example, the destruction of two Egyptian armies in the Sudan eventually led to Omdurman many years later.

Second, I wanted to create variables that could have happened well before Kitchener defeated the Khalifa's forces at Omdurman.

In game terms for example, the Ottomans could have very well decided to bail out the Egyptians with an expeditionary force of their own. I'm painting up Ottoman's from the Strelets 1877 for the possibility.

As I compressed the time scale I'm simultaneously including the Zulu War. At this point I'm having the Zulu Undi Corps be successful at Rorke's Drift and now pushing into Natal on a raid.

This means the British have an overall geopolitical situation on their hands.

 The British were wary of sending substantial forces to Egypt because of Russia. Russia was meddling in Afghanistan and Britain was forever worried about India. Sending more troops from the home army to either the Sudan or Southern Africa meant they could not go to India should war erupt between Britain and Russia.

Those are just some of variables and possibilities in the campaign.

On the Mahdi's side of things it's not a given he will die as soon as he historically did. Had he lived it's possible that Islamic fanaticism could have spread to anywhere in Africa where Islam had a foothold. After all, the Mahdi's goal was not only the Sudan and Egypt but Istanbul as well.

We use The Men Who Be Kings rules. While the rules are designed to be skirmish oriented the author clearly states the scale really does not matter all that much.

I've taken that to heart since I'm in a season of life where scales in war-games don't matter like they used to. As long as I can recognize the history and field a reasonable number of miniatures and play a game in a reasonable amount of time without paging through a volume I'm good.

So, as you look at the first picture below what you'll see is about 30 points of TMWWBK Egyptians in 8 units. The Mahdi's forces come in at 36 points in 10 units. I look at the forces and see armies although I generally refer to units as companies, squadrons and batteries simply because I like order and organization.

Prior to the game below our little group played the destruction of Pasha Hicks and Pasha Baker. We also played a scenario where Egyptian and British (one company of Royal Marine Light Infantry) were supposed to hold an outpost somewhere along a water course. The Mahdist's goal was to over run it and they did but paid a heavy price.

The Egyptian Army approaches.

The Egyptian Army approaches.

Black Sudanese infantry of the Egyptian Army. (Waterloo figures)


A colorful unit of lancers with a European officer. (Jacklex figures)


Egyptian Camel Corps as Mounted Infantry in The Men Who Would Be Kings. (Hat figures)

Egyptian infantry (Newline 20mm figures)

Egyptian infantry and artillery (Waterloo infantry and Strelets artillery)

The Egyptian right and right center

The Egyptian left and left center.

River Arabs on the Mahdist left. (Waterloo and Esci figures)

River Arabs on the Mahdist right.

The river Arabs provide skirmish fire with their rifles while the fierce Fuzzy Wuzzies move up behind them.

The Mahdist forces are thick on the ground!

The Egyptian Camel Corps is supposed to hold the flank and harass the Mahdist advance.

The Egyptian Camel Corps is getting too close and as a result they are destroyed without firing a shot!

Screening the Fuzzy Wuzzies with rifle armed Arabs will prove to be effective.

The Arabs muster behind colorful banners as they seek to drive the infidels out of the Sudan.


The Sudanese infantry occupy some rough ground but alas their leadership is below average-a common trait among the Egyptian forces.

High hopes were put on the Egyptian artillery and for a while it was effective.

The view of the Mahdists from the Egyptian firing line.

The Mahdist's begin to advance having spotted an opening.

The view of the Egyptian artillery from the Mahdist lines.

This Fuzzy Fuzzy charge (on the double) would fall just short. It would suffer accordingly but in the end would not matter much.

One inch short! Oh my!

The reserves move up to exploit any gap.

At this point it was five Mahdist units to take on three (poor shot) Egyptians. The artillery support has been destroyed.

Significant Mahdist's casualties were taken but no units were destroyed while 90% of the Egyptian force were.

The lancer cavalry and far right Sudanese infantry (barely in the picture) would withdraw. Everything else was chopped.

The Fuzzy's are devastating once they close!

Thursday, September 12, 2019

Pyrrhus at Heraclea

I use a modification of a solo version of DBA 1.0 that I got from a friend. I call my version DBA_BR, the BR standing for my initials.

I've reported elsewhere on this blog some of the changes but for now, realize as you view the pictures we usually use what we call "double elements" for the purposes of looks.

The troop types that receive support from a second or third rank (Sp and Pk in DBA) still do but for everything else the second rank just makes the unit\element look more like a unit than the single stand running around.

The other big innovation is that I grab scenarios from the Command and Colors Ancients website. I translate the board game counters into comparable DBA element terminology. I assign morale categories for the purpose of recoils and use the number of board game counters for the number of DBA elements.

This is usually gives a game that exceeds that 12 element limit for basic DBA. I use the CCA leaders to determine their commands and assign a full die roll of pips for movement or 1\2 of a die roll for commanders that have less than 8 elements.

Here's the OB we used for Heraclea.


Epirote 

Leanoatus (as Cv)
2 Cv
1 Lh (Tarentine)
2 El
1 Ps
7 elements


Pyrrhus (as KN)
2 SP (Tarentine Hoplites) 
2 Sp (mercenary Hoplites)
3 Pk
2 Ax (Peltasts)
3 Ps (one element to be used as Cretans are rated as Bw)

12 elements

Romans

Cassius (as Sp)

3 Bd
1 Sp
1 Ax (Samnite)
3 Cv
1 Ps

10 elements 

Laevinus (as SP)
3 Bd 
1 Sp
2 Ps
1 Ax (Samnite)

1 Cv
9 elements

Game summary

Historically, Heraclea was the first time a Roman Early Republic Legion faced a Successor type army. Supposedly, Pyrrhus remarked upon viewing the Roman camp they sure didn't act like barbarians thus putting down the arrogant notion that the Greeks thought everyone was a barbarian except for themselves.

The game would be first time we did a DBA_BR with an army whose core was Bd versus a Pk type army.

Both sides had an equal number of elements that exceeded the more competitive standard 12 elements that DBA uses. This meant in game terms that a 12 element Pk army in standard DBA rules would be easier to outflank than a 19 element in my version, since frontage was about the same.

As most ancients gamers are aware the debate between pila\Bd and Pks is ongoing and will probably never be solved. In my game a Pk starts with an unmodified 6 while Bd's are 5's. 

These facts determined my strategy. Rather than face elephants and Pks and their supporting Sp's head on I decided to refuse my left and attempt a flanking movement on my right.

The flanking movement failed miserably early on and the only reason I wasn't immediately outflanked on my right is because my opponent Mike had a number of turns where he could only move an element or two on his left.

Meanwhile, Mike attempted to outflank my left with his right where he the bulk of his cavalry and I had the bulk of mine. He had however, one more element of the Tarentine LH. This allowed him to turn my right but in the process through a couple of lucky throws he lost two of his four cavalry elements to my remaining one thus stalling that envelopment as well.

That merely delayed the inevitable as I announced more than once it was time to die as Romans. In order to take a long shot and turn the tide I had advanced close enough to engage his Sp, Pks, Ax and the elephants. The Ax melted away to my Bds but everything else held firm causing recoils. Mike's follow up attacks resulted in the loss of most of my core units. When the game was called according to the victory conditions I believe I had lost 12 elements to Mike's 3-certainly a disaster for Roman arms.

And yes there was Greek type gloating. Moral of the story is that Greeks are insufferable when they win and whiners when they lose ;-)

I'll give some commentary with the pictures below


The great man himself with his Agema cavalry

Initial Epirote deployment as per the CCA game map. It usually takes a few turns to get your army into battle lines as you are "stuck" with the CCA configuration to start with. I believe this adds to the game.

The view of the trespassing Epirotes from the Roman lines. Sp Triarii in the back.

The Roman right with which I attempted the flanking movement. In view are two elements of elites, one Cv and one element of Samnite Ax.

The Roman left with 3 elements of Italian\Roman cavalry and one element of velites.

The Epirote left and center-lots of Pks and Sp's.

Nice bird's eye view.

We started by believing we could turn each other's left. 

At this point I had not lost anything but you can see the risk developing. If I can't turn the Epirote left I'm in deep doo-doo. I didn't and was.

I'm trying to minimize the risk at this point

Here you see the results of my flanking movement. I lost two elements to 2-1 dice offs and the other two elements have recoiled. I have zero chance of turning the flank and would no well to have mine not turned.

The Epirotes are now turning my right. Only poor movement dice throws delayed the total collapse of my flank.

Outflanked on my left by the Tarentine Lh. Except for one element the Roman cavalry performed quite badly.

See what I mean? One element is gone, another has two recoils and the third one recoil. In my rules recoils can mean the lose of combat factors. The element with 2 recoils is in big trouble.

The Tarentine Lh has outflanked and destroyed one element and is about to destroy another.

Sp Triarii have a chance against elephants and in desperation I try but to no avail. The game was going to Ares and not Mars. Wait a minute, they are the same guy!

Nice shot!

This one two. Those elephants are works of art.

Time to die like Romans

The collapsing Roman left.


End game as the Epirote cavalry is triumphant! The Samnite Ax would die in a rear attack. Historically, the Samnites went over to Pyrrhus for a time.

The rear attack on the Samnites.

In desperation I challenge the Pks and Sps head on with no real success.

Nice aerial view toward the end of the game.

Epirote Ax (Thracians in this case) succumb to Roman Bds as it should be.

The Pks on the left of the picture are forcing recoils on the Roman Sp Triarii. Wow, that's a big gap there in the middle!

The Roman right has disappeared.


So has the Roman right!

The great man gloats. Little does he know the Romans will be back and back and back until they win.
So, these pictures tell the story. The ones below are extras taken with an iPad camera enhanced on a Mac Pro. Eye candy I guess.