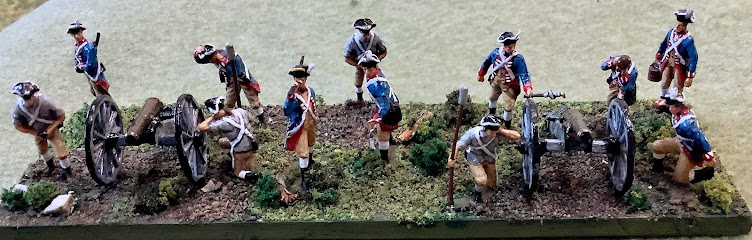
Stirling’s Brigade Rear Guard Stand
Stirling still held the line against Grant on the American right, to the west.[71] He held on for four hours, still unaware of the British flanking maneuver, and some of his own troops thought that they were winning the day because the British had been unable to take their position. However, Grant was reinforced by 2,000 marines, and he hit Stirling's center by 11:00, and Stirling was attacked on his left by the Hessians.[68][71] Stirling pulled back, but British troops were coming at him from the rear, south down the Gowanus Road. The only escape route left was across a Brouwer's millpond on the Gowanus Creek which was 80 yards wide, on the other side of Brooklyn Heights.[72] (Wikipedia)
Our latest foray into Rebels and Patriots (Osprey) was a simulation of Lord Stirling's stand that covered the retreat of the Continental Army after the disaster on Long Island in 1776.
My friend Jim's collection of miniatures was especially pertinent to the scenario as he had painted over 45 years ago both Hazlet's Delaware Regiment and Smallwood's Maryland Regiment both of which gained fame in covering the retreat. You will note in the pictures below that all the American forces are 25mm vintage castings. You can see Hinchcliffe figures, Miniature Figurines and even some Continentals (Custom Cast or Heritage I believe).
Jim kept his collection over all these years. It's probably been 40 years since they have seen a war-game table. It was a treat to get his vintage collection on the table once more. Jim's 25mm figures are the real stars of this game and blog entry.
I (Bruce) provided the opposition British forces except for the plastic Hessians which were provided by Jim. The observer will note there is a scale discrepancy. While Jim's Americans are of the old 25mm standard my British and his Hessians are a bit smaller. There are reasons for this that I don't need to get into. Suffice it to say that I mount most of my smaller 20mm-23mm on pennies which I glue to the stands. I then mount the figures to the pennies to give them just a little more height and in some cases weight. At this point in our lives we have a heavy nostalgia connection that goes back to the late 1960's and early 70's. In those days getting figures that were in the "ball park" in regards to scale was all that mattered.
So, here's the Order of Battle organized around the point system provided in Rebels and Patriots.
British OB
British Right
Turn 1
Hessian Regt Von Donop, 18 figs, 4 points (poor shots)
Converged Grenadier Bn Linsingen 12 miniatures, 6 points
Hessian Jaegers, 6 figs, 2 points
12 points
British Center and left
Turn 1
British Grenadiers, 12 figs, 6 points
Light Bobs, 12 figs, 6 points
12 points
Reinforcements representing the Marines Turn 3
9thFoot 12 figs, 4 points
21stFoot, 12 figs, 4 points
8 points
Total 32 points
American OB
!st Maryland Regt 18 miniatures 5 points
Maryland State Bn 18 miniatures 5 points
Pennsylvania State Bn 18 miniatures 5 points
Haslett's Delaware Regt 18 miniatures 5 points
3rd New York Regt 12 miniatures 4 points
t
It's difficult to reproduce all that I would have liked to reproduce on my 4' by 4' table. I settled for 32 British\Hessian points and 24 American points. The Americans had to deploy mid-point on the board.
It's difficult to reproduce all that I would have liked to reproduce on my 4' by 4' table. I settled for 32 British\Hessian points and 24 American points. The Americans had to deploy mid-point on the board.
The Hessians held the British right flank. Their job was to fix in place whatever American forces were on the American left. They were also to support the British center which consisted of the Grenadiers and Light Infantry. The Hessian Grenadier Battalion Von Linsingen was especially tasked with giving support (that never happened.)
Being aware of the historical circumstances Jim was not surprised by the flanking movement that was to be carried out by British left. Three units, two British Foot and one Tory Militia unit were to arrive on the 4th turn. Historically, these units were to represent the British Marines that eventually broke American resistance.
The Tory unit was a bonus. We use the leader rules for Rebels and Patriots and my leader turned out to be a wonderful friendly chap who got on well with the Tories. It meant that my forces had 8 maneuver elements to the American five-a significant advantage.
The Americans would receive honor points for extricating their units and the British for preventing it. Other honor points would be awarded for losses.
The Americans anchored their left flank with Smallwood's Marylander's and Hazlet's Delaware Regiment. They would face the Hessians although Hazlet was able to contribute to halting the British center.
The other three American units covered the rest of the board. The American right was aware of the British flank movement but had to be concerned with the British center, especially the """Light Bobs." Light Infantry units in Rebels and Patriots are the most versatile type units.
Neither myself nor Jim expected the Americans to be any where near as successful as they were. Not only did they hold the field but they inflicted significant casualties on the British forces routing enough to hold the field while suffering only one rout themselves.
Much credit must be given to Jim's use of his units and lack of blunders. He will be the first to admit that the fog of war rules built into Rebels and Patriots helped him a great deal.
For example, he rolled double 6's four times in the course of activating his units. Double 6's is always a benefit when activating. In two cases he got a free shot (the dreaded hidden unit benefit). It significantly affected the British advance. In another case he was able to bring another unit on the table. This occurred at the end of the game and it sealed any possibility of the British gaining some kind of advantage.
We like fog of war mechanisms. You don't have absolute control. With good FOW mechanisms you can play 32 points versus 24 points and have the 24 points achieve a resounding victory. Cudo's to the authors of Rebels and Patriots.
Jim rolled double 1's once. He got the "brown trousers" curse which only cost him one point of honor but provided us with much humor.
As I recall I rolled double one's once. By the time it occurred it would have been hard to make things worse so I don't remember what happened.
I will given further commentary in the captions below. units
 |
| A Leffert classic print of Smallwood's Maryland Regiment. |
 |
| Smallwood's Maryland Regiment, Hinchcliffe figures, American left flank. |
 |
| Hazlet's Delaware Regiment, MiniFigs, the flag is the Cambridge Flag |
 |
| Maryland State Battalion, there was an excellent line of AWI figures back in the 70s called "Continentals." If memory serves me they were made by Custom Cast or Heritage. The ACW line was called "Confederals." They were excellent figures and impossible to get today. |
 |
| 3rd New York Continental Line, Hinchcliffe figures, still available through HIND in the UK. |
 |
| Pennsylvania State Battalion, Minifigs, a combination of 1st and 2nd generation castings |
 |
| Von Donop's Hessian Musketeers. I believe the figures are SYW Prussians from Revell. |
 |
| Hessian Jaegers from BandBminiatures in the UK. |
 |
| Von Donop and the Von Linsingen Grenadiers prepare to advance. |
 |
| The British Grenadier battalion with some the Light Bobs to their flank. The Grenadiers are Irregular Miniatures in 20mm. |
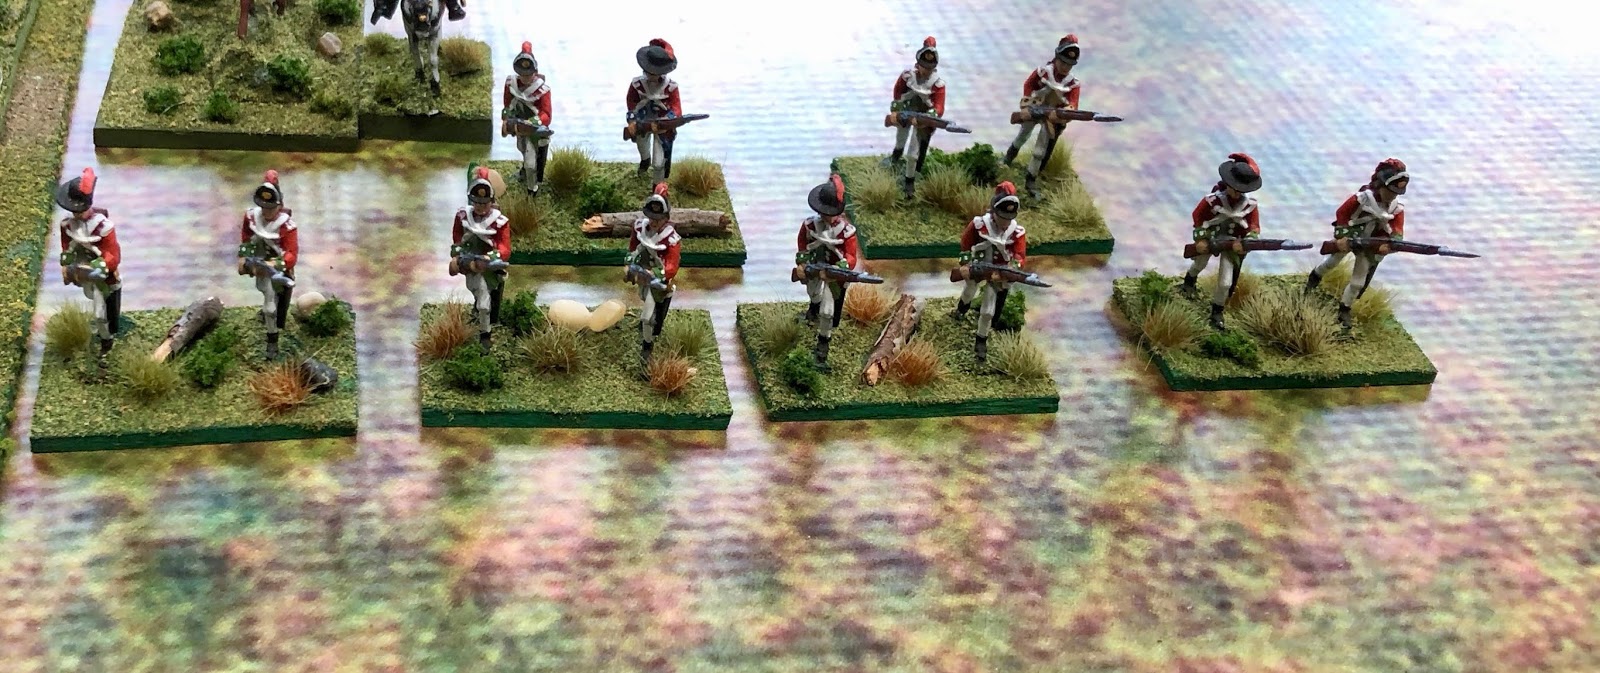 |
| My Light Bobs are from Musket Miniatures. They were marketed as 25mm. It was a fine line. The current owner of the line does not appear interested in making them available. |
 |
| The British center. The two Grenadier Battalions would not get much further. The British center\right simply absorbed punishment while inflicting little of their own for most of the game. The exception was the Jaegers who always seem to be annoying and effective. |
 |
| Von Donop's Regiment was large which allowed them to stand their ground for a ling time. It was better than nothing! |
 |
| Although these units were not upgraded they performed as is they were! Bully! |
 |
| American deployment. The unit on the bottom of the picture is Smallwood's Maryland Regiment. |
 |
| Smallwood's Regiment did take some losses from the Jaegers. Eventually the Jaegers were destroyed by Smallwood's famous unit. |
 |
| Continentals was a fine line of miniatures. The standards bearer is a Minifig. |
 |
| Von Donop is taking heavy casualties from Hazlet. Close order first fires can be devastating! |
 |
| The Light Bobs are hurting the New York Continentals toward the top of the picture. At the is point the American player was worried because British reinforcements would enter to the left of the successful Light Bobs. |
 |
| Two Foot Regiments and the Tory Militia arrive. Their advance activation was terrible despite the presence of the command figure on the far right of their line. The figures are Airfix, Scruby and Irregular. My collection is rather eclectic. |
 |
| 1\2 strength for Von Donop and the British Grenadiers. Grenadiers are shock and get a bonus in fighting for it. Closing with the enemy is the challenge. |
 |
| The Hessian Jaeger's hurt Smallwood but not fatally. The American command figure was rightly attached to this famous unit. He is the figure on the far right of the line firing the pistol. |
 |
| The PA State BN would eventually rout and that would mark British high tide. The NY Continentals in the picture are suffering too. It was the best opportunity the British had to turn the American flank. |
 |
| As noted earlier Light Infantry in Rebels and Patriots are probably the most versatile units in the game. My unit did as well as could be expected unit they reached 1\2 strength. In Rebels and Patriots once a unit reaches 1\2 strength it receives a permanent disorder marker that cannot be removed. |
 |
| George Washington, there for looks, gazes upon Hazlet's Regiment that is perfuming as if they were the Grenadier Guards. |
 |
| I had high hopes for Von Linsingen's Grenadiers but al they could do is plus the gap as units routed all around them. |
 |
| The American right was refused given the fact it was to be outflanked. |
 |
| This looks intimidating but I had a terrible time getting them to work together and as a result a potential crushing blow was negated and the units went in piecemeal. |
 |
| End of game position of the flanking force. The British center and right had been gutted by now. The Americans still had five units way too many for the flanking force to deal with. Stirling's Brigade held all of it's ground and even advanced a bit giving the British\Hessians a severe drubbing. |


