This is our latest installment of
The Men Who Be Kings (TMWWBK).
The truth is I am always tinkering with the rules-not enough to upset the fine system and mechanics of the rule set, but just enough to make certain aspects a bit more interesting. I never consider the tweaks failures but rather experiments. Some experiments fail while others succeed. Each experiment is a learning experience.
In this case the experiment was adapting a scenario from Neil Thomas's book O
ne-Hour-Wargames. In his book Mr. Thomas covers a wide range of periods with rules for each period. At the end of the book he includes 30 scenarios that can be adapted to any of the periods in the book.
His inspiration comes mostly from Charles Grant and the similar book he wrote many, many years ago. I think it's a wonderful concept especially for those with limited time and space. The scenarios are designed to be played out on a 3 by 3 and no side has more than 6 units-perfect for
One-Hour-Wargame.
My table is a 4' by 4' and I do colonial games with TMWWBK for the Sudan and Zulu Wars (so far). Mr. Thomas does not cover the colonial wars in his book presumably because of the technological gap between the protaganists or maybe it just wan't on his radar.
In any event, I decided to adapt one scenario to the colonial period for my 4' by 4' and play it out using TMWWBK. I reasoned that the game could be a bit larger given the larger table size and if it took longer than an hour to play out I didn't mind. Games with TMWWBK tend to be short and to the point (no pun intended) in the first place.
I did a lot of pre-game dice throwing to determine the force composition of each side as well as the quality of the units. While Mr. Thomas's games are balanced in the sense of the number of units they do vary in terms of quantity and to some extent quality. This creates the situation whereby the game player gets his units in a somewhat random fashion and has to make the best of what he has been assigned. There is much to be said about that!
The British force consisted of 6 units.
2 companies of the 24th Foot
2 companies of the 13th Light Infantry
1 large company of the NNC
1 Royal Artillery 7pdr
The Zulu forces consisted of 9 units and 3 small sub units of fire-armed warriors. The Zulus were divided into three separate forces that had various arrival times. Each force consisted of 3 assegai 16 figure units. The sub-units were diced for and assigned to the larger units in a random way.
The three Zulu unmarried ibutho's were:
iNkobamakosi (The Bender of Kings)
uMbonambi (The Evil Seers)
umHlanga (The Reeds)
The game started with one British unit (of the commander's choice) across the drift. The remaining five units would arrive behind the first unit at the rate of one per turn. The commander had the ability to determine how the rest of the column would arrive.
The river was about 12" from the end of the board while the remaining 36" was the area to be cleared of Zulu's. The Zulu arrival was a bit more random. They had one ibutho arrive on turn one, another on turn 3 and the last one on turn 5.
As stated before the quality of each unit could vary considerably so it took some thought how to best use the units as they arrived.
 |
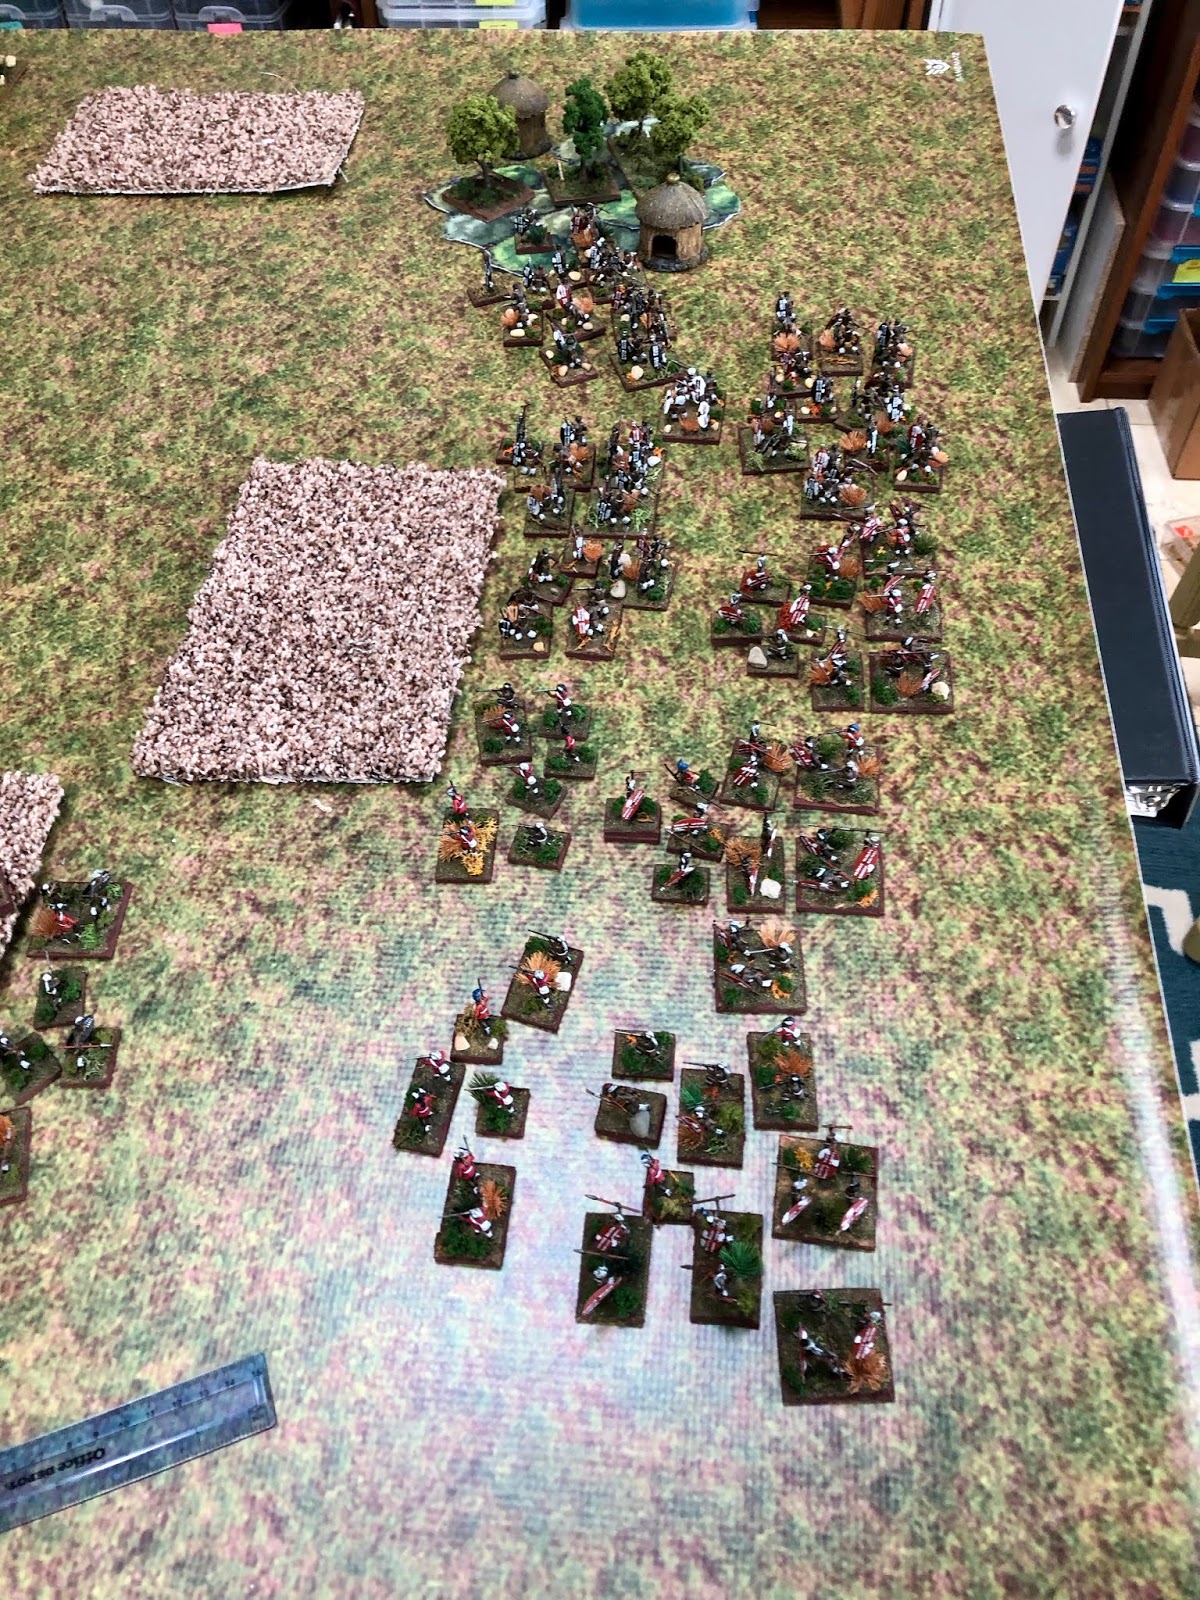
| The terrain set up for my 4 by 4. You're looking north. Where the two wagons are that's where the British force enters. The carpet squares are mealie fields and provide soft cover. The Zulus could enter from 3 of 5 points south of the river. One ibutho would arrive on turn one west alongside the river and close with the lead British unit rather rapidly. |
 |
| I marked the drift with terrain pieces. It was meant to be a shallow drift. The river could be crossed elsewhere but at a movement penalty. |
 |
| The British commander and staff surveys the drift. His orders are to clear all Zulus from the south side of the river. He was heard to remark that it should be no problem. |
 |
| Natal type wagon by Hat. It's a great little model but the soft plastic is hard to work with imo.it played in the game. |
 |
| The Zulu commander wants to know why the British have come to the land of the Zulu. The British commander responds by saying "tough luck old boy, we are here and there is nothing you can do about it." The Zulu commander shrugs and walks away muttering something like, "we will see you arrogant swine." |
 |
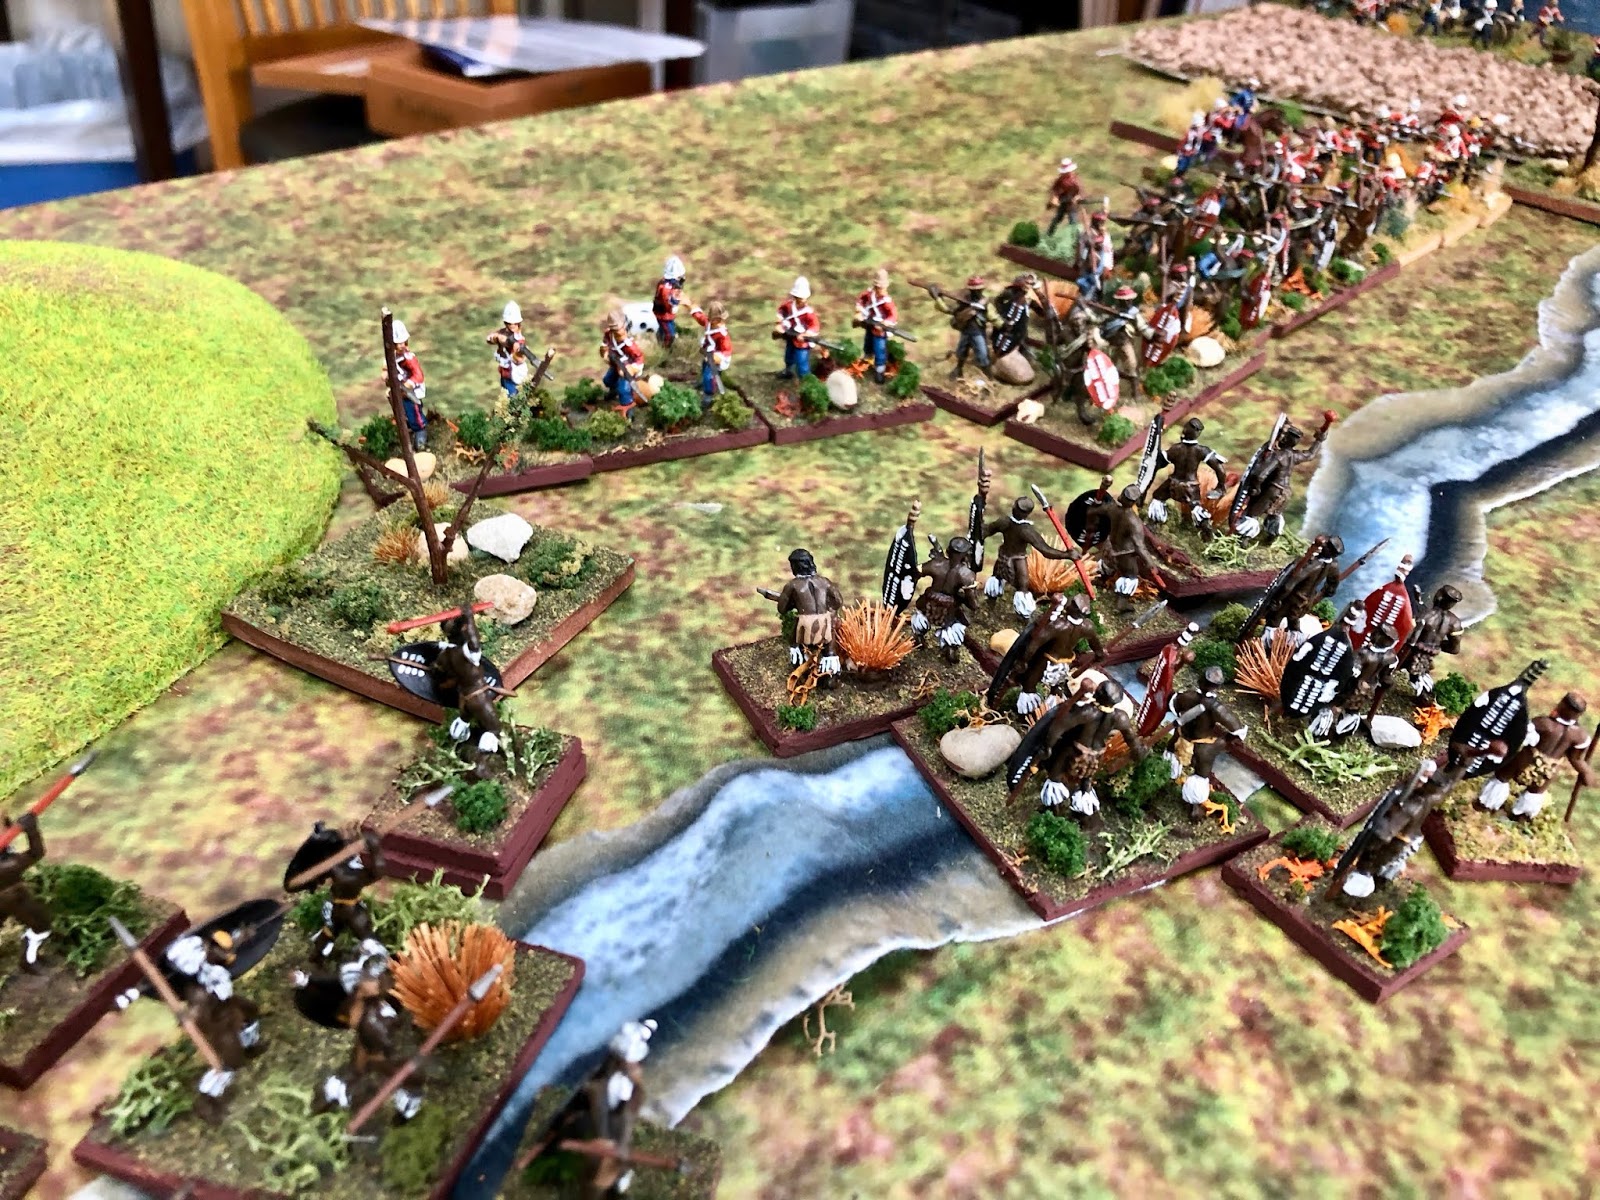
| The first Zulu ibutho to arrive alongside the river. There is only one British unit across at this point. Odds, not good for the Redcoats! |
 |
| This was to be the second unit across the drift but they had to deploy early to assist the single unit already across. Figures by Hat except for the officer which is Newline Miniatures. |
 |
| The British unit already across (from the 13th LI) would destroy one unit but lose 1\2 of its strength. The second Zulu unit would polish them off. Good dice throwing helped on the part of the Zulu commander. Fog of war baby! |
 |
| The 24th Foot arrives and makes a move to cross the drift. The figures are also ESCI now Italeri. |
 |
| Close up of one of the 13th LI. |
 |
| Royal Artillery 7pdr. The crew is Hat but I do not know who made the gun. Great model! |
 |
| Another ibutho arrives. The figures are Hat and were painted prior to Hat releasing their married set. |
 |
| This unit of Zulus would be shot to pieces after destroying the remnant of A Company, 13th LI. B Company, 13th LI would have revenge! |
 |
| Stuck within short range! Not good! |
 |
| A Company, 24th Foot, will cross the drift being tru to there orders as long as possible. Note the hand painted Queen's Color painted by my friend Jim. (ESCI figs) |
 |
| The two remaining ibuthos arrive and mass to keep the British on the north side side of the drift. The sheer size of the force is a bit unnerving for the British commander who has already lost 1\4 of his Imperial infantry. |
 |
| At this point the British still have hopes to cross the drift and sweep the Zulus from the field. The Royal Artillery section did well despite having a poor leader and having to dice to fire. They always did to good effect. |
 |
| Yes, very intimidating! |
 |
| The three remaining companies of Imperial infantry still believe they can cross and win! |
 |
| But the odds are long and Zulus can move quickly. |
 |
| A Company, 24th Foot crosses and defeats the first Zulu unit to come within range. Three cheers! |
 |
| A plucky British officer use his revolver to stem the Zulu tide. |
 |
| One the Zulu leaders anxious to close with his unit and wash their spears in British blood. |
 |
| A Company, 24th Foot has perished. B Company 24th Foot is determined to hold the north side of the drift. However, the NNC is to their flank. Let's hope they hold. |
 |
| B Company, 13th LI holds the other section of the drift supported by the RA on their right and the NNC unit on their left. Can they hold? The Zulus have to stop at the drift for a turn and it's close range! |
 |
| The British commander was heard to remark, "how about a little canister in the face." |
 |
| Lots of Zulus going after the RA and B Company. |
 |
| The RA is over run and B Company is pushed back. The NNC will attempt to stem the tide but are no match for the imbutho. The British commander concedes and Zululand is safe "for now." |
The game was a jolly good time with neither of us all that concerned with the victory conditions. Had the British just held the drift line I would have awarded a tactical victory of sort since it's quite plaisbe that the Zulus would exceed their orders to merely hold the north side of the river. After all, Rorke's Drift was exactly like that!