I had a little extra time so I brought out my home grown ACW rules that I call "Brigadier." The inspiration for the rules was from two sets of rules titled Rally Around the Flag. The first set came out in the 1970s or so while the second came out 30 years later. I took the ideas from both sets that I found useful in order to produce a solo game, although, they would work just fine with two players.
My game board is small at 4' by 4' and the figure scale is 20-24mm. Games on my board usually have 2 brigades per side at the most, with each brigade having between 3-6 units included.
I use a command point activation system (CPs) that limit how many actions units within a brigade can perform in a turn. Brigade commanders dice each turn to see if their base CP allowance is modified. Wild cards allow for interesting twists in the game.
Regiment sizes range from 4 bases to 8 bases with 6 being average. Some special units have only two bases.
This is the second time I'm play testing my rules. I selected a scenario from the Potomac Wargame Club , Across a Deadly Field, titled The Battle of Allegheny Mountain, an early war battle.
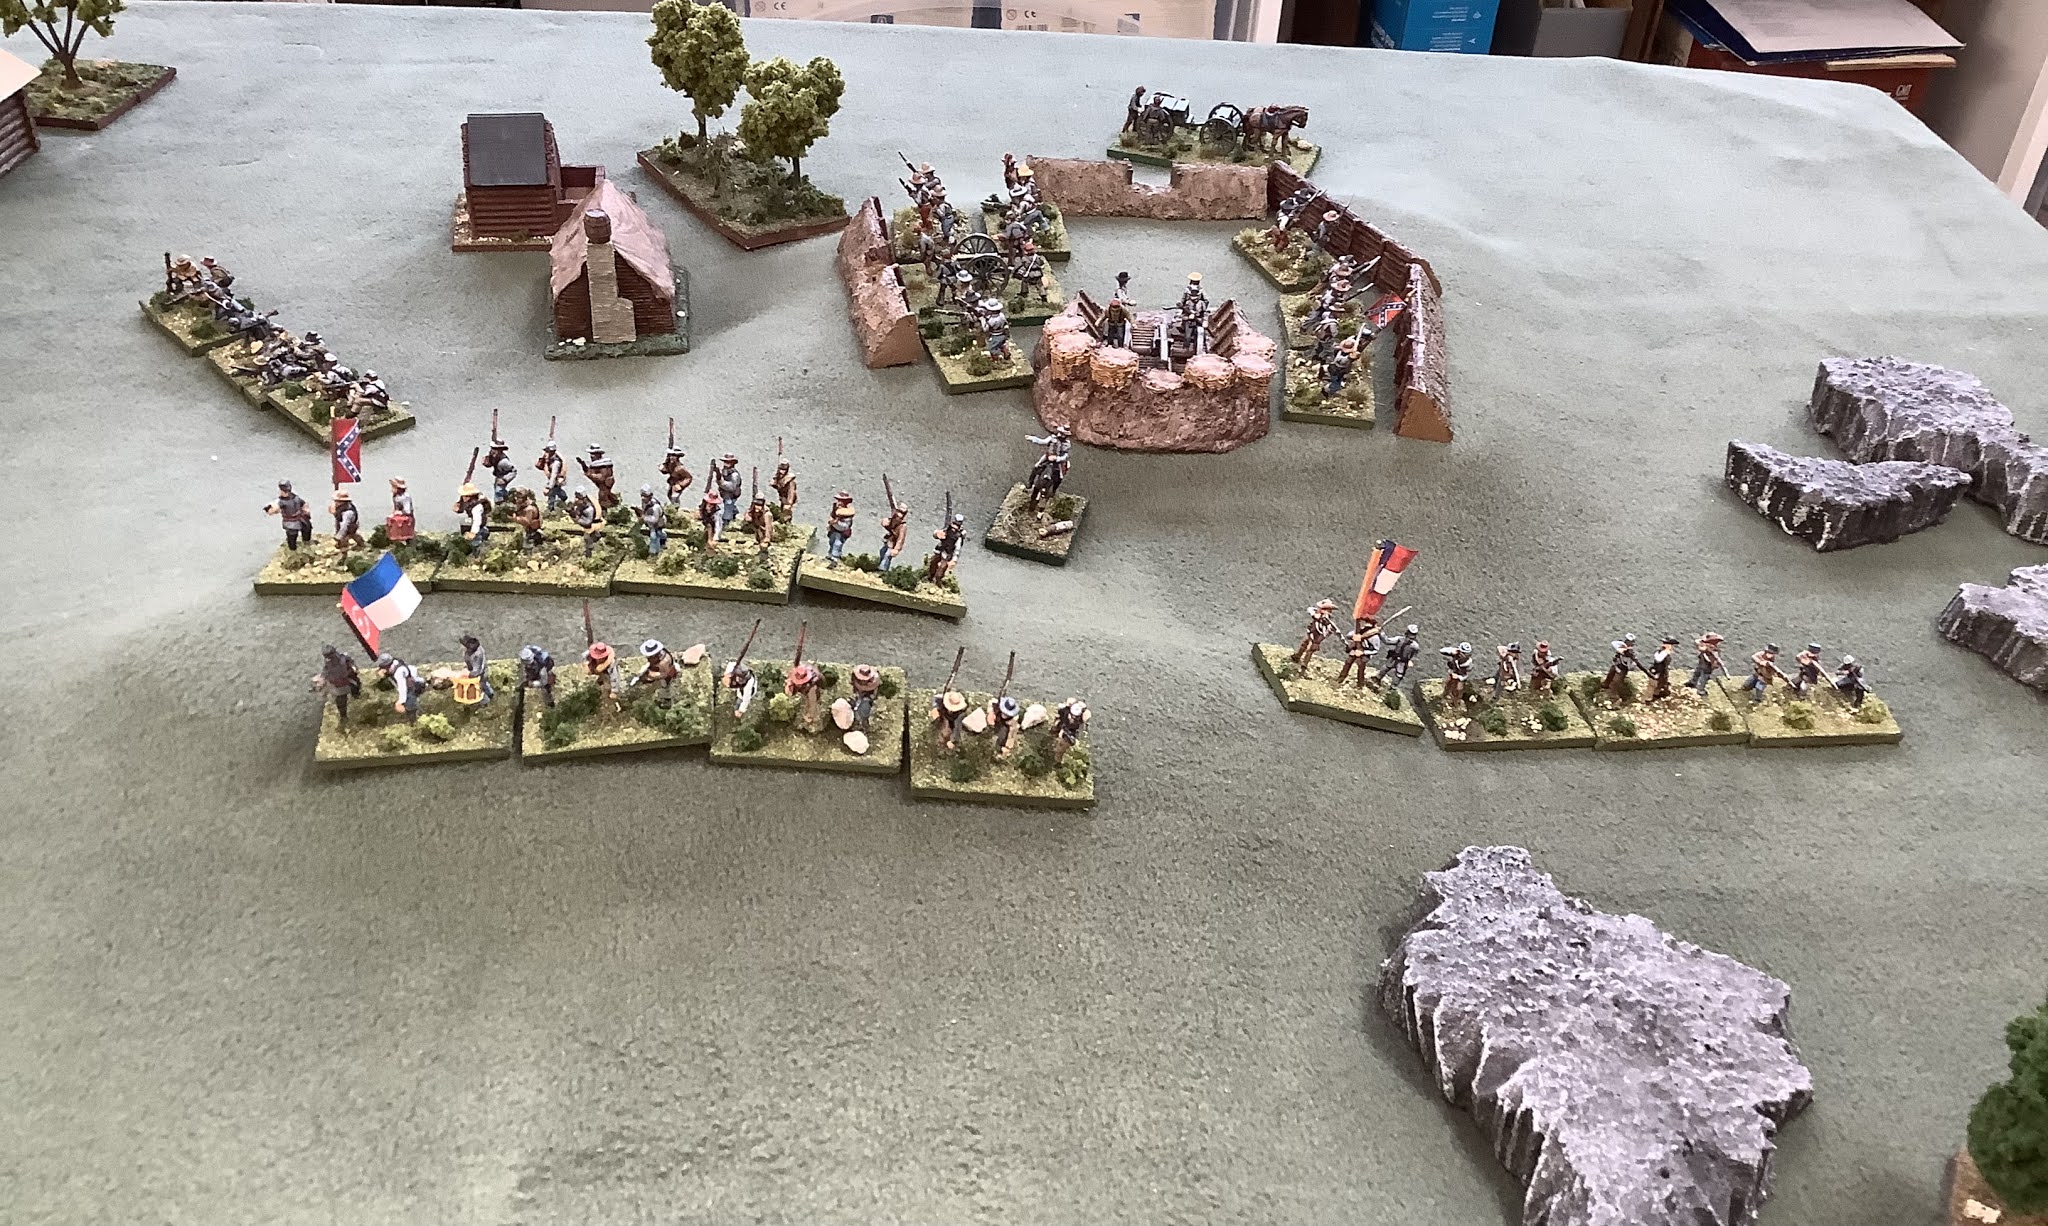
I use a dark green "blanket" from the fabric store to cover hills. This battle was fought basically on a mountain so I added rocky out crops for effect. It is my view that most ACW battles were fought over terrain with gave limited visibility. A situation like Pickett's charge was probably a rarity.
I think my game table captured the effect I was looking for.
Historically, the battle was a bust for the Union and so was the game! I played as the Union player while the Rebs were the AI.
Although, the game is solo, my AI is not truly fully automated. I always play the weaker side and tend to stack the deck with the AI, but when it comes to making AI decisions, I make the most likely and when in doubt dice for the decision. It works well. I have a good "feel" for the period and I've had interesting and fun results.
Combat is resolved on the basis of total base removal, a step down system that works for me.
The Union's orders were to clear the heights and take the camp\fort-a tall, not very realistic order, but that's the way it was!
The OB for the game was:
CSA
Colonel Edward Johnson (who would be nicknamed "Allegheny Johnson" for his victory) +1 competence
12th GA, Veteran, RM, 6 bases
Reger's Va. Bn., Average, RM, 4 bases
9th VA Bn., Average, SB, 4 bases
31st VA., Average, SB, 6 bases
52nd VA., Ross's Bn., SB, 3 bases
Lee's VA., Battery, 6lb SB, 2 gun models, Green (in camp\fort)
Dabney's Cavalry, Green, BLC, 2 bases
USA
Brigadier Robert Milroy, average competence in this battle, later pounded by Stonewall Jackson in the Valley Campaign)
13th IN, Average, RM, 4 bases
25th OH, Green, RM, 6 bases
32nd OH, Green, RM, 6 bases
Bracken's Cavalry, Green, BLC, 2 bases
Colonel Gideon Moody's Command, average competence
9th IN, Green, RM, 6 bases
2nd W. VA., Green, 4 bases
One of the advantages of a solo game is you can take detailed notes of the the action. I played the game over two days, taking the time to document the major actions. Although the game only lasted four turns the card sequence and variables made for a lot going on in those four turns!
Game summary, more detail with picture captions (cards determine sequence)
Turn 1: Moody's 9th IN and 2nd W. VA advanced on Union left; Dabney's cavalry reacts, moves and fires on 2nd W. VA getting a lucky hit. 2nd VA survives morale toss. Dabney's cavalry gets to move again to cover this time and fires, but misses. 9th VA Btn advances. Milroy confused, orders 25th and 32nd Ohio to advance on Union right. 25th Ohio gets to advance again into cover, but target is obscure and misses. Reger's VA Bn. moves into cover opposite 25th OH but also misses. Johnson was confident this turn. Action on both flanks with the Union getting slightly the worst of it.
Turn 2: Moody confident, 2nd W.VA advances into cover, 9th IN wheels to fire at Dabney's cavalry but no effect. Dabney's cavalry fires and moves (to cover) getting a hit on the 9th IN. 9th IN survives morale toss. Johnson confident, 31st VA wheels and fires at 2nd W.VA but NE, Reger's VA. Bn fires on 25th Ohio,gets hit and 25th OH skedaddles. Milroy "bumbling about" but moves to rally 25th OH and succeeds. Reger's Va Bn moves and fires on 25th OH again and the 25th skedaddles again. Moody's command "gets their dander up" and charges ahead firing at 31st VA but NE. 2nd W.VA ends up in a bad position, Union right badly pushed back by Reger.
Turn 3: 2nd W. VA withdraws back into cover, fires at 31st VA but NE. 12th GA (rated vet) advances out of fortification to support Reger sensing victory on CSA left. Johnson confused but enough CP to fire the 31st VA at 2nd W. VA scoring a hit. 2nd W. VA survives morale but is at 1\2 strength. Milroy's dander is up, rallies 25th OH again, 32nd OH charges and fires at 31st VA scoring a hit, 31st VA skedaddles. 13th IN advances. Moody indecisive orders 2nd W.VA out of harms way. 12th GA advances to threaten Union center. CSA general advance sensing victory but 31st VA sets the advance back a bit.
Turn 4: Moody confident, 2nd W.Va. continues to move out of harms way, 9th IN fires at Dabney's cavalry to NE. Milroy stable, 32nd OH wheels, flanks and fires at 9th Va Bn and hits, 9th Va Bn, passes morale. 25th OH fires at Reger's Bn, NE. Bracken's cavalry moves to support faltering Union center. 12th GA fires at 13th IN and hits, 13th IN passes morale toss, 13th IN fires at 12th GA NE., 12th GA charges 13th IN inflicts one hit, 13th IN misses, melee continues for three sequences before 13th IN skedaddles. Milroy moves to rally 13 IN and rallies the badly battered unit. Johnson rallies the 31st VA, 12th GA poised to smash remnants of Union center while Reger presses on Union left. Confederate right is stable and could advance on Union left. The Federal forces cannot possibly obtain the victory conditions at this point and withdraw. Union loses 8 bases to the Confederate 2 bases.
 |
| Nice view of the Confederate initial deployment |
 |
| Union initial deployment. The skylight is messing with my lighting! |
 |
| The 25th and 32nd Ohio. The 25th will advance to the cover directly ahead. Reger's Va Bn is opposite of them headed in the same direction. |
 |
| The Union left and left center. The unit in the lead on the far right of the picture is the hapless 2nd W. VA. |
 |
| Most of the Confederate units patiently wait. |
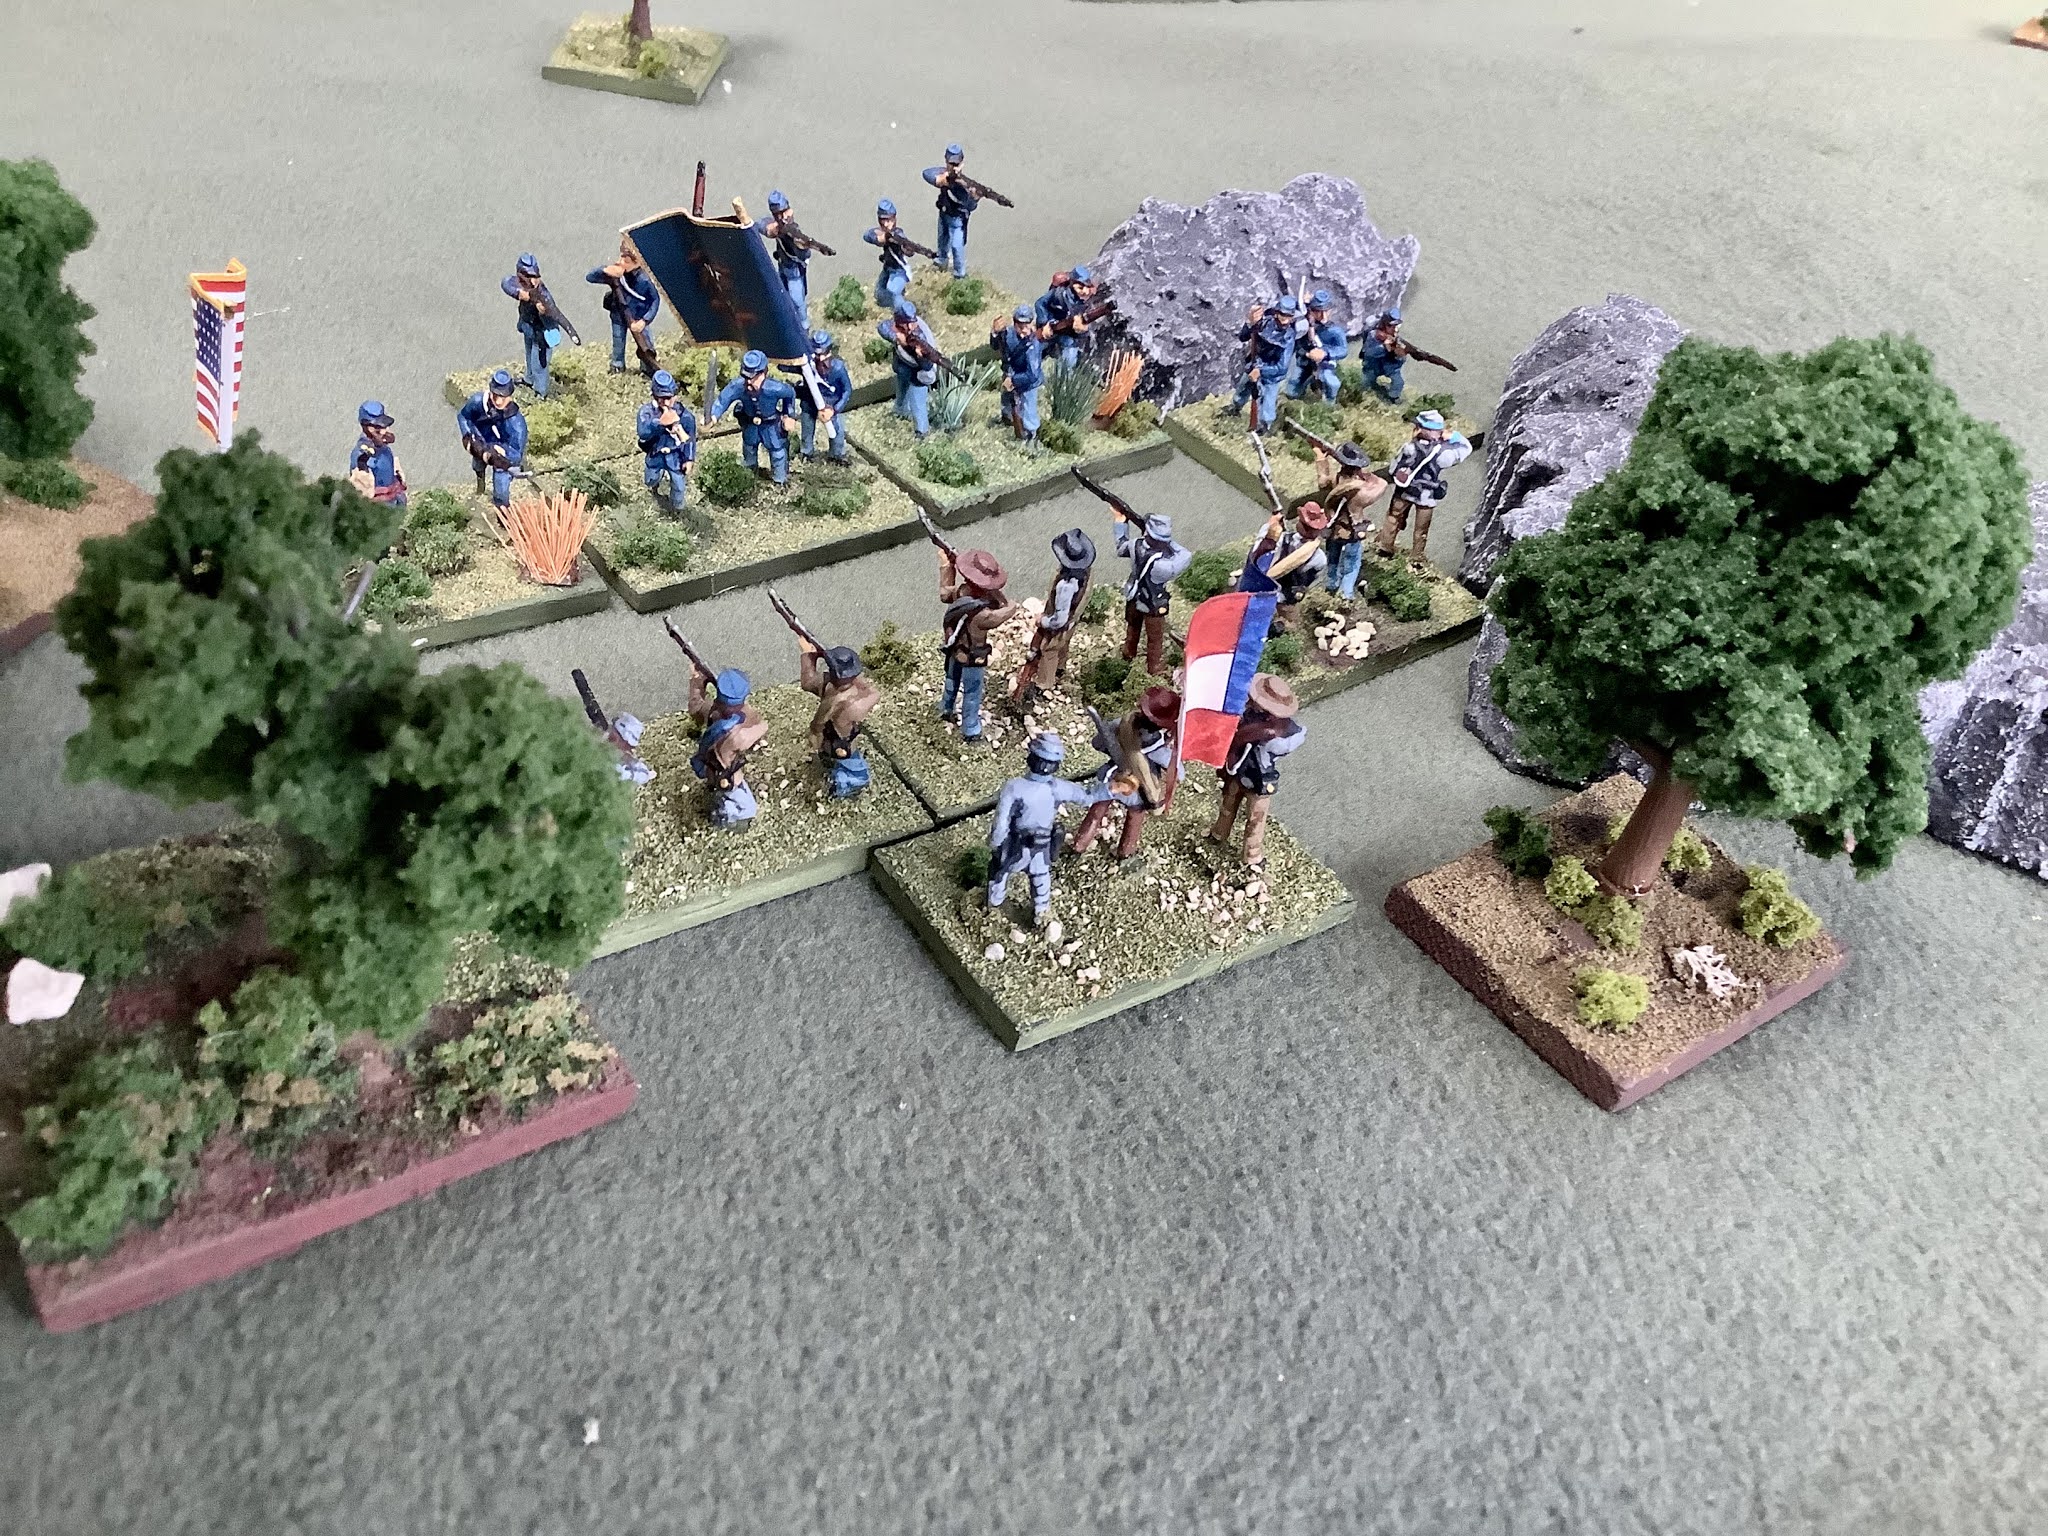 |
| The nasty fight in the cover between Reger's VA Bn and the 25th OH. The OH boys skedaddle 2x from the intense fire from Reger's VA Bn. |
 |
| Dabney's CSA cavalry are content to skirmish with the 9th IN. |
 |
| Reger's VA Bn cracks opens the Union right. |
 |
| The 2nd W. VA is in a tough spot as the 31st VA bears down on them! |
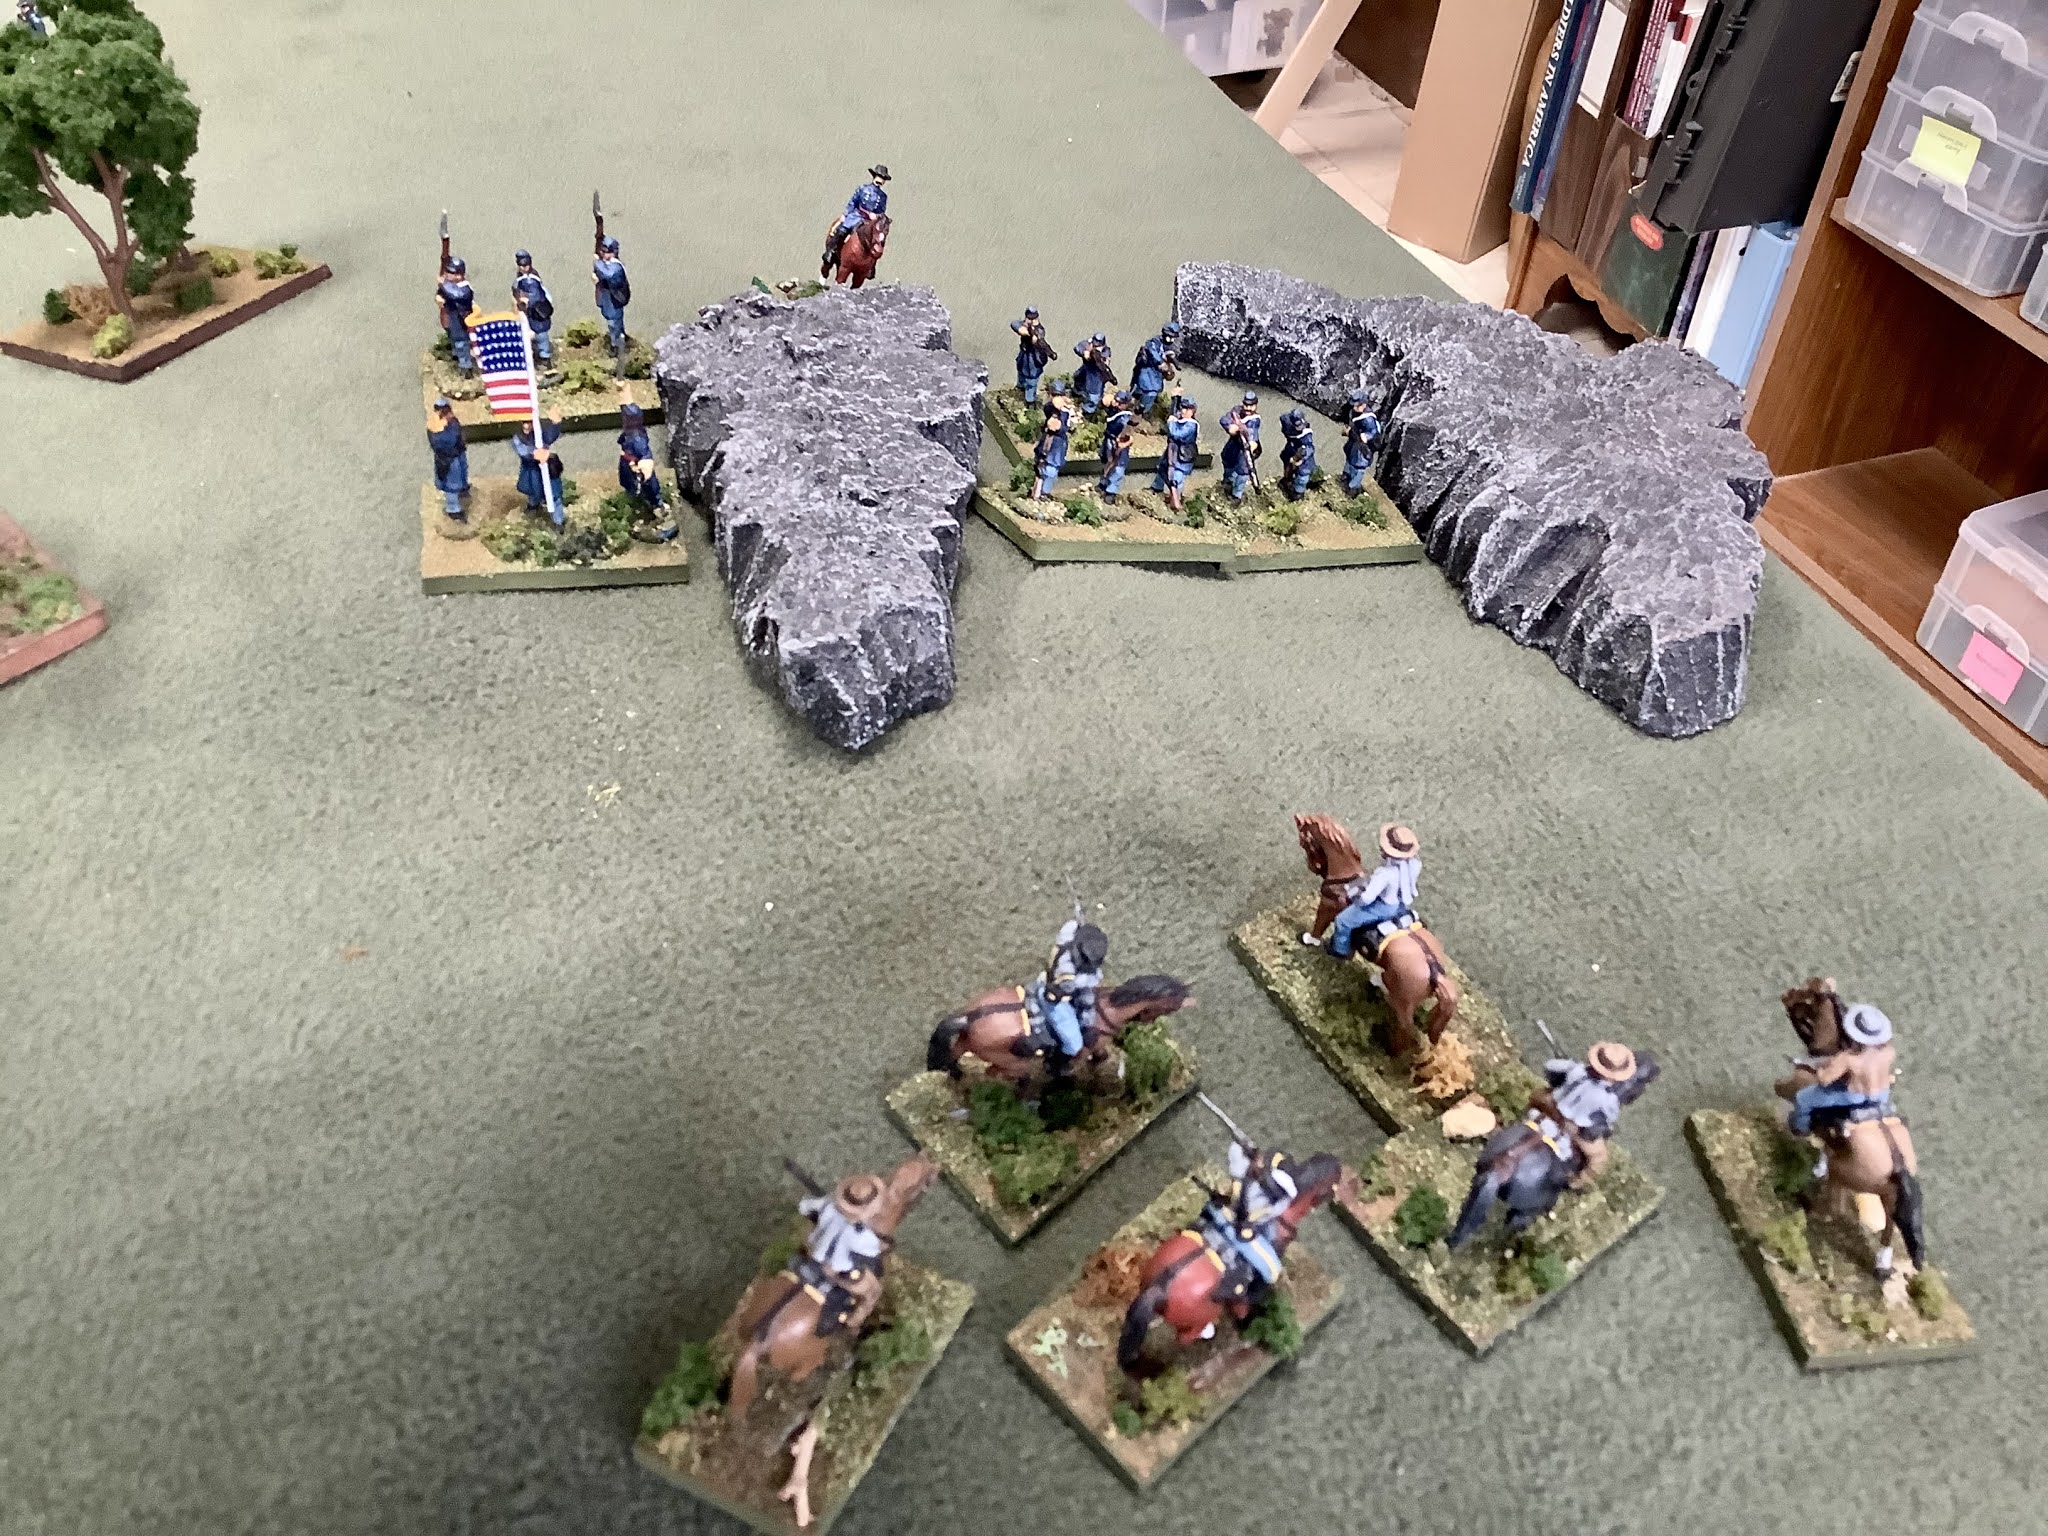 |
| Dabney's CSA cavalry lets the 9th IN have the position (wisely). |
 |
| The 13th IN routs the 31st VA in the only bright spot on the Union side. |
 |
| The 9th IN is content to hold their position while the rest of the Union army is n trouble. |
 |
| The 13th IN cannot follow up the rout of the 31st VA. |
 |
| Reger's VA Bn really got things going for the South! |
 |
| This picture captures the rolling terrain of the mountain. Most of the fire fights were at very close range due to sighting restrictions. |
 |
| The veteran 12th GA delivers the final blow and is poised to roll up the Union center. |
 |