Stallupönen, East Prussia, 17th August 1914:
As the Russian 1st Army
advanced into East Prussia, von Francois, the II.Armeekorps commander, was
adamantly opposed to giving one meter of ground to the Russians, since the
Russian advance was occurring in his own corps district. He insisted that von
Prittwitz, the commander of 8.Armee, should attack the Russians on the
frontier.
On the 16th of August,
contrary to orders from von Prittwitz to fall back to the Angerapp, von
Francois refused to move from his screening position on the frontier, some 20
km east of the main German line. On the 17th of August, without orders, von
Francois attacked the Russians as they crossed the border into East Prussia.
This insubordination
infuriated von Prittwitz and he sent a flurry of messages to von Francois
demanding that he withdraw at once and stop squandering the lives of his men,
to which the latter famously replied: "...von Francois will withdraw when
he has defeated the Russians."
Von Francois intended on
attacking out of Stallupönen with the 1.Infanterie-Division; half of the
division was tasked to attack southeast and the other half was to advance
northeast with the intent on swinging around and performing a double
envelopment of the Russian III Corps.
Luckily for the Russian
III Corps, part of the XX Corps came to their timely rescue from the northeast,
and disaster was averted. Thus formed the catalyst of Rennenkampf's timid
advance into East Prussia: an insubordinate German general's corps would meet a
force that was numerically superior and inflict four times the casualties as
they would get in return, in a sharp engagement which, from that point forward,
would cause the Russians to exercise great caution. (From the PC game: Great War East
Prussia-1914 by John Tiller)
Notes on the Rules
The rules used were developed by me from a set of rules that were developed by someone wishing to do a miniatures game based on Richard Borg's original board\miniatures MEM44 game. Those rules no longer exist and my rules are a departure from that author's good start.
For those not familiar with MEM44 each player is given "X" amount of command cards that limit his decisions to a single card played per turn. The cards may be played to one's flank or center and thus there is a great deal of fog of war as well as the luck of t draw as cards are drawn to replace the ones played. In my system some "support" type cards have been added so that at times two cards may be played. It adds a lot to the game.
Combat and movement have been converted from hexes to inches and follow basic miniatures convention in how to resolve movement and combat. The system works well and we completed 15 turns in about 3 hours of game play. My friends MS (Germans) and JZ (Russians) commanded while I (BR) ran the game. A splendid time was had by all and that's what it's all about!
Below you will see a section of scenario notes, an order of battle and then battle reports submitted to me by my friends. In other words they role played as generals for their respective sides and gave a report from their perspective. I found the reading of these reports to be quite fun and interesting and hope our blog readers will as well.
Scenario Notes
The scenario represents the initial attack by
elements of the German II Armeekorps, notably the 1st and 2nd
ID. These two divisions are ranked equal to the Guards in the German Army and
thus can move 8” and battle. (based on the layout in the Tiller game-the scenario has been bath tubbed and the terminology used is Regiment\Bn\Company)
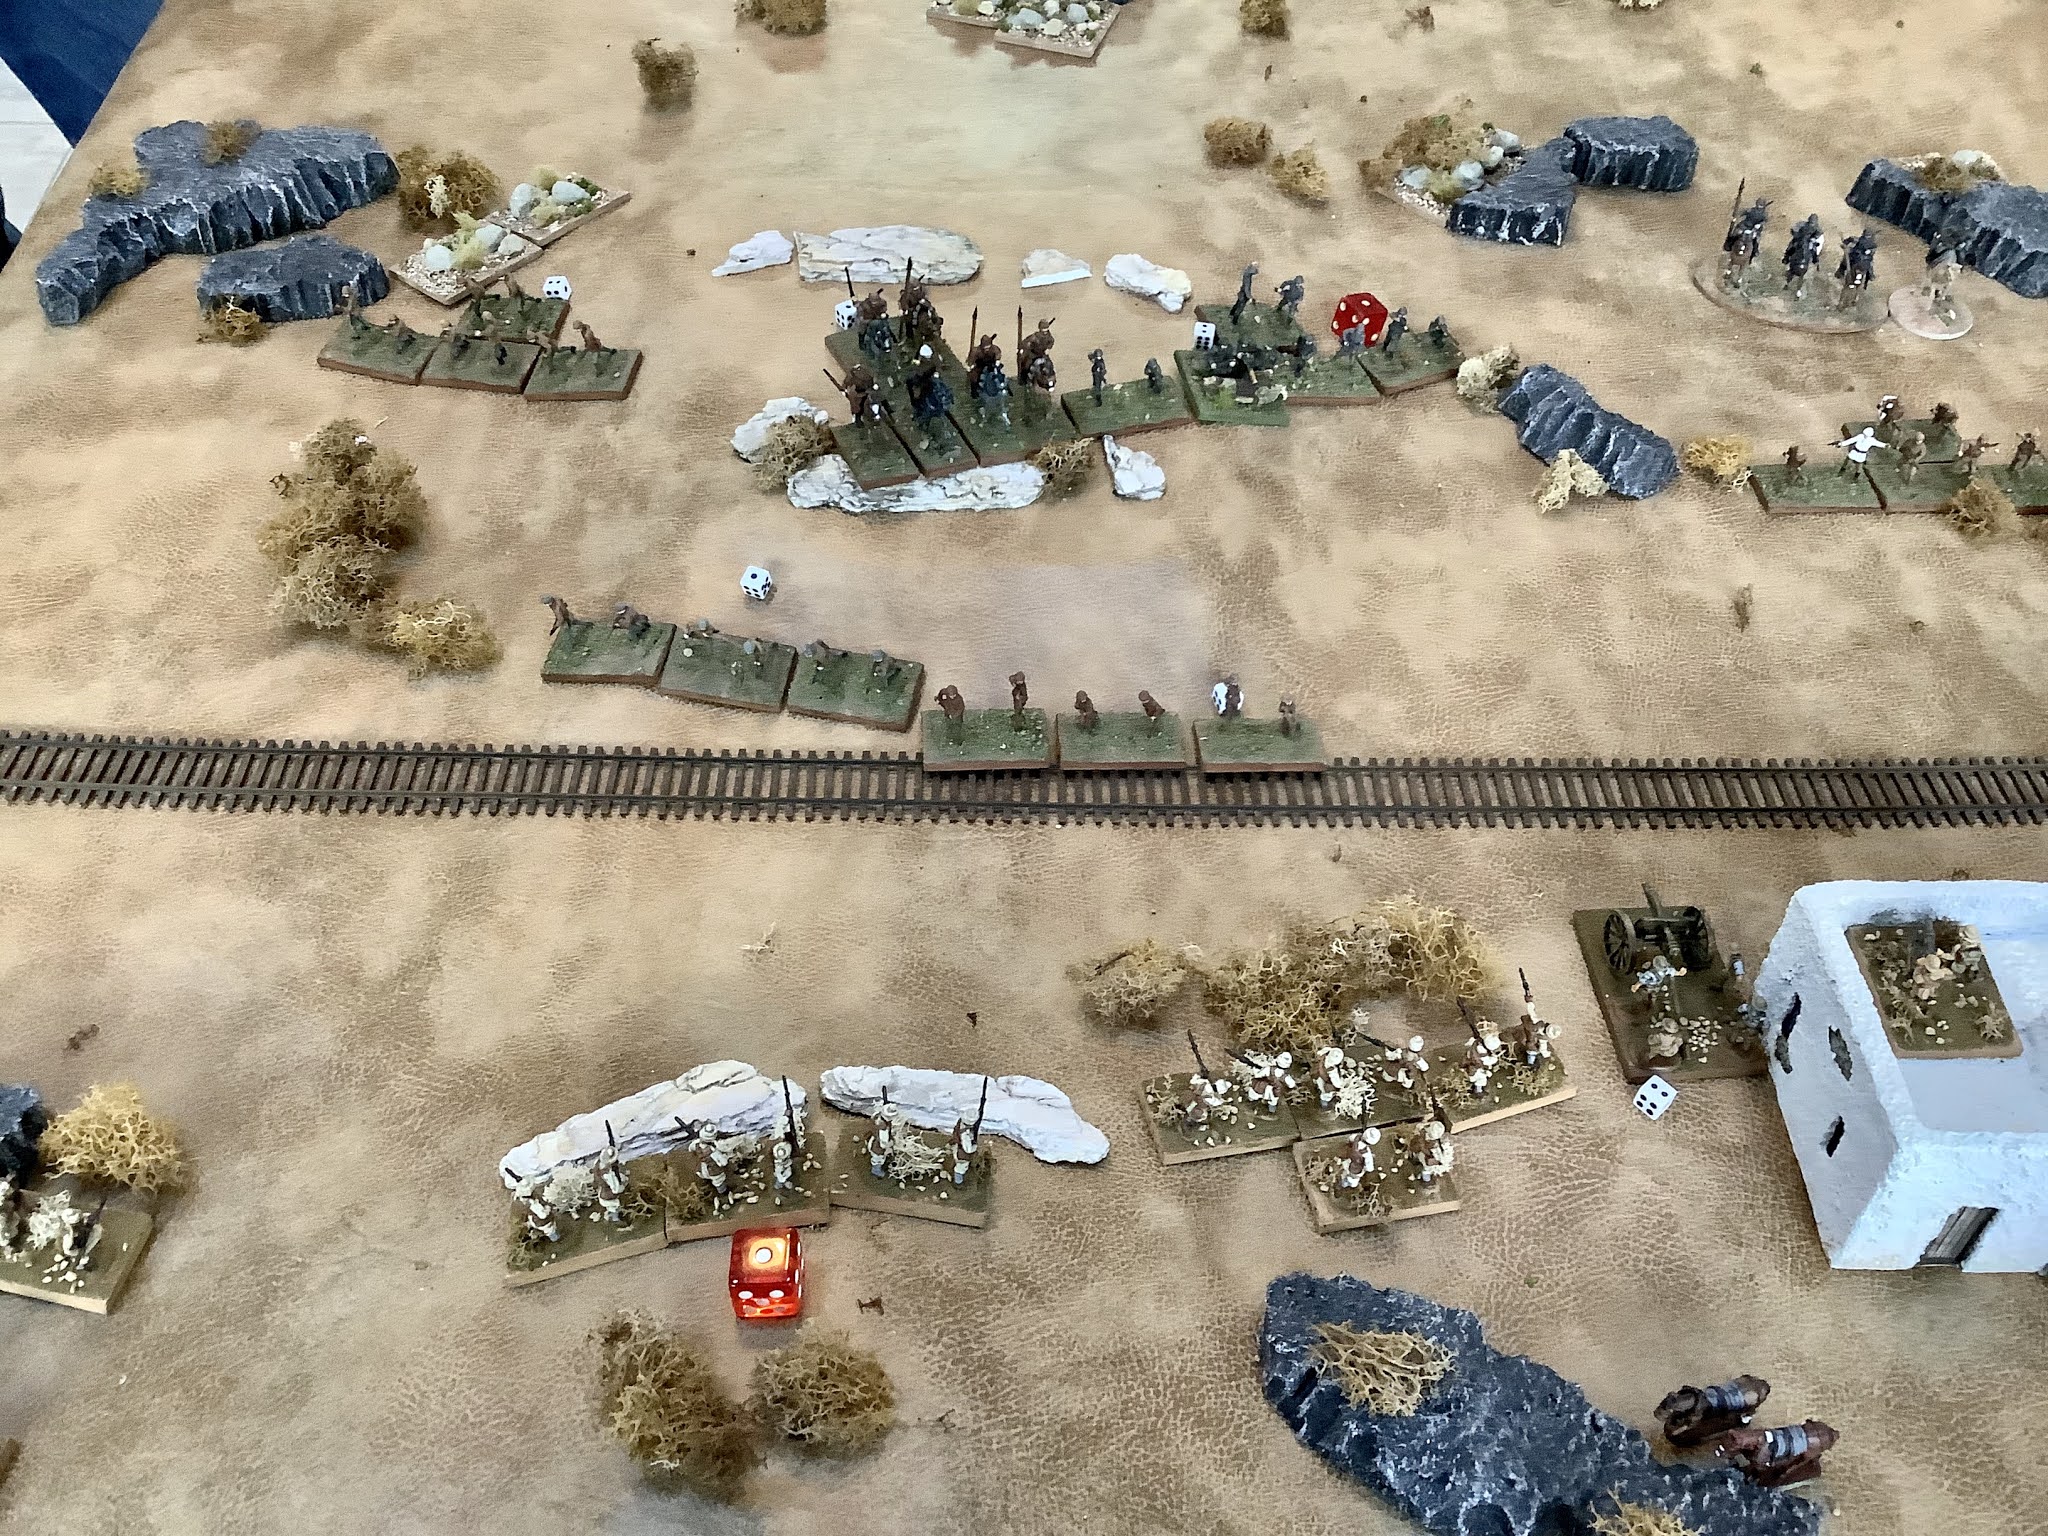
In this game an infantry battalion was represented by 4 stands of 8 figures each. An artillery battalion was called a battery and consisted of one gun model plus crew. Machine Gun Companies had two models plus crews.
Historically, the Russians were taken by
surprise and isolated. Their usual Cossack Cavalry for some reason was
not deployed to the Corps front and that accounted for the surprise attack. The
initial deployment is meant to represent the surprise. (strong German flanks, weak center, Russians spread out with no concentration)
As noted by Tiller the timely arrival of the
Russian XX Corps prevented the total destruction of the Russian III Corps. The
Russian XX Corps is not in the scenario.
In order to simulate what happened
historically the Germans must achieve a 2-1 ratio in destroyed (or bases lost) units. If they
do the strategic consequence would be a more cautious Russian advance into East
Prussia. A failure to achieve the ratio means that Von Francois did squander
his men’s lives as von Prittwitz feared and would have most likely been sacked.
Order of Battle
The Forces
Germans (north pincer)
2nd Infantry Brigade, 1st Infantry
Division
Inf. Regt 45, 3 Bns plus
a MG Co.
Attached to IR 43, 1st
Bn. FAR 18 (77mm guns)
5 units
Gren. Regt. 3, 3 Bns plus
an MG Co
Attached to Gren. Regt.3
2 Bn. FAR 18 (77mm guns)
5 units
4th Infantry Brigade, 2nd Infantry
Division (south pincer)
Inf. Regt. 43, 3 Bns plus
a MG Co
Attached to IR43, 1st
Bn. FAR 16 (77mm guns)
5 units
Fusiler Regt. 33, 3 Bns
plus a MG Co
Attached to Fus. Regt 33,
2nd Bn. FAR 16 (77mm guns)
Attached to Fus Regt. 33.,
Mtd Jager Bn 10 (deployed to screen the center)
6 units
21 total units
Russians
1st Bde, 27th Infantry Division
105th Infantry Regt. (Oldenburg),
4 Bns plus a MG Co
5 units
106th Infantry Regt. (Ufa), 4 Bns
plus a MG Co
Attached to 106th Inf. Regt. #2
Div, 27th Art. Bde. (76mm guns)
6 units
1st Bde. 25th Infantry Division
97th Infantry Regt. (Livonia) 4
Bns plus a MG Co.
5 units.
16 units
Battle Reports
Report Russian 3rd Corps, 1st Army – General Jepantschin
25th Infantry
Division
27th Infantry
Division
When I General Jepantschin of the 3rd Corps, 1st
Amy discovered the German attempt to "pincer" my Corps my plan was
made. I intended to hold the Germans on my left with the 106th Infantry Regiment (Ufa), 27th
ID. I also intended to advance in the center with
the 105th Infantry
Regiment (Oldenburg), 27th ID and
threaten the German right with 97th
Infantry Regiment (Livonia), 25th ID knowing our 20 Corps would counter attack on
that flank.
I believe I successfully held the German forces from moving on
the Russian left as they would not and could not advance beyond the
small farm they took cover in. My 106th Ufa Regiment took
cover in a strong position behind a fence in the wheat field. This created a
stalemate on that flank.
In the center I took full advantage of the abandoned sector (held
only by light forces) to move in and interfere with the German advance on my right,
which was successful. Several German units were diverted to deal with the
counter attack by my 105th Oldenburg Regiment.
Other German units were forced to ground as their advance was
slowed by the counter attack.
My center/left was strong as both regiments still had several full
strength units supported by artillery and machine gun units that could support
either flank.
Regrettably, my 97th
Infantry Regiment (Livonia), 25th ID right had to be sacrificed to complete
the plan. The 97th had few
support units and I knew it was going to be a desperate fight. By using
the "collapsing bag" tactic I believe I held the German’s attention
right to the end. Knowing that 20 Corps was about to arrive on the German
left the sacrifice of the 97th was successful as the Germans were required to
remain in their positions and virtually destroy the 97th almost to a
man. The Motherland should be proud of their sacrifice!
It is necessary to point out that I was outnumbered on both flanks
and the Germans had a 2-1 advantage in artillery since the 97th
artillery brigade was not in the vicinity to lend support. Our lack of cavalry
scouting virtually guaranteed a surprise attack. Where were our Cossacks I must
ask? I must also point out we faced the German 1st Corps consisting
of the 1st and 2nd Infantry Divisions, two divisions our
own intelligence have rated as elites. Despite the heavy odds the German right
pincer was stopped and the rest of the Corps spared from encirclement.
In summary my left held, my center did was expected of them and my
right’s gallant stand forced the Germans to go to ground.
General Джеймс (Jim) Jepantschin, Commander 3rd Corps,
1st Army
Battle Report German 2st
Corps, 8th Army
17. August 1914
General von Francois Reporting.
My plan
was to completely destroy the enemy forces in front of my left and right flanks
and only then turn and trap the Russian forces in the middle, destroying them
in a “Pincer maneuver”.
My forces
are well trained, of high moral, and determined to push the Russians back out
of the Fatherland.
The
battle started on my right flank.
Two
Battalions and an MG. Komp. of the Infantry Regt 43 of the 2. Inf. Div. secured
a small town and engaged Russian forces to their front with very accurate
fire. Fire from 1. Bn. FAR 16 was also directed against the same
Russians. That Russian Bn. was forced to retreat with heavy losses
and never reentered the battle.
The
Russians continued to exchange fire with us but their infantry took heavy
losses. 1.Bn. FAR was lost to counter battery fire. The
Russians were unable to advance and our attacks were also halted. Three
hours had passed before 33. Fusilier Regt. arrived with 2. Bn. FAR
attached.
With
their arrival one of their Bns. was able to advance on the far right and helped
turn the Russians towards the center. 2.Bn. FAR was then ordered to fire
Counter Battery and eliminated the Russian guns.
With
their guns destroyed, the Russians formed a defensive pocket on the edge of the
center, but still on the left flank.
They would
hold this position until nightfall and before the 33. Regt could be deployed
against them. I was not willing to waste the lives of the men of the 43.
Regt in piecemeal attacks.
In the
center the 10. Bn. Mtd. Jager stood alone against numerically superior Russian
forces. They halted and forced the Russians to fall back several times
until their casualties became too great and left the battle. Their stand
was heroic and kept the Russians from using their center forces against our
flank attacks until late in the battle.
On our
left flank, our forces, 45. Inf. Regt. was deployed in a small village
behind a shallow river. 1. Bn. FAR 18 engaged the Russians at long rang.
The river delayed the advance of our troops.
As three
Bn. of the 45. crossed the river the 33. Gren. Regt. arrived. Using
the three Bn. of the 45. as a screening force one of the 33. Bn. was able to
column march along the far left flank and join in the attack with the 45.
The 33. was also able to deploy the 2.Bn. FAR 18. However the rest of the
33. was too far back to take part in the attack. The reserves of both
flanks were unable to bring their full weight into the battle but the two Bn.
and the two guns played a major role in the battle.
As the
three Bn. of the 45. and the one Bn. of the 33. Gren. to their left, attacked,
the Russians were driven back. After a long hard fight the Russian right
flank collapsed with their units being completely destroyed. The Russian
however was not done yet and their units in the center, realizing they were
about to be encircled, launched an all out counter attack against our left
flank. Our troops of the 45th. , who had nearly exhausted themselves in
their attack, quickly took up defensive positions in place. The Russians
were able to over run the closest Bn. of the 45th. but were then halted by
intense and accurate defensive fire from artillery, MG’s and rifles. The
Russians were forced to retreat back to the center.
Our left
flank had been cleared. The pincer would be closed by the two reserve Regt.
and I will then withdraw as ordered.
Respectfully
General
[Michael} von Francois
My Comments
Asking my friends to do a battle report from their perspective was not part of what I planned but after receiving one (the Russian) I thought it would be fun to have the Russian add more detail and ask the German player to write one up. What you have read above is what I received. I did minor editing without changing content.
In my study of military history I've learned that generals frequently disagree with one another when analyzing their part in a given battle. Sometimes they are even on the same side and argue quite vehemently for their perspective.!
What most have in common is a reluctance to admit mistakes, miscalculations or underestimating the enemy as well as misunderstanding their orders. Battle reports frequently read as a defense of their actions (or in some cases inactions) as well as putting a positive spin on their own performance and thus leaving future historians to judge the accuracy of their reports.
In other words, a battle report simply represents a certain perspective driven by the general's personality, desire to look good, willingness to admit mistakes and consideration for how history would view his actions on a particular day.
In that both of my friends did very well in their reporting and I enjoyed reading them.
The Russian was from the onset in a world of hurt. As the scenario designer I only gave the Russian a 33% of pulling off a victory. While the Russians did lose the game I thought the general's comments that spoke of partial successes to ring true and in a historical context I doubt he would have been sacked and probably credited with doing the best he could.
The steadfastness of the Russian infantry is legendary and certainly he gave ample credit to his units that were in fact quite stubborn.
I do believe that German victory condition was fair and not all that easy to obtain. In my rules getting a 2-1 attrition rate is not all that easy even when you outnumber your enemy by 2-1 in field artillery and have a heavy advantage in infantry especially of the elite variety.
The German too gave ample credit to his units that performed well. The Jaegers in particular seemed to hold off long enough to limit the Russian counterattack on the German left
When it came to total units actually destroyed the game was a draw. Each side lost one battery of field artillery and about 3 bns of infantry but when it came to stands lost the destruction of the Russian right was decisive. In all that I found the German report as accurate as the Russian one since it really came down to the final attrition numbers.
From a historical perspective the Russian 3 Corps was badly mauled at Stauponnen and it was the pressure from the Russian 20 Corps that caused the Germans to withdraw to the Gumbinnen lines. I thought the simulation reflected that well as the game ended.
Historically, had von Francois not achieved a considerble victory he would have undoubtedly been sacked by von Prittwitz. Von Francois was not only skillful but also lucky since had the Russians been more on the ball he himself could have been surrounded and the best Corps in the 8th German Army wasted.
History is such that eventually it would be von Prittwitz who gets sacked and gets replaced by the Hindenburg\Ludendorff team who would achieve the most remarkable victory in the Great War at a place called Tannenberg.
What I learned as the simulation designer....
One, I misinformed the Russian player as to the victory conditions and had to make a mid-game calculation. He took it in stride but I need to come up with a little better system of determining victory in a 1914 game. Attrition is certainly important but terrain and road exits from a game board can matter as well. I'll have to tweak that.
Below are some pictures of the action in no particular order.
 |
| German infantry meet a Russian counter attack on the Russian center right. The Russian regimental command stand is in the center of the picture. |
 |
| Russian infantry and the remnants of a 76mm battery make a stand on good defensive ground. |
 |
| German infantry push the Russians to the board edge but have a hard time eliminating them. |
 |
| uRussian defenses in the center. A machine gun company is in support. |
 |
| A Putilov 76mm battery in action. The divisional staff looks on. |
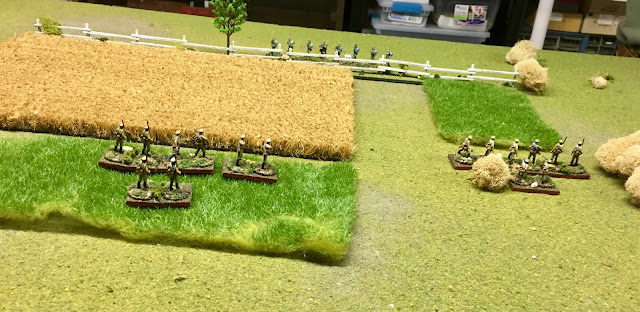 |
| The Russian center counterattacks the German Jaeger battalion holding a fence line. |
 |
| Another Putilov battery and Russian infantry battalion taking advantage of some good defensive ground. The flag is a nice touch! (and yeah they really did that in 1914) |
 |
| Two battalions of a German infantry regiment cross the river and press on as part of the German left pincer. |
 |
| The Germans occupied the small village pushing back the advanced Russians. Villages are strong points and hard to take. Te Russians had no need to contest the village. |
 |
| A German 77mm "whiz bang" named for the sound it made. |
 |
| Airfix Germans, pride of my collection. This battalion is in the village. |
 |
| German infantry advance across a wheat field in East Prussia seeking to drive the Russians out! (These figures are metal and I think they are Irregular Miniatures out of the UK) |
 |
| Close up of a Russian infantry battalion. Figures by HAT. |
 |
| Overview of the German left flank-the better part of an infantry regiment supported by a 77mm battery and a MG company |