Showing posts with label Solo gaming. Show all posts

Friday, May 19, 2023

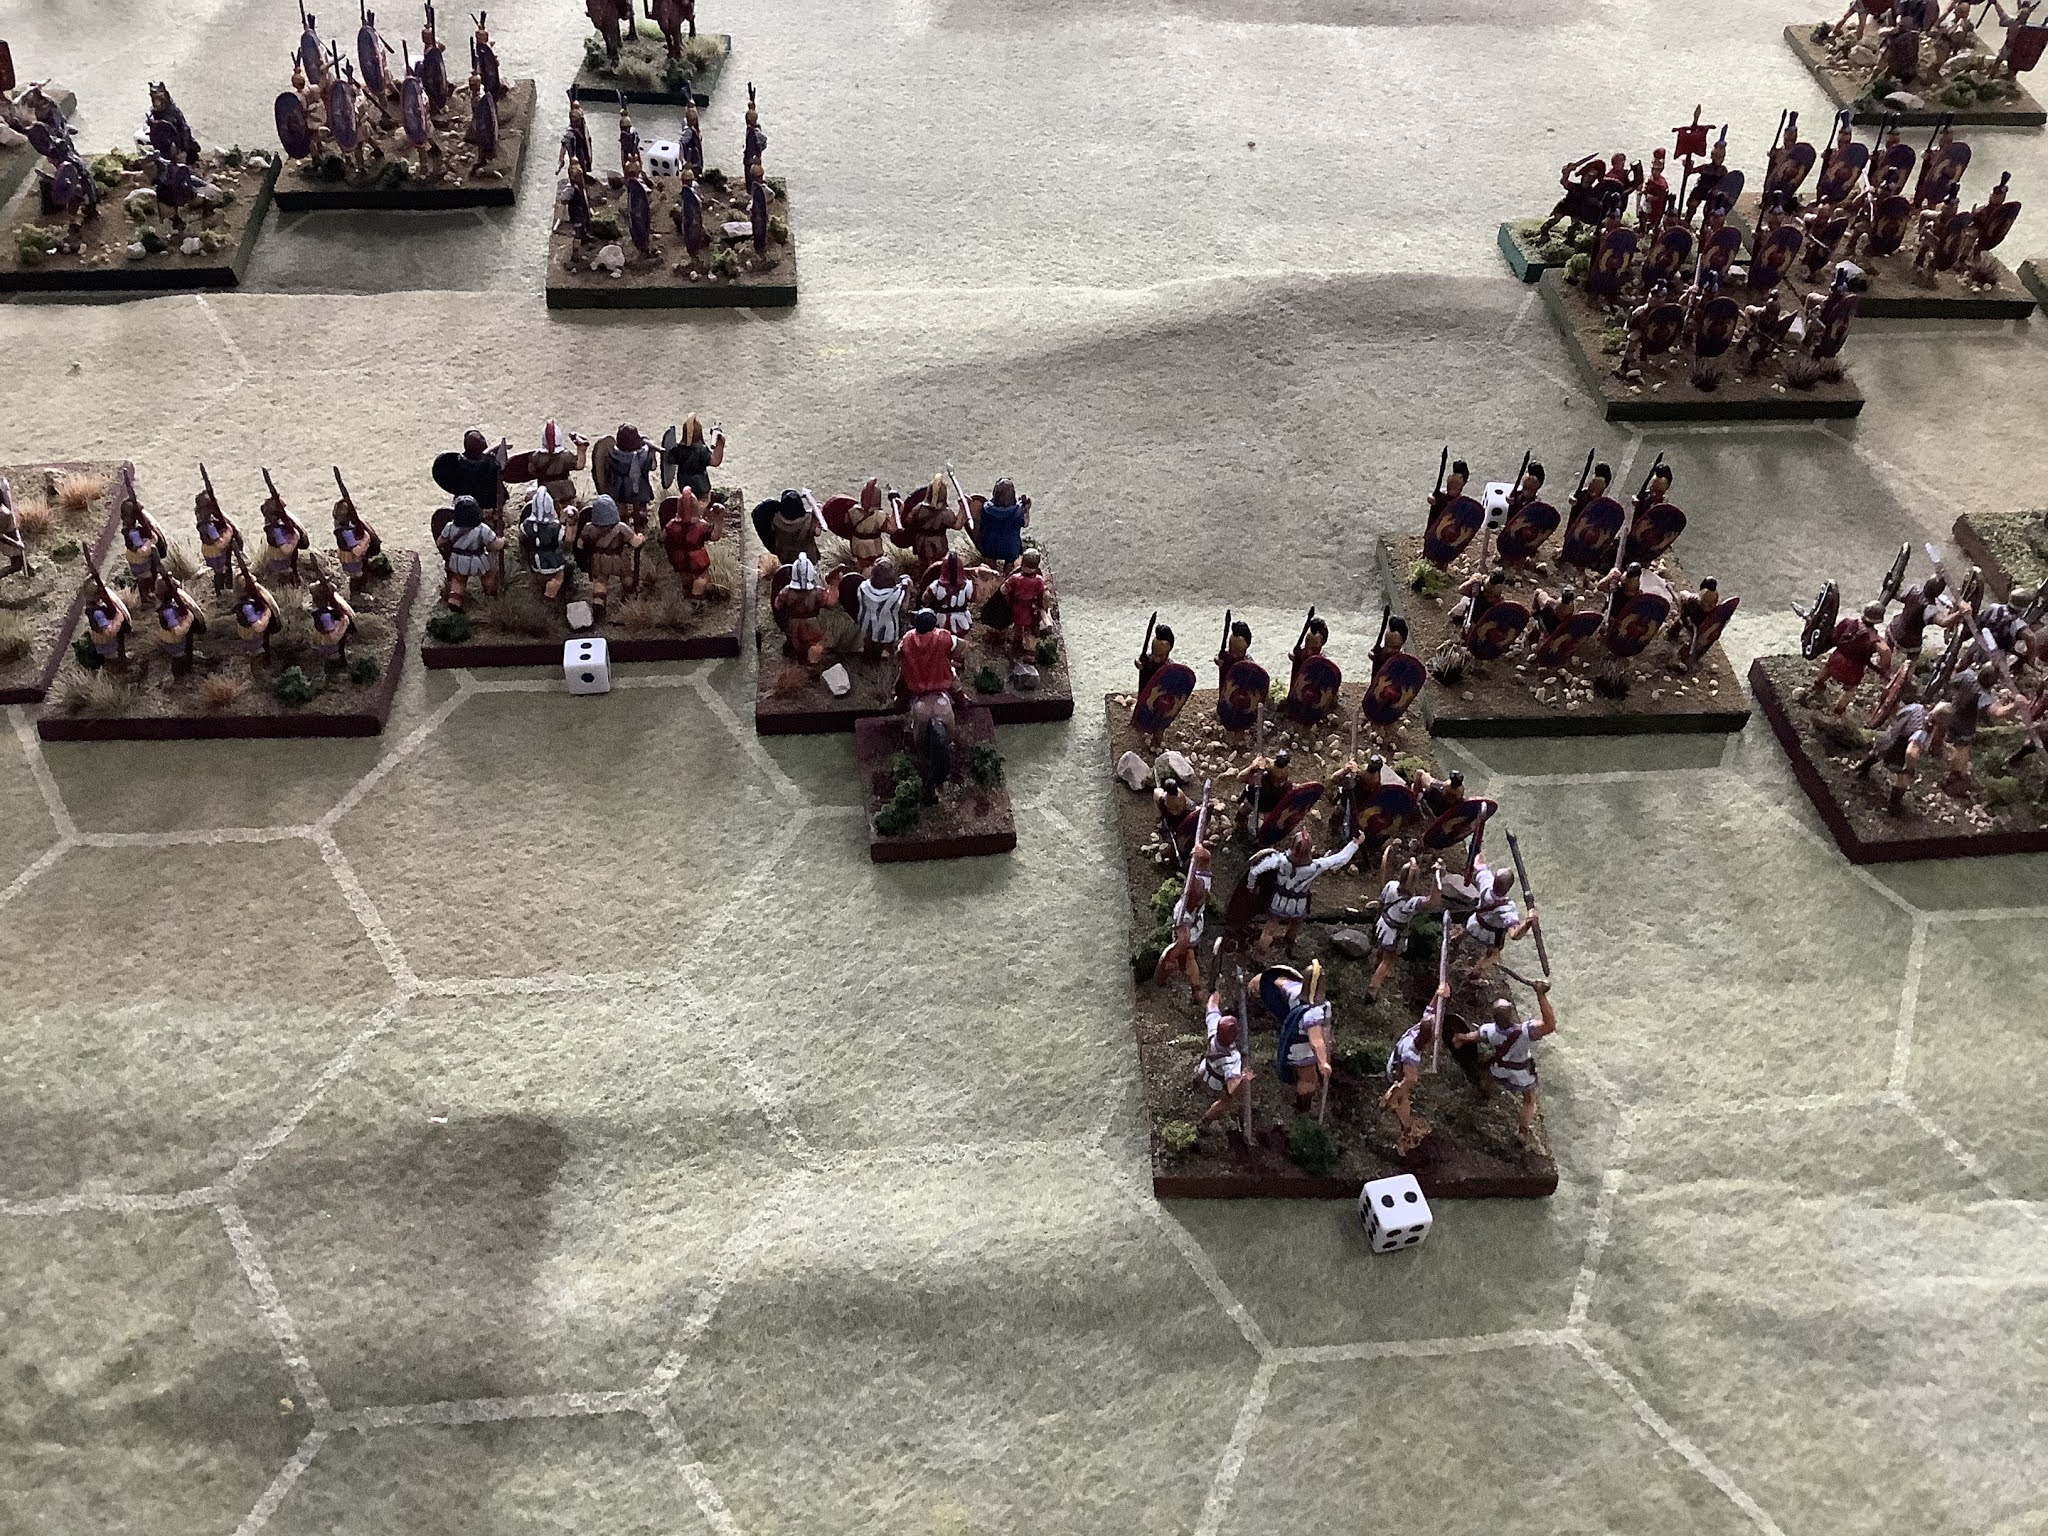
The Sword Brethren of the Livonian Knights Versus Nevsky's Rus in Lion Rampant 2

The era of the Baltic Crusades has become an era of  interest to me. My friend has painted up Mongols for the period and I have Livonian Knights and Nevsky period Russians.

Doing the Baltic tribes and Danes\Swedes for the period are on the agenda as well.

The figures in this game are all Zvezda and Strelets in 1\72 plastic, painted in a toy soldier retro fashion

This is my first attempt to play the Five Battle Campaign from Lion Rampant 2. I'm playing solo. After I set up the five armies per side I made a rough system how to fight out the battles.

The first game was with these forces. 

Livonian Knight (LK OB)

2 Units of Elite Cavalry

2 Units of Heavy Cavalry

2 Units of split Light Infantry 

30 points

Russians (Rus OB)

2 Units of Dvor Elite Cavalry (one unit is motivated)

2 Units of Druzina Heavy Cavalry

1 Unit of Cuman Light Cavalry

1 Unit of dismounted Druzina Heavy Infantry

1 Unit of split Light Infantry

1 Unit of Skirmish Infantry

36 points

Victory Condition

The Russians are on their way to reinforce another Russian force. To do this they had to run a diagonal gauntlet across the board between two Livonian Knight forces trying to intercept them.

Terrain placement was diced for and there is quite a lot. The way it turned out there are a number of bottle necks. The stream and hedges are all obstacles. The terrain favored the Russians because of the obstacles but favored the Livonian Knights given the bottlenecks that the Russians had to pass through.

The Russians are supposed exit the board to reinforce another army. The knights are supposed to stop them.

The Livonian Knights also know as Sword Brethren were split into two equal wings each of one Knights (Elite Cavalry), one of Sergeants (Hv. Cavalry) and one split Light Infantry (1\2 crossbow, one half spearmen). Each wing had a leader in the Knight unit

The Russians were divided into foot and horse contingents. The foot contingent was ordered to take the village and control the bottleneck thus protecting the flank of the horse contingent.

The horse contingent was ordered to run the gauntlet along the stream to eventually exit the board. To win 18 points had to exited. A failed activation for the Russians did not end their turn. That turned out to be critical. It was offset a little by assigning a leader to each of the Livonian Knight wings.

The Game


Sunday, May 16, 2021

Solo ACW-Battle of Allegheny Mountain, Dec. 13th, 1861

 I had a little extra time so I brought out my home grown ACW rules that I call "Brigadier." The inspiration for the rules was from two sets of rules titled Rally Around the Flag. The first set came out in the 1970s or so while the second came out 30 years later. I took the ideas from both sets that I found useful in order to produce a solo game, although, they would work just fine with two players.

My game board is small at 4' by 4' and the figure scale is 20-24mm. Games on my board usually have 2 brigades per side at the most, with each brigade having between 3-6 units included.

I use a command point activation system (CPs) that limit how many actions units within a brigade can perform in a turn. Brigade commanders dice each turn to see if their base CP allowance is modified. Wild cards allow for interesting twists in the game.

Regiment sizes range from 4 bases to 8 bases with 6 being average. Some special units have only two bases.

This is the second time I'm play testing my rules. I selected a scenario from the Potomac Wargame Club , Across a Deadly Field, titled The Battle of Allegheny Mountain, an early war battle. 

I use a dark green "blanket" from the fabric store to cover hills. This battle was fought basically on a mountain so I added rocky out crops for effect. It is my view that most ACW battles were fought over terrain with gave limited visibility. A situation like Pickett's charge was probably a rarity.

I think my game table captured the effect I was looking for. 

Historically, the battle was a bust for the Union and so was the game! I played as the Union player while the Rebs were the AI.

Although, the game is solo, my AI is not truly fully automated. I always play the weaker side and tend to stack the deck with the AI, but when it comes to making AI decisions, I make the most likely and when in doubt dice for the decision. It works well. I have a good "feel" for the period and I've had interesting and fun results.

Combat is resolved on the basis of total base removal, a step down system that works for me.

The Union's orders were to clear the heights and take the camp\fort-a tall, not very realistic order, but that's the way it was!

The OB for the game was:

CSA

Colonel Edward Johnson (who would be nicknamed "Allegheny Johnson" for his victory) +1 competence

12th GA, Veteran, RM, 6 bases

Reger's Va. Bn., Average, RM, 4 bases

9th VA Bn., Average, SB, 4 bases

31st VA., Average, SB, 6 bases

52nd VA., Ross's Bn., SB, 3 bases

Lee's VA., Battery, 6lb SB, 2 gun models, Green (in camp\fort)

Dabney's Cavalry, Green, BLC, 2 bases

USA

Brigadier Robert Milroy, average competence in this battle, later pounded by Stonewall Jackson in the Valley Campaign)

13th IN, Average, RM, 4 bases

25th OH, Green, RM, 6 bases

32nd OH, Green, RM, 6 bases

Bracken's Cavalry, Green, BLC, 2 bases

Colonel Gideon Moody's Command, average competence

9th IN, Green, RM, 6 bases

2nd W. VA., Green, 4 bases

One of the advantages of a solo game is you can take detailed notes of the the action. I played the game over two days, taking the time to document the major actions. Although the game only lasted four turns the card sequence and variables made for a lot going on in those four turns!

Game summary, more detail with picture captions (cards determine sequence)

Turn 1: Moody's 9th IN and 2nd W. VA advanced on Union left; Dabney's cavalry reacts, moves and fires on 2nd W. VA getting a lucky hit. 2nd VA survives morale toss. Dabney's cavalry gets to move again to cover this time and fires, but misses. 9th VA Btn advances. Milroy confused, orders 25th and 32nd Ohio to advance on Union right. 25th Ohio gets to advance again into cover, but target is obscure and misses.  Reger's VA Bn. moves into cover opposite 25th OH but also misses. Johnson was confident this turn. Action on both flanks with the Union getting slightly the worst of it.

Turn 2: Moody confident, 2nd W.VA advances into cover, 9th IN wheels to fire at Dabney's cavalry but no effect. Dabney's cavalry fires and moves (to cover) getting a hit on the 9th IN. 9th IN survives morale toss. Johnson confident, 31st VA wheels and fires at 2nd W.VA but NE, Reger's VA. Bn fires on 25th Ohio,gets hit and 25th OH skedaddles. Milroy "bumbling about" but moves to rally 25th OH and succeeds. Reger's Va Bn moves and fires on 25th OH again and the 25th skedaddles again. Moody's command "gets their dander up" and charges ahead firing at 31st VA but NE. 2nd W.VA ends up in a bad position, Union right badly pushed back by Reger.

Turn 3: 2nd W. VA withdraws back into cover, fires at 31st VA but NE. 12th GA (rated vet) advances out of fortification to support Reger sensing victory on CSA left. Johnson confused but enough CP to fire the 31st VA at 2nd W. VA scoring a hit. 2nd W. VA survives morale but is at 1\2 strength. Milroy's dander is up, rallies 25th OH again, 32nd OH charges and fires at 31st VA scoring a hit, 31st VA skedaddles. 13th IN advances. Moody indecisive orders 2nd W.VA out of harms way. 12th GA advances to threaten Union center.  CSA general advance sensing victory but 31st VA sets the advance back a bit.

Turn 4: Moody confident, 2nd W.Va. continues to move out of harms way, 9th IN fires at Dabney's cavalry to NE. Milroy stable, 32nd OH wheels, flanks and fires at 9th Va Bn and hits, 9th Va Bn, passes morale. 25th OH fires at Reger's Bn, NE. Bracken's cavalry moves to support faltering Union center. 12th GA fires at 13th IN and hits, 13th IN passes morale toss, 13th IN fires at 12th GA NE., 12th GA charges 13th IN inflicts one hit, 13th IN misses, melee continues for three sequences before 13th IN skedaddles. Milroy moves to rally 13 IN and rallies the badly battered unit. Johnson rallies the 31st VA, 12th GA poised to smash remnants of Union center while Reger presses on Union left. Confederate right is stable and could advance on Union left. The Federal forces cannot possibly obtain the victory conditions at this point and withdraw. Union loses 8 bases to the Confederate 2 bases.

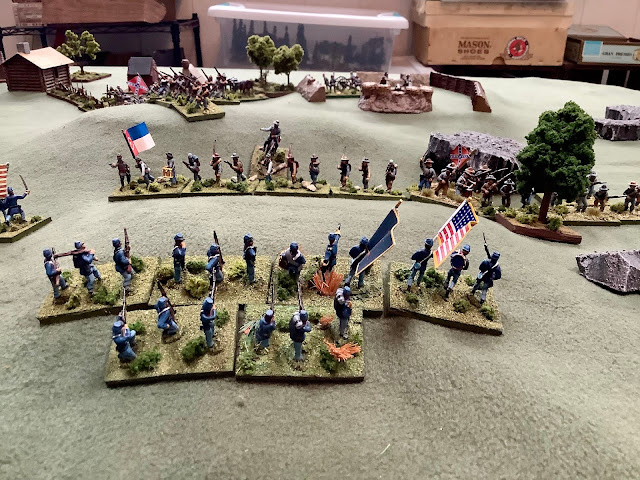
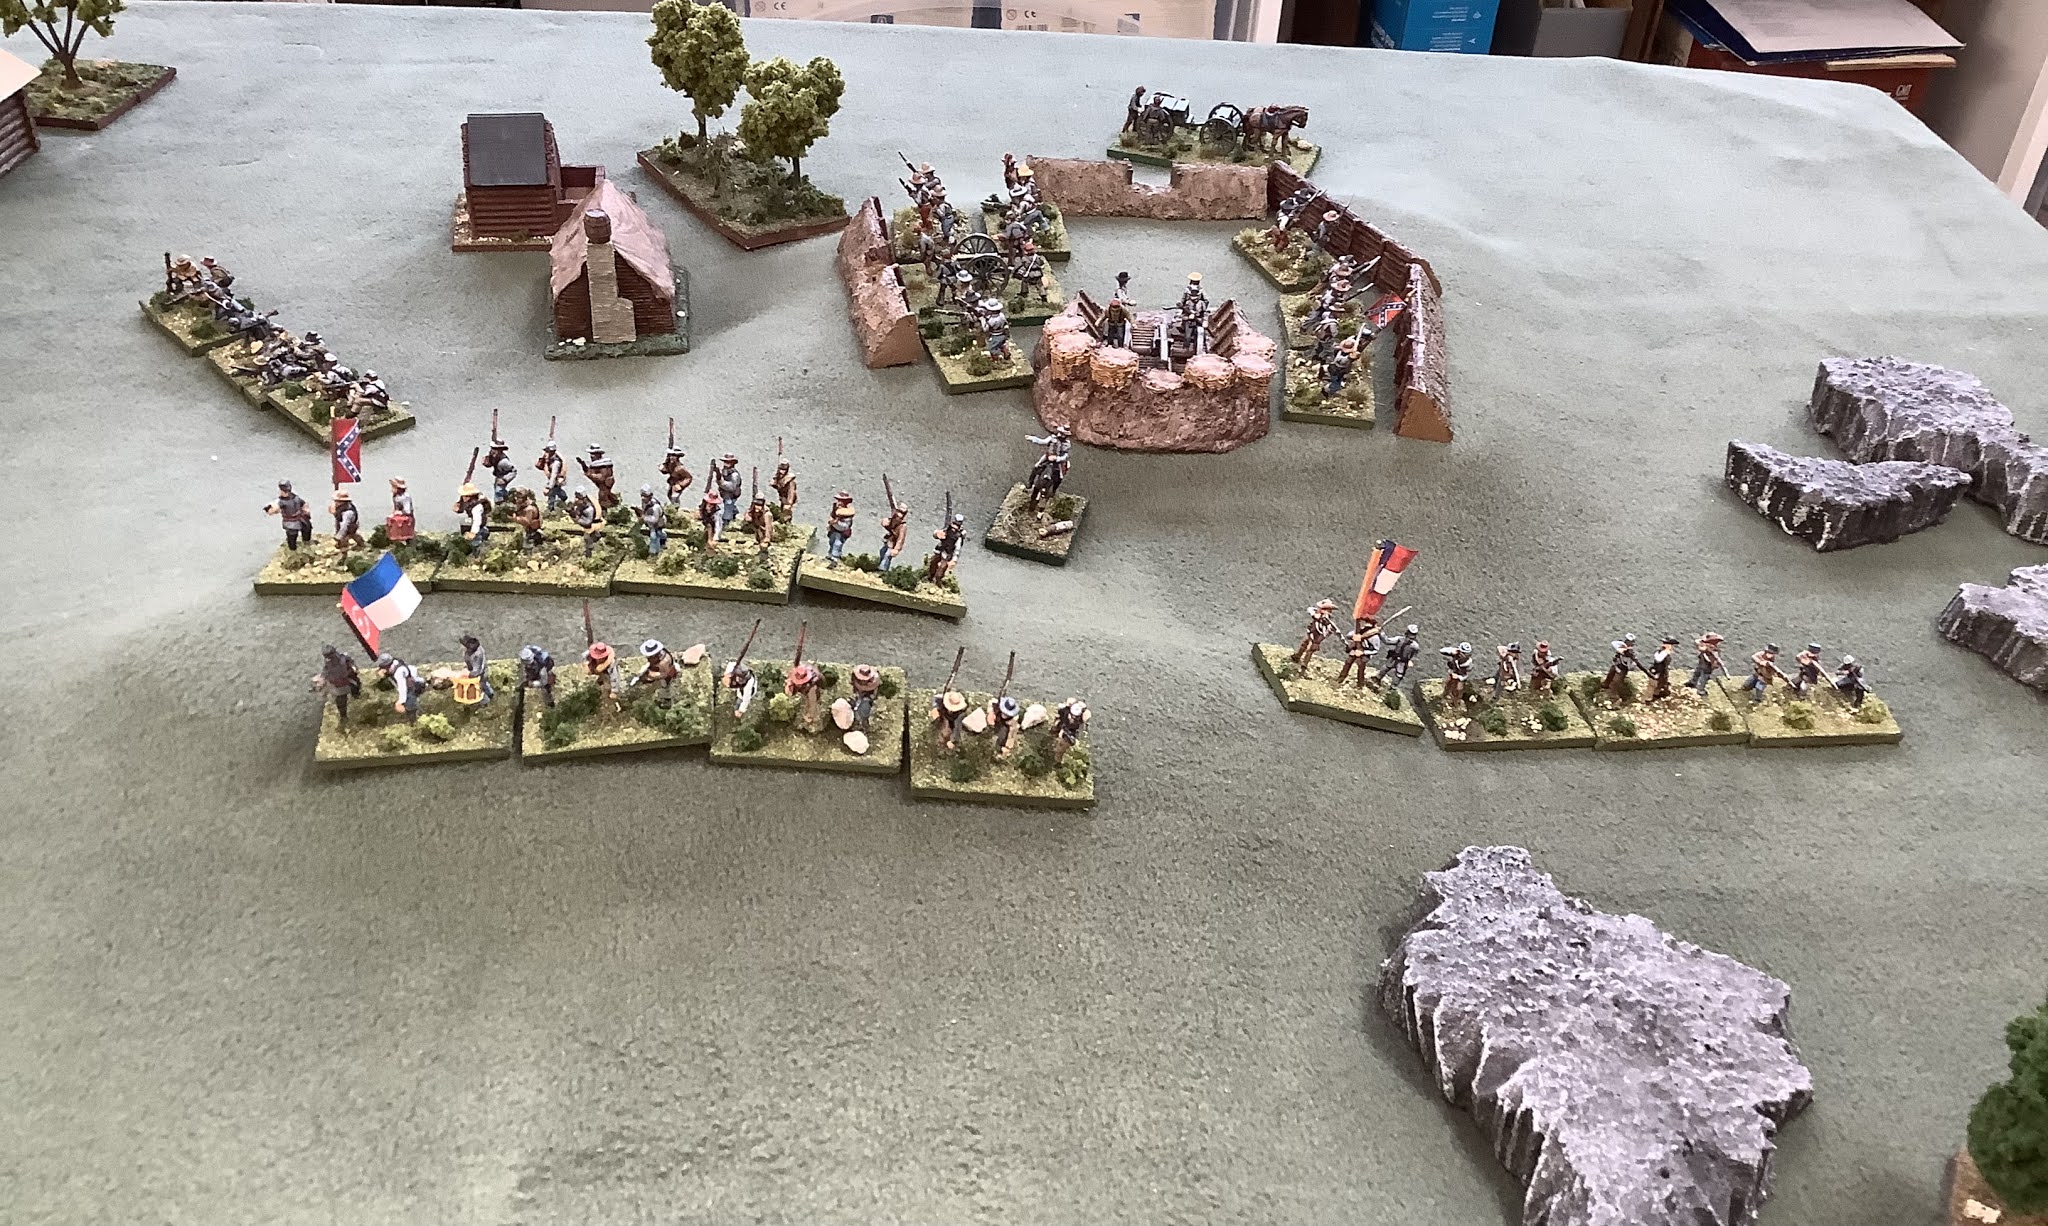
Nice view of the Confederate initial deployment

Union initial deployment. The skylight is messing with my lighting! 

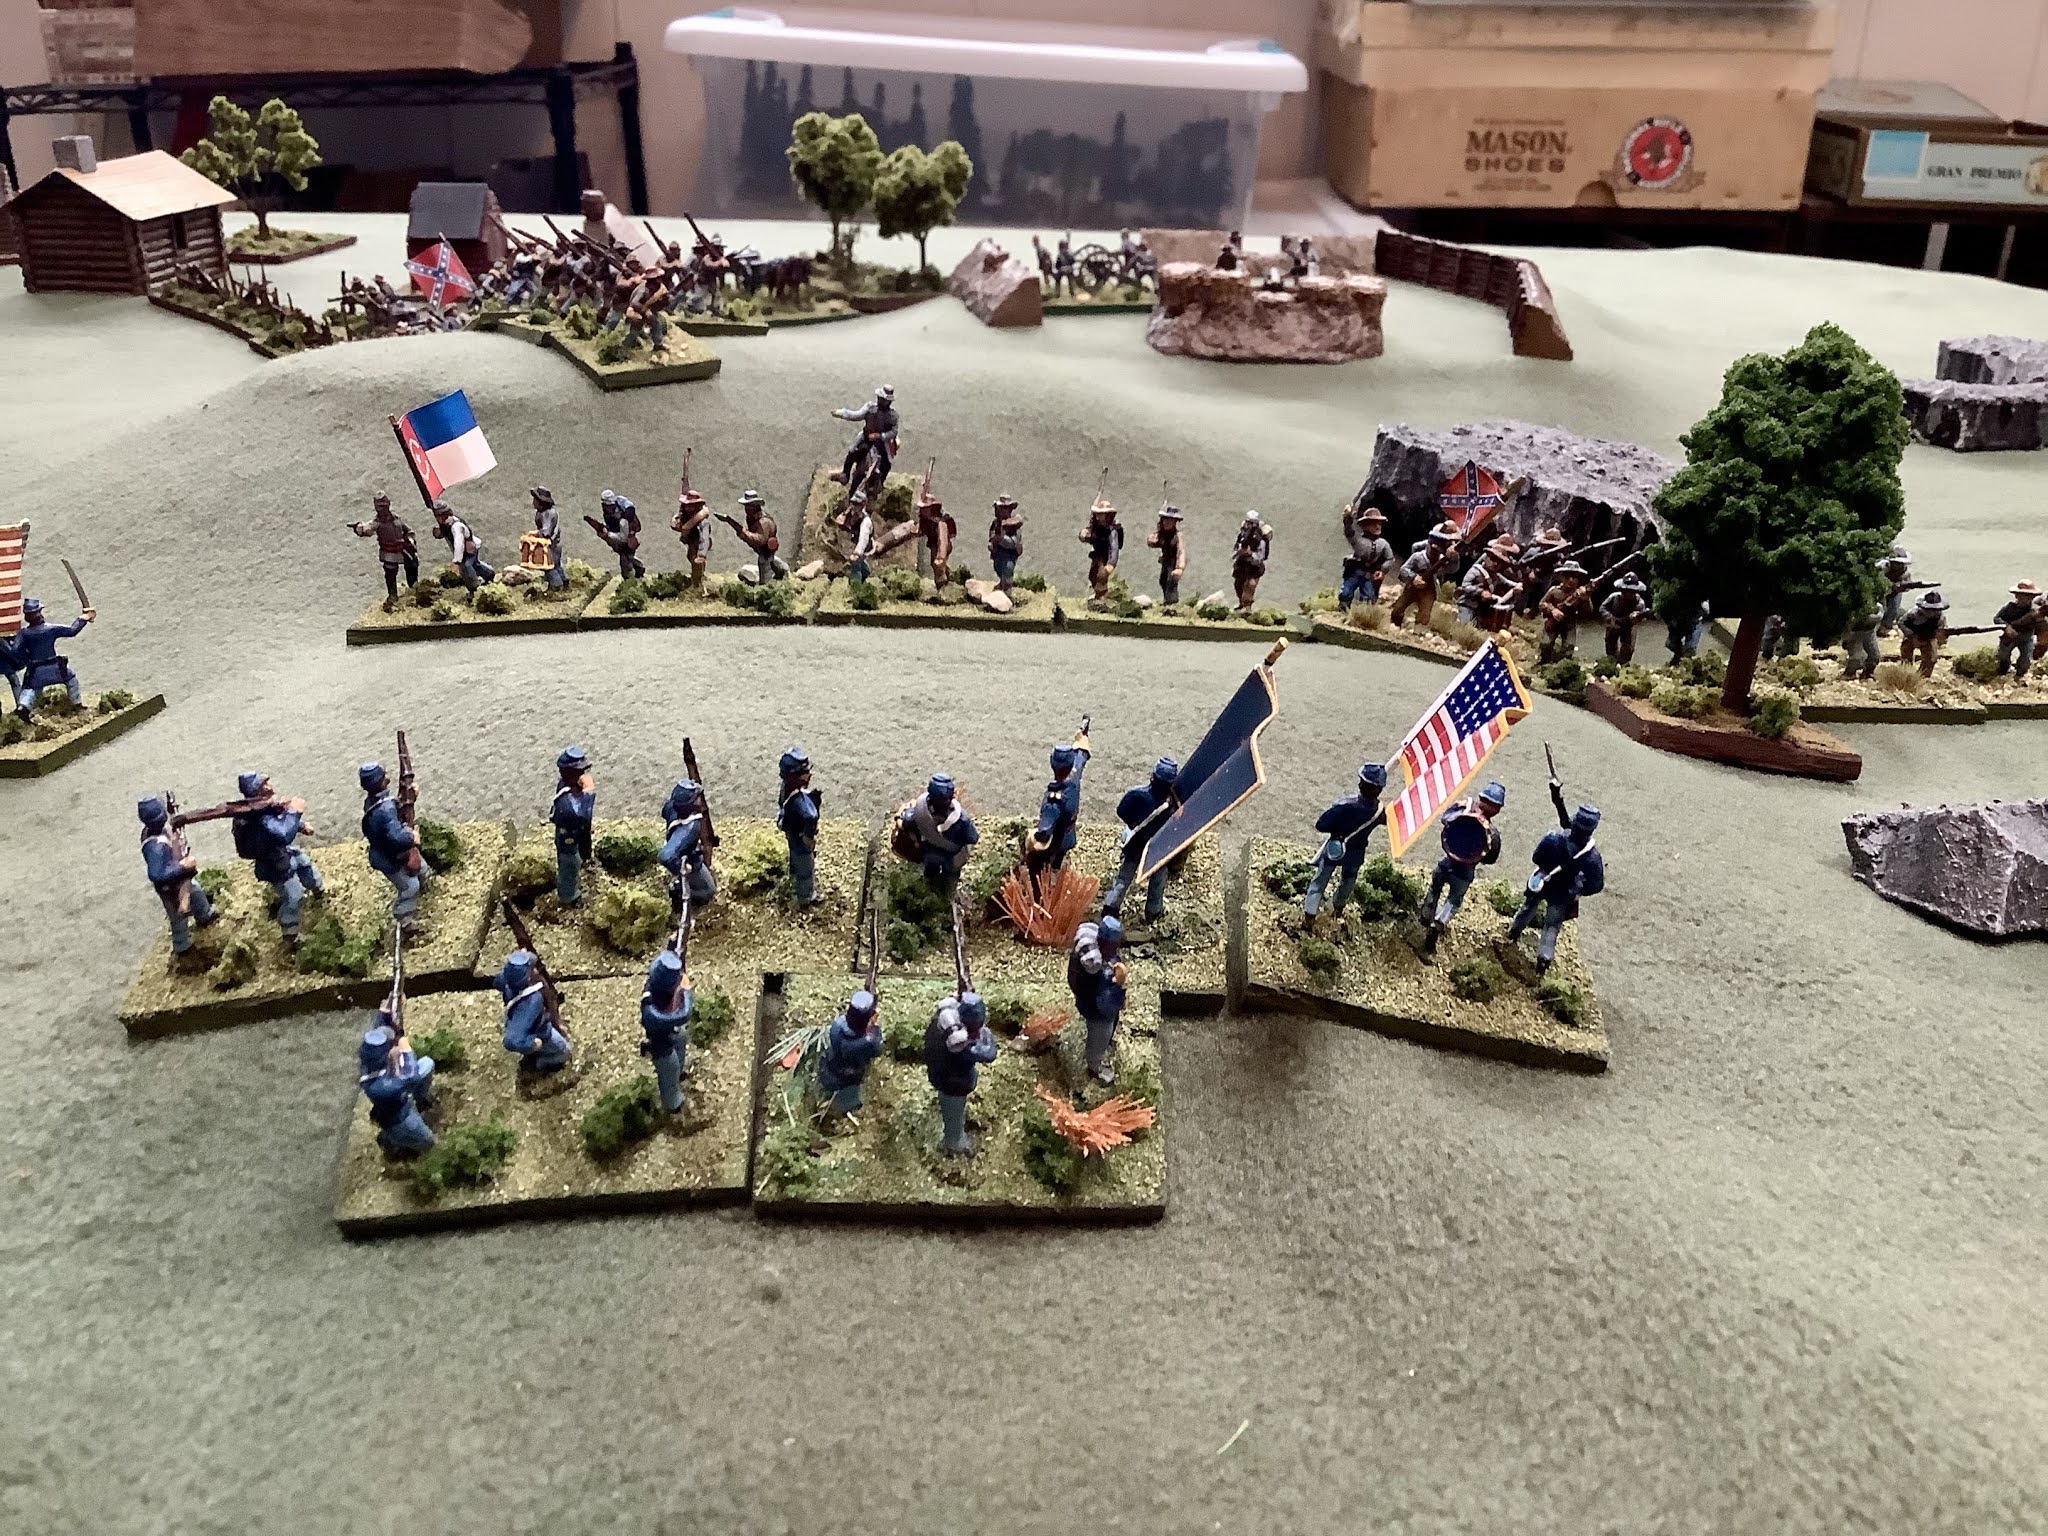
The 25th and 32nd Ohio. The 25th will advance to the cover directly ahead. Reger's Va Bn is opposite of them headed in the same direction.

The Union left and left center. The unit in the lead on the far right of the picture is the hapless 2nd W. VA. 

Most of the Confederate units patiently wait.

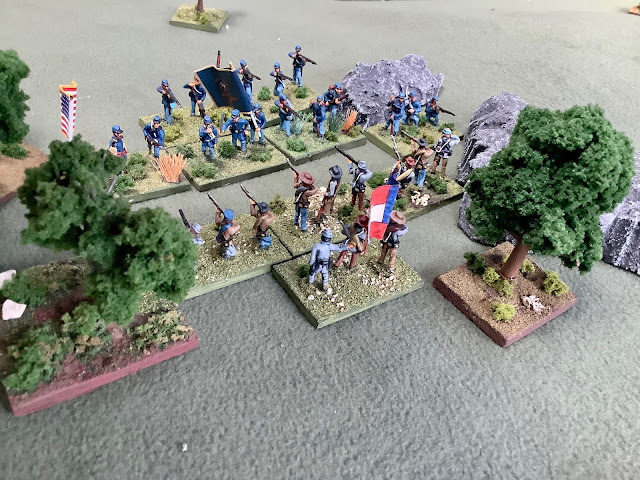
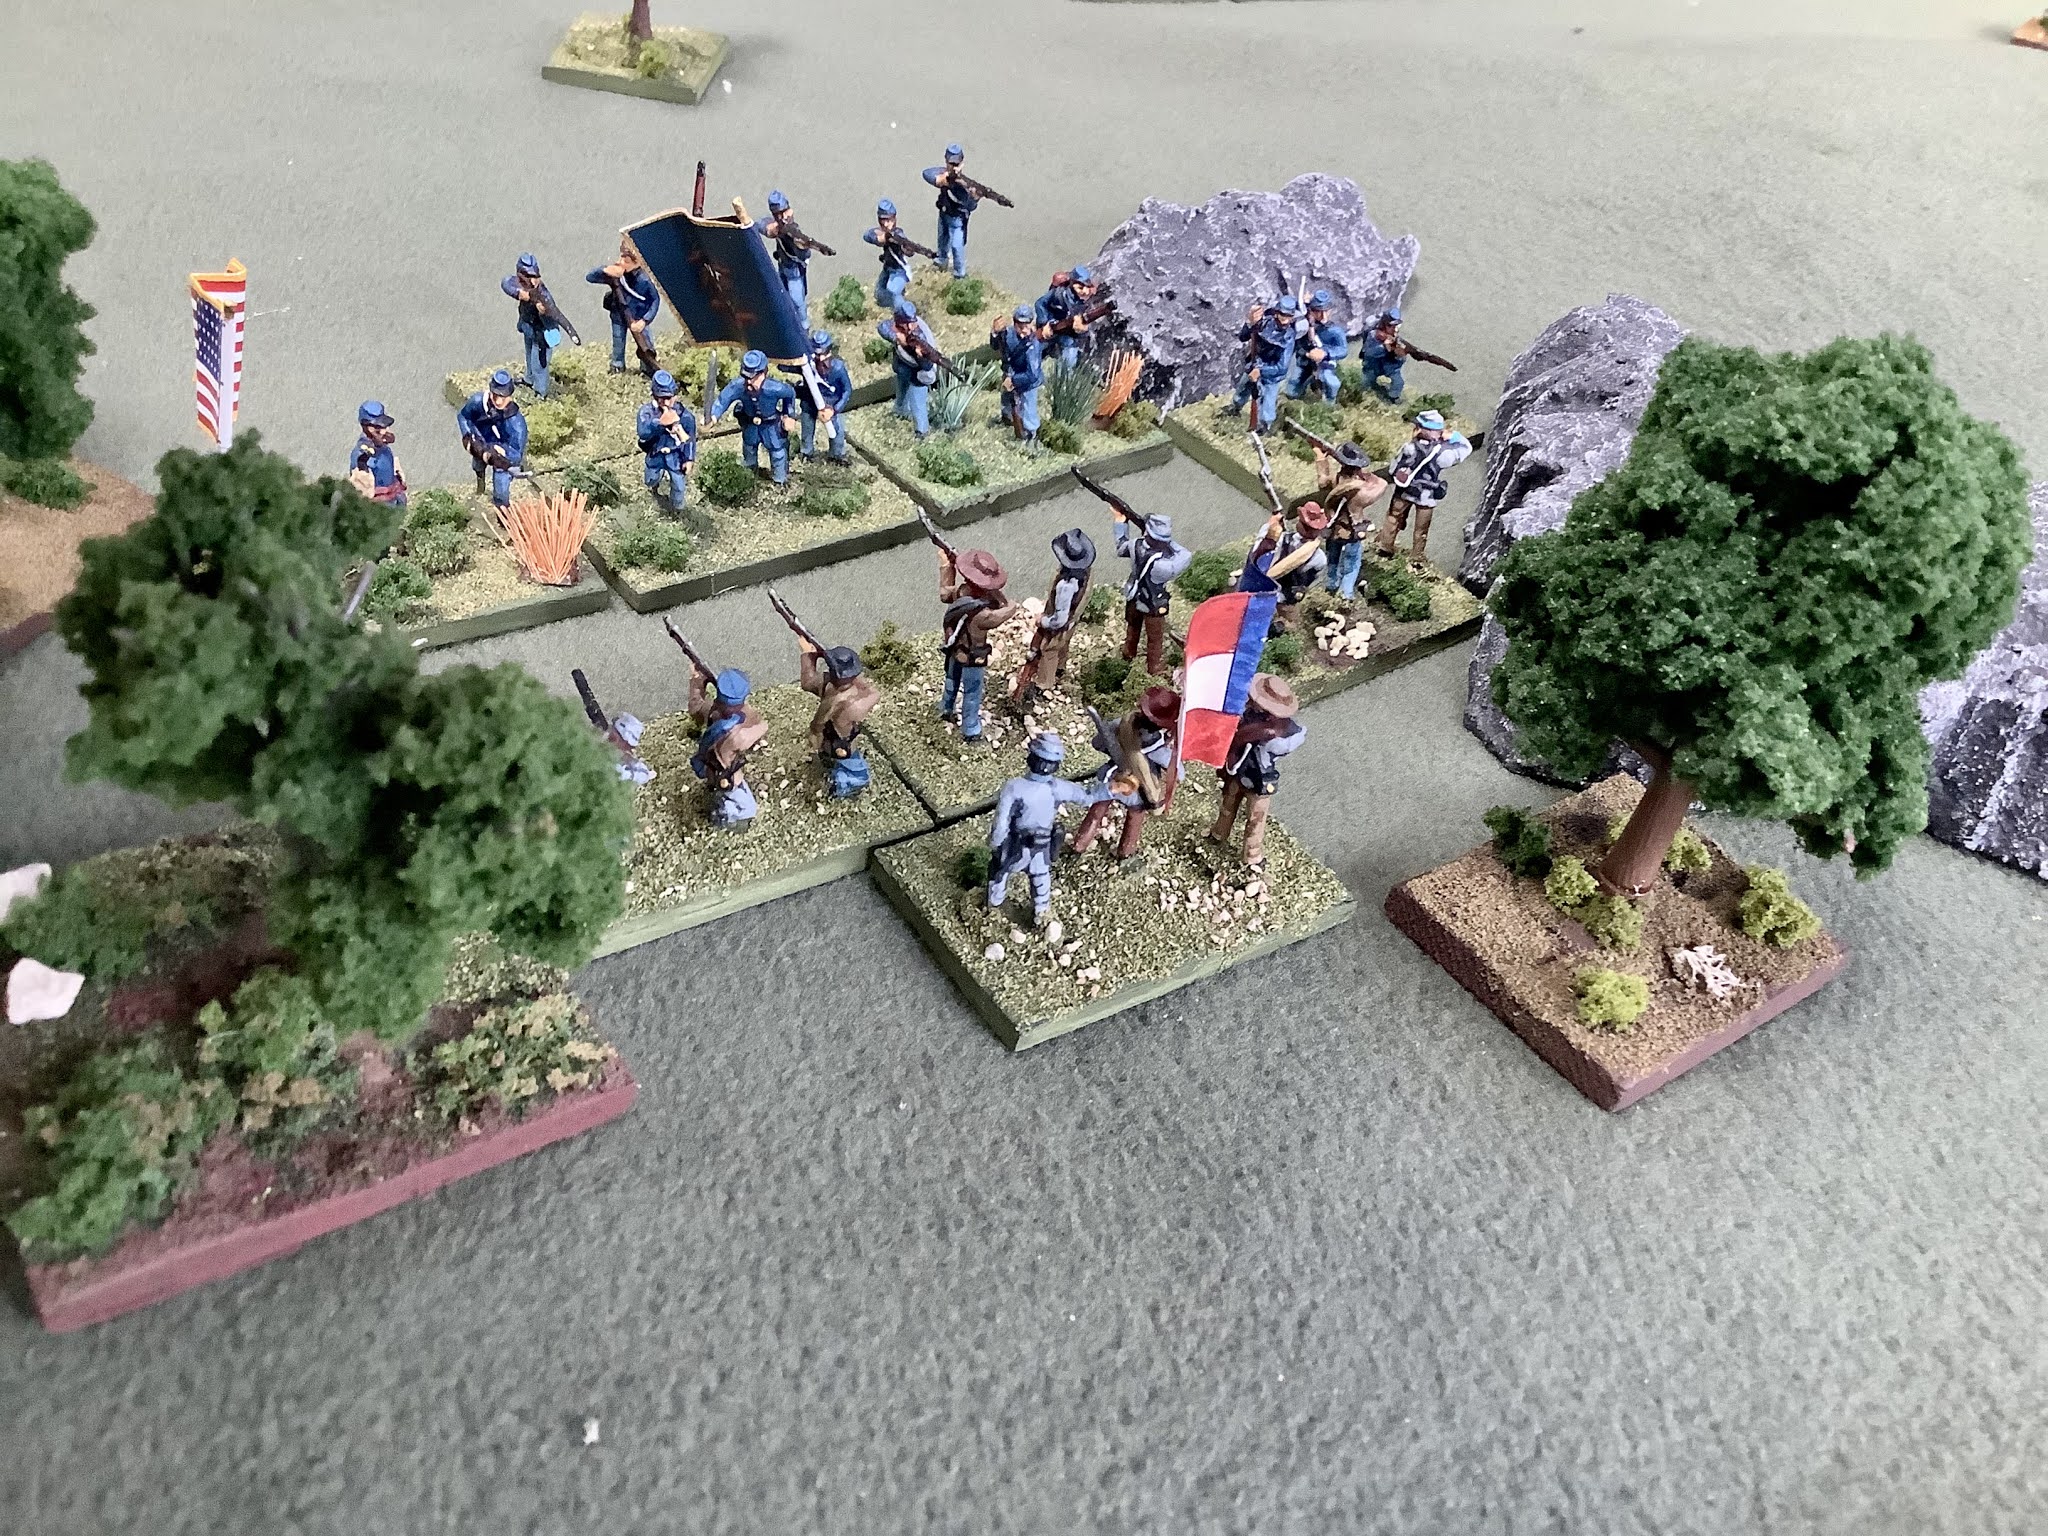
The nasty fight in the cover between Reger's VA Bn and the 25th OH. The OH boys skedaddle 2x from the intense fire from  Reger's VA Bn.

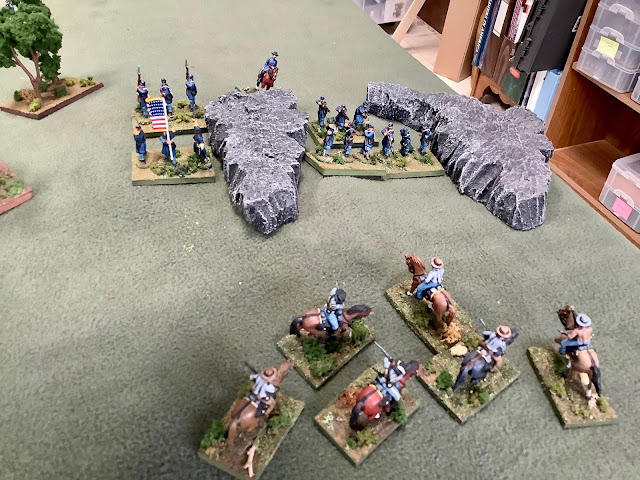
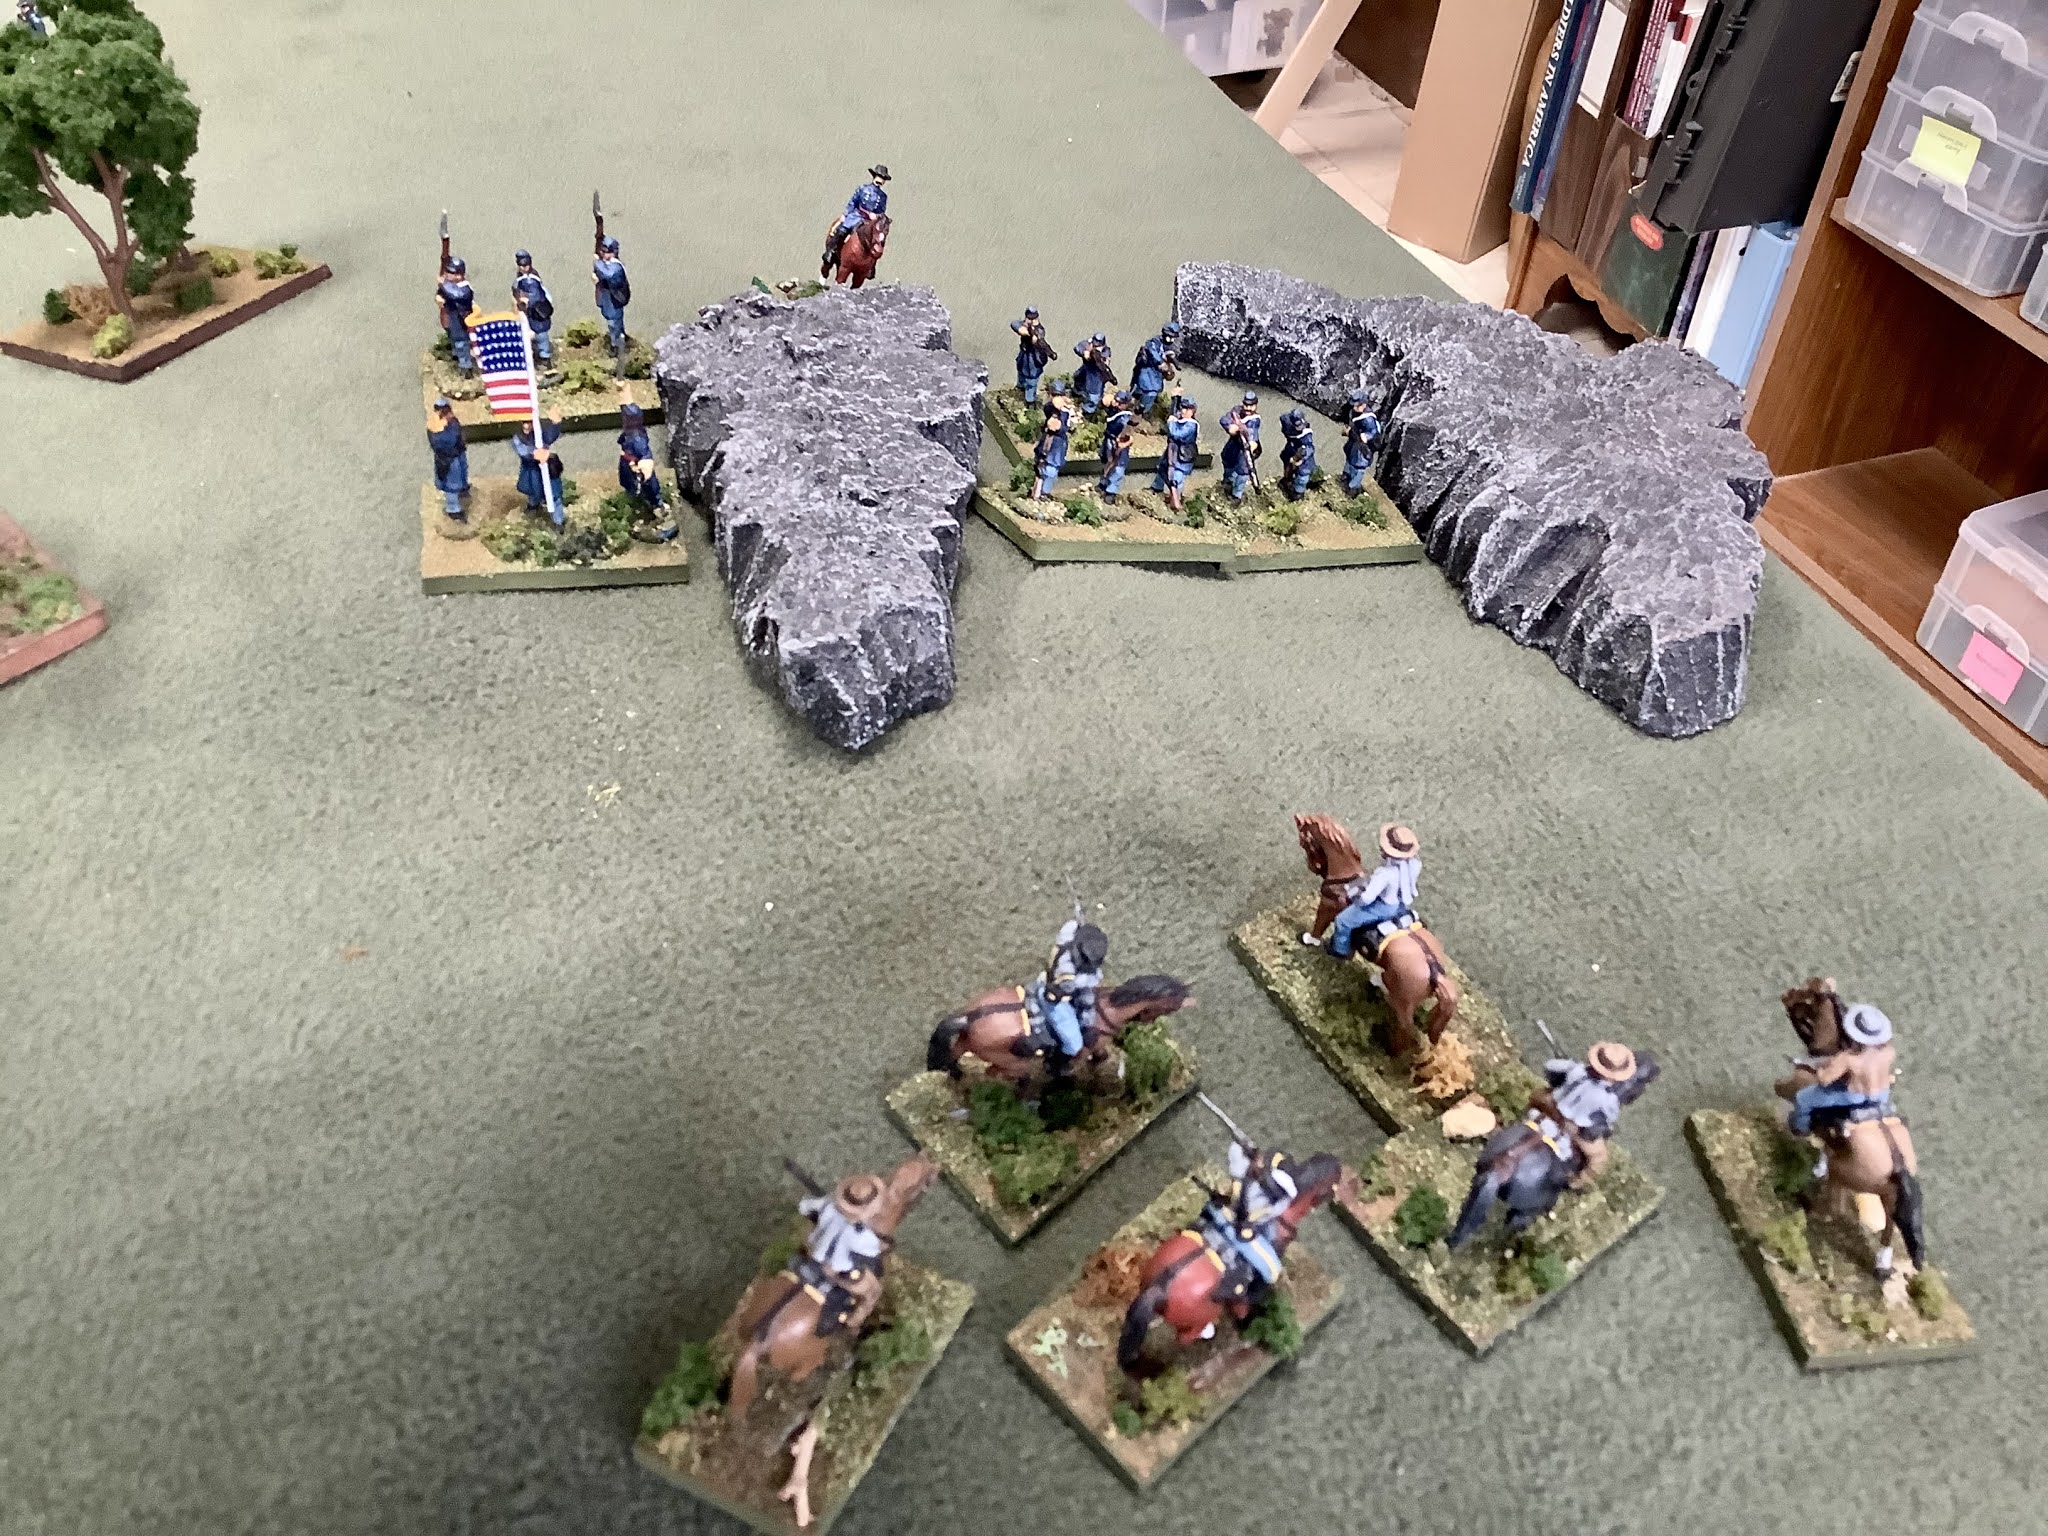
Dabney's CSA cavalry are content to skirmish with the 9th IN.

Reger's VA Bn cracks opens the Union right.

The 2nd W. VA is in a tough spot as the 31st VA bears down on them!

Dabney's CSA cavalry lets the 9th IN have the position (wisely).

The 13th IN routs the 31st VA in the only bright spot on the Union side.

The 9th IN is content to hold their position while the rest of the Union army is n trouble.

The 13th IN cannot follow up the rout of the 31st VA.

Reger's VA Bn really got things going for the South!

This picture captures the rolling terrain of the mountain. Most of the fire fights were at very close range due to sighting restrictions.

The veteran 12th GA delivers the final blow and is poised to roll up the Union center.

A rallied 31st VA and 9th VA Btn are ready to deal with the 13th IN who are very much alone!


Sunday, February 14, 2021

The Battle of Dertosa (Ebro)-a solo game using Command and Colors Ancients

 Dertosa was my third and final experiment converting Command and Colors Ancients to a miniatures game.

I have always liked the CCA type rules with the innovative card systems that forces a player to make a decision every turn from limited options. My goal with the conversion was to come up with a solo system that worked. With this experiment I believe I succeeded but also believe the game could just as easily be two player.

My hex system matts are from Holtz Matts (Holtz Matts gets mixed reviews so beware). Theymatch the CCA game board in the number of hexes. I use the 3' variety to accommodate my bigger stands. I use the bigger stands because it isa better visual

This experiment was a full fledged CCA scenario from their excellent website. It is from the 2nd Punic War, post Cannae, as the Scipio brothers seek to contain Hasdrubal from joining his brother. The battle was the beginning of the Roman attempt to wrestle Spain from the Carthaginians. 

The Romans were my AI while I commanded the Carthaginians.

A friend and solo gamer with far more experience than me advised me to always "set my self up" meaning the AI has got to have a a good chance of winning.

For the purposes of this game I gave the AI an extra command card every turn.  I would always choose from the most likely to be played. This worked out well as the AI always had 6 cards plus an extra draw to chose from. I had four cards thus limiting my options by nearly 1\2.

There are other ways to do this including randomizing; but for this game it worked well enough. 

I assumed the Romans would, all things being equal press on to smash through the enemy center. Those type of cards became my AI default maneuver as long as I didn't have to pay too attention to the flanks. As it turned out I did not.

Below is the CCA description followed by the CCA map followed by my pictures of the game which went 12 turns. I will attempt describe the action.

Historical Background
After Cannae, Rome struggled to rebuild its armies, but needed time. In Spain, Hannibal’s brother Hasdrubal commanded an army large enough to possibly let Carthage win the war – if it united with Hannibal’s victorious veterans. Standing in his way, however, were the legions of two capable (at last) consuls, the brothers Gnaeus and Publius Scipio. Both knew of Cannae, but felt the only way to prevent encirclement was to quickly break the Carthaginian center. When the battle commenced, the Roman legions fiercely attacked the Carthaginian center, but , unlike Cannae, there was enough Roman cavalry to hold their flanks. Lacking cavalry superiority (and his brother’s tactical genius), Hasdrubal was unable to surround the Romans before they broke through his center. His cavalry joined the retreat, leaving the splendid heavy infantry to its fate. Rome was granted the time it needed to live and fight another day. Eight years later, Hasdrubal finally was able to march to Italy, but lost both his army and his life at the Metaurus. 


Taken from Ancients - Commands and Colors System website.
https://www.commandsandcolors.net/ancients/
Page title: 008 Dertosa (Ebro) (215 BC) - Ancients - Commands and Colors System
Page link: https://www.commandsandcolors.net/ancients/maps/60-second-punic-war-218-202-bc/261-008-dertosa-ebro-215-bc.html


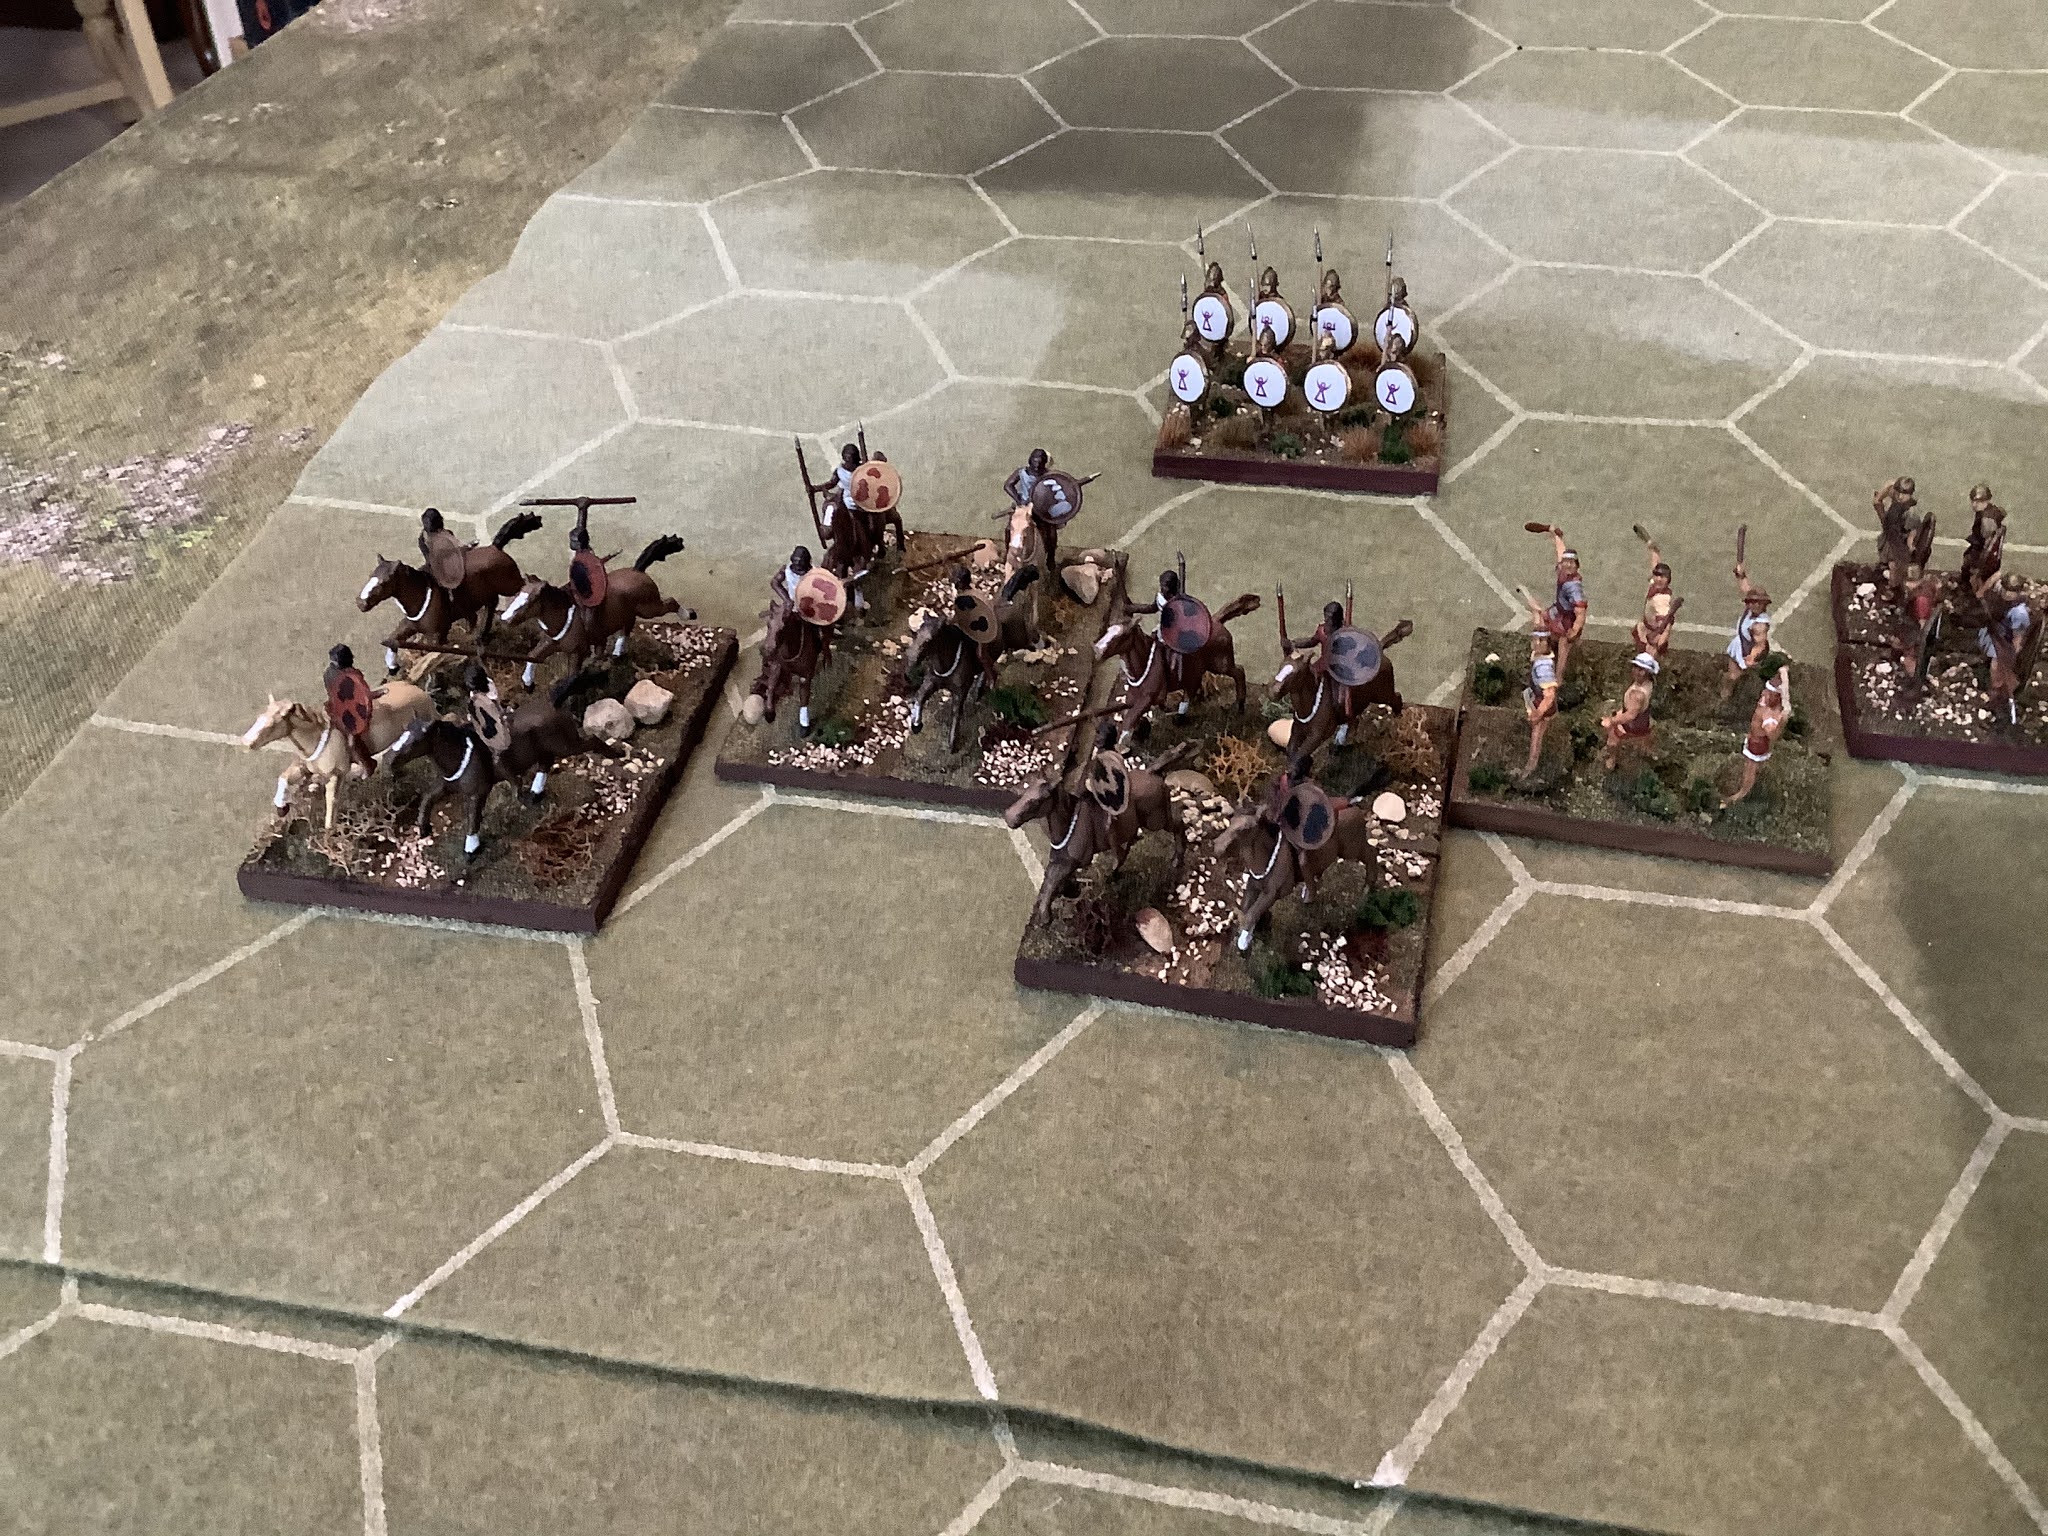
Carthaginian left\center flank. From left to right in the picture you see 4 units of Spanish Aux, one unit of slingers, one unit of Libyan Hv Spears with Hasdrubal and one elephant crewed by Numidians.

Carthaginian right\center. Anchoring the left of the line is a unit of Libyan Hv Spear, then another unit of slingers and then more Spanish Aux. The placement of the two Libyan Hv Spear was not helpful but that was part of the fun of not having total control of everything!

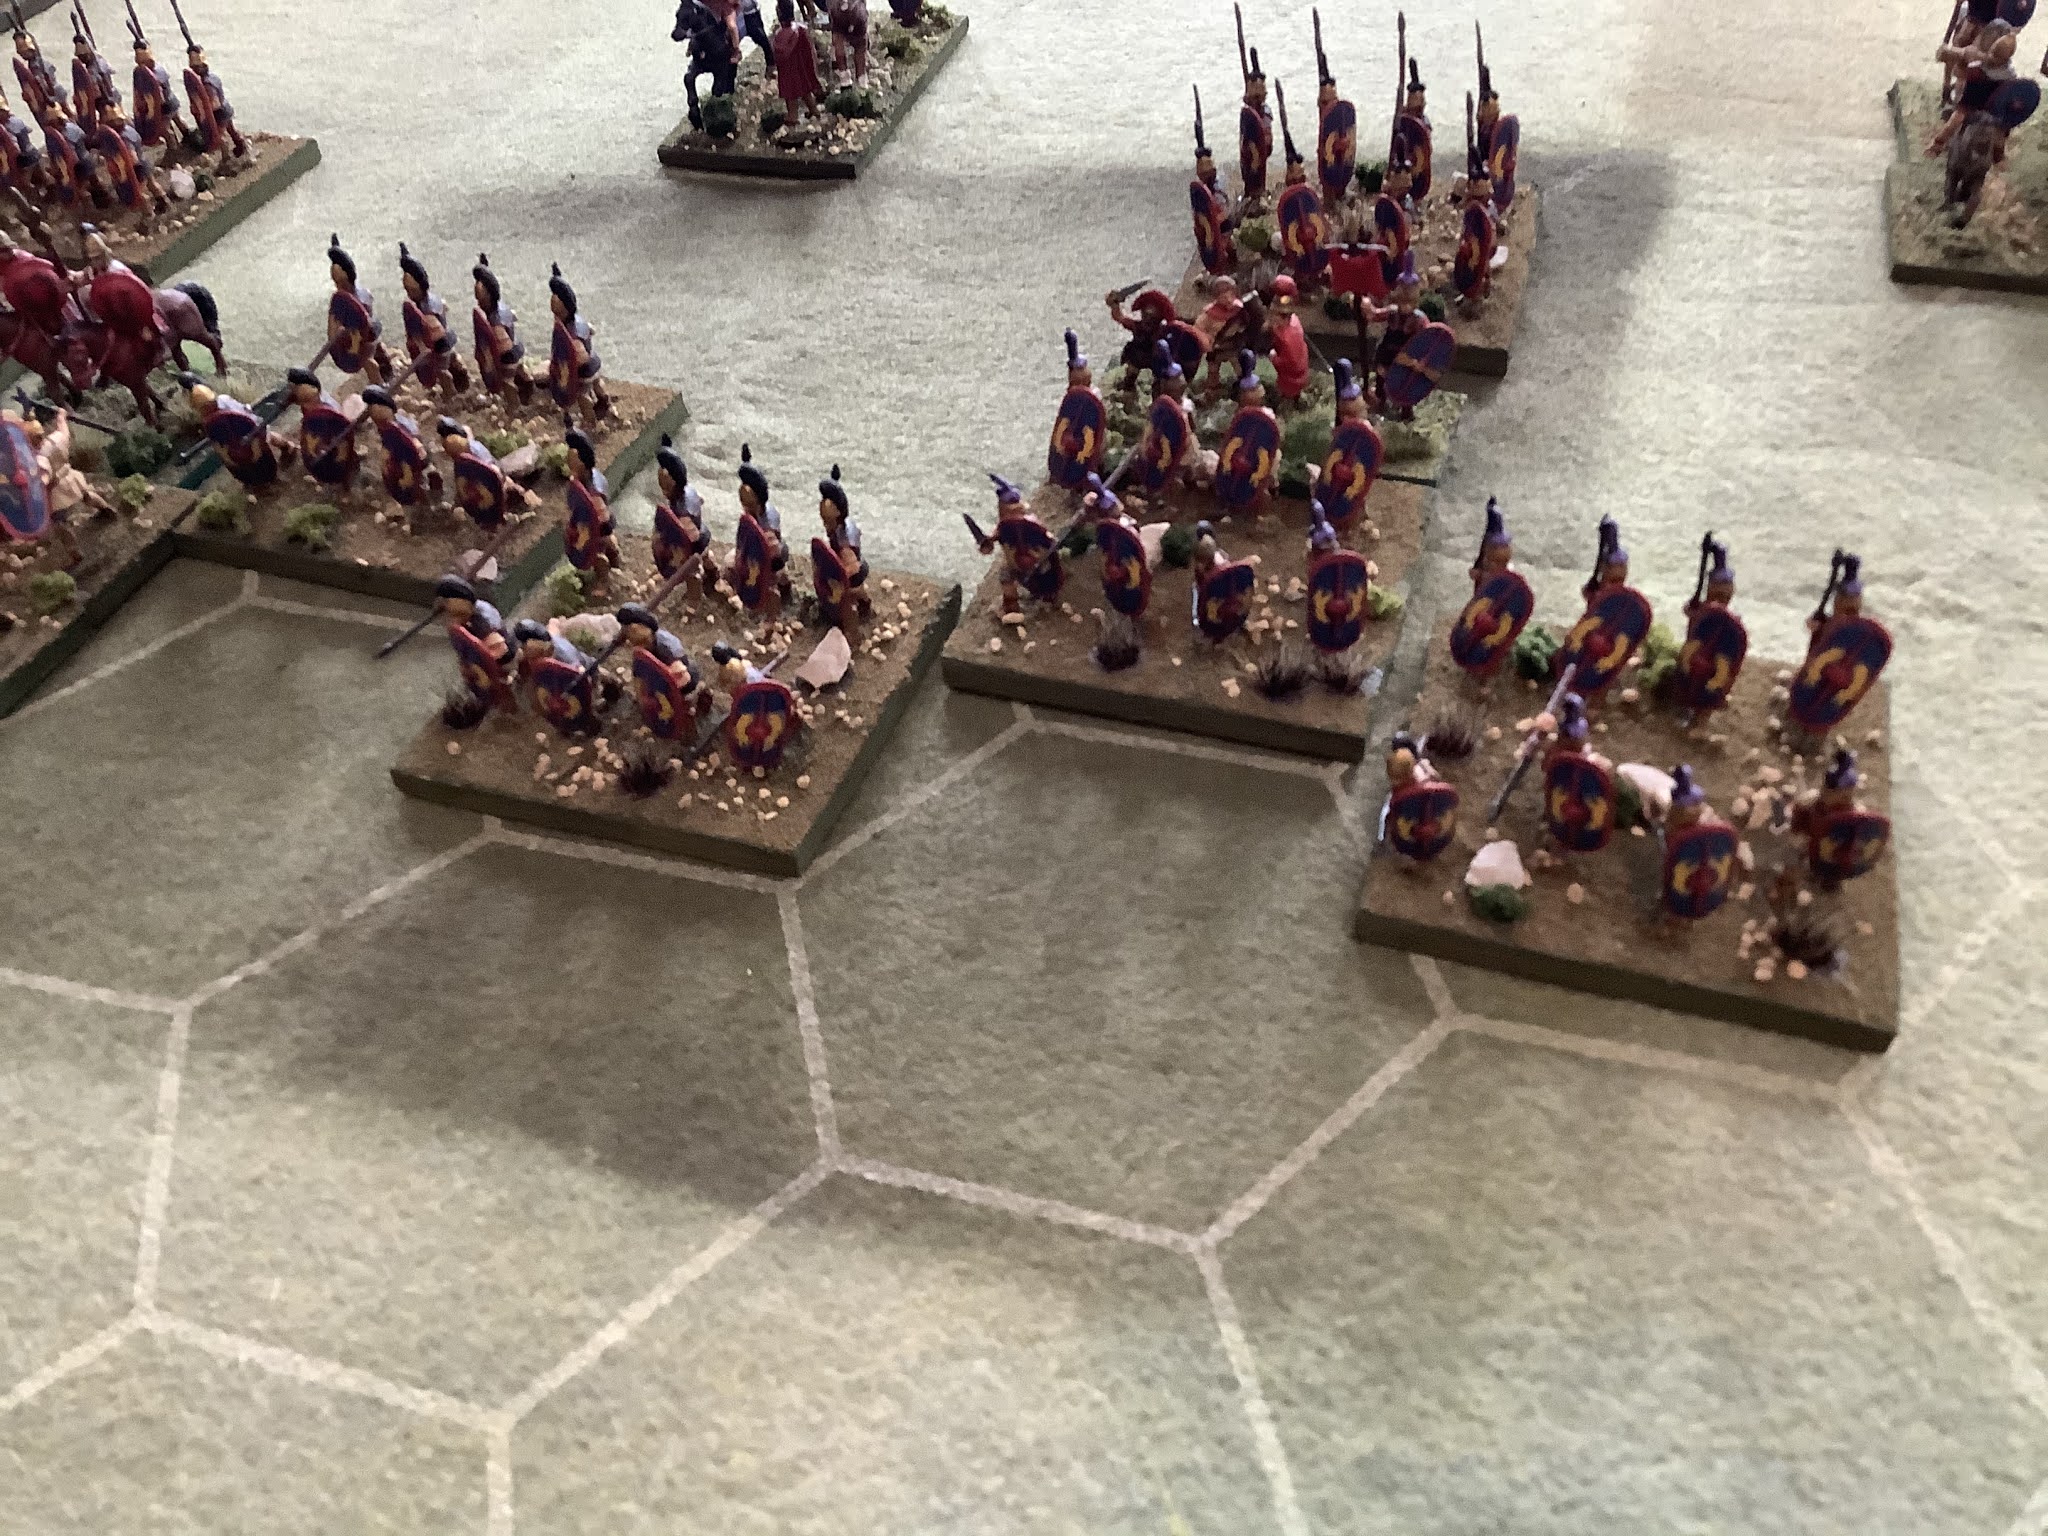
This is the Roman right\center. On the far left is a unit of Italian Aux with the legionnaires adjacent . One unit of velites screens the legions. A unit of Md Cavalry is in deep reserve.

The Roman right\center mirrors the Romand left\center.

Initial Roman moves pushed out the light troops.

A nice picture of the Carthaginian battle line. My idea was to delay as long as possible engaging the legionaries with my Spanish Aux. The patchy lighting is due to two large skylights in my game room.

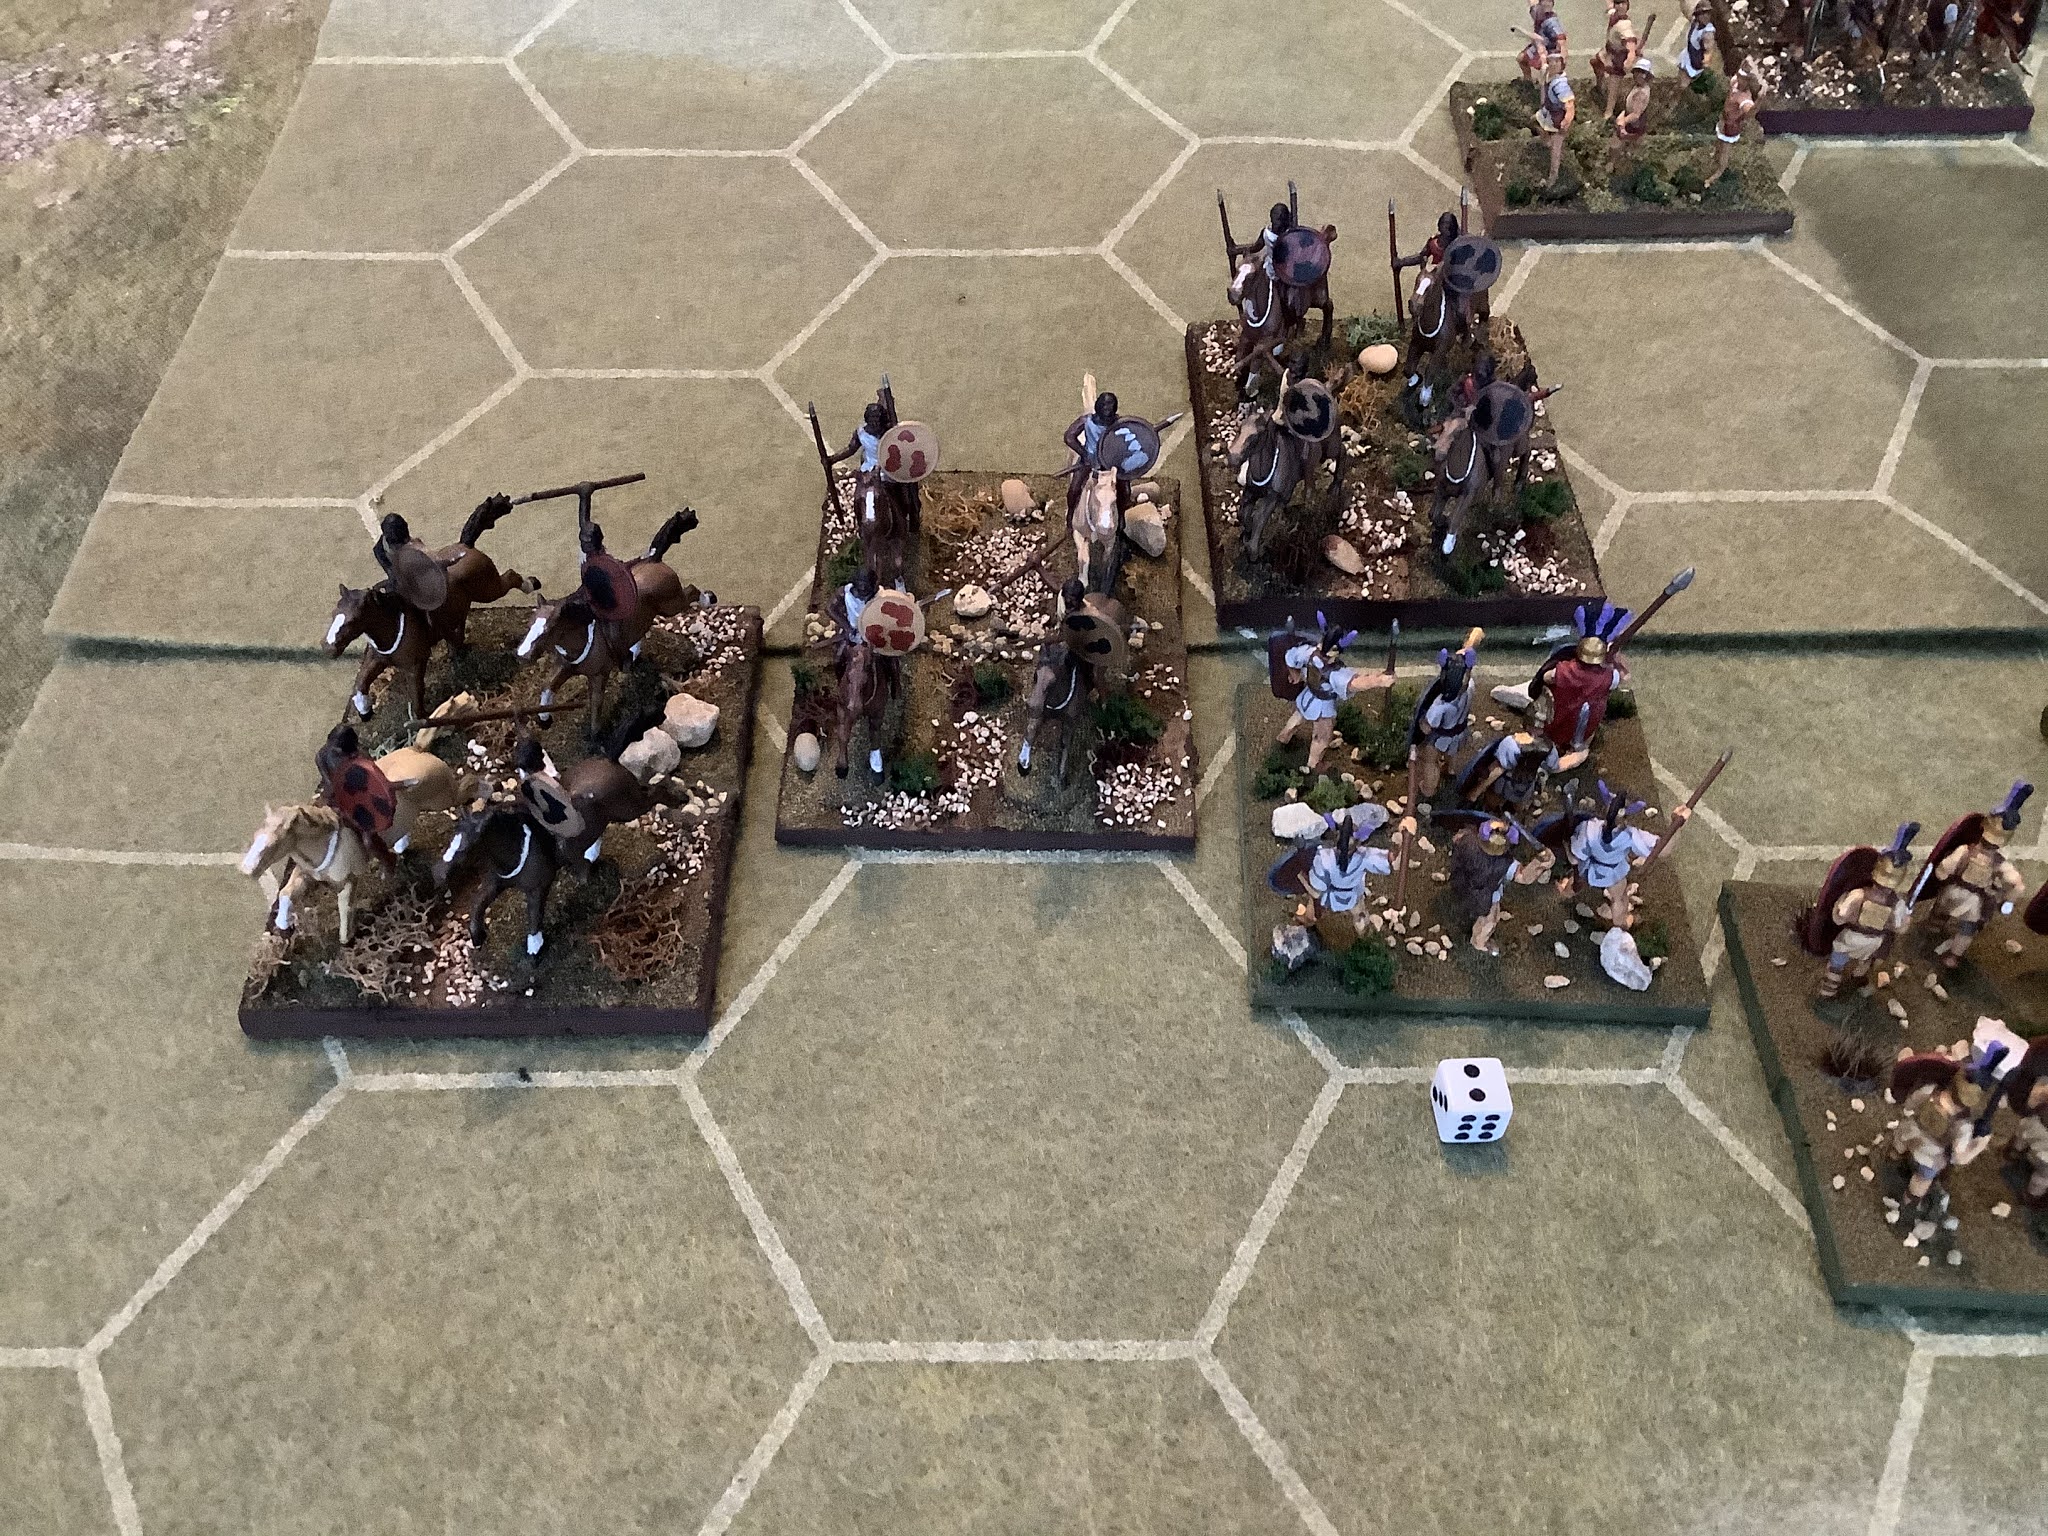
I had high hopes for the three units of Numidian Lh and things started all right. I could not quite get around the Roman line before the legions smashed into the Spanish Aux.

Waiting patiently at this point.

Once the legions get moving they are hard to stop.

The larger base has one of the Scipio brothers (on foot) as a command stand.

I thought my best bet was to get the Numidian's out there to at least slow down the Roman left\center advance.

The Roman right was in no hurry as the Numidian's advanced on the other flank. Once the Numidians were contained the juggernaught could get moving. The mounted stand is the other Scipio brother. Leaders are critical in CCA.

I had some success damaging the Italian Aux and the Roman Md Cavalry but could not make any kills in time.

I decided to press a bit on the Roman right with the elephant unit, the Md Spanish cavalry and slingers. The idea was once again to slow down the legions from crashing into the Spanish Aux.

The Numidian's on the left of the picture are starting out well but the legions are starting to move, apparently not too worried about the flank at this point. The AI stacked up a number of center type cards and as the honest AI played them when I could to close that distance even to the point of sacrificing a flank. As it turned out the AI didn't have to sacrifice anything! 

The Italian Aux gave ground but stayed in the fight! The die means they have taken two hits out of the four needed to remove the unit.

Sadly for the Carthaginians, the other flank was a bit of stalemate. One of the things I like about CCA is the fact the maps give you a logical ancient deployment. The two units of Italian Aux deployed to either flank gave an excellent account of themselves. I think in my version of DBA they would not have stood a chance. 

More stalemate as the legions get even closer. I probably should have started to back up my Spanish Aux but I never got a card that allowed me to back them up as a group (five units).

By the time the Numidian's did get around the Italian Aux and push back the Roman cavalry I had to use cards elsewhere.This may have been Carthaginian high tide!

The legions are too close to comfort now! The elephant unit held it's own.

I did manage to push back the extreme Roman right but lost the slingers in the process. Two units of legionaries are now engaging two of the Spanish units. The Romans have the dice edge, but at this point you can see damaged Roman units. I just could not put them away for good. The card system limits your options and at this point my center was in big trouble.

It was not quite hopeless at this point.

Now it's starting to look hopeless! One Roman unit is breaking through while the adjacent Roman unit has already eliminated the oppostion.

End of story, three out of five Spanish Aux eliminated plus the slingers equaled four for the loss; while taking out only one unit of Roman Md Infantry. Hasdrubal looks a bit uncomfortable at this point and the Libyan Hv Spear might just have well been positioned on Mars! 


Saturday, May 30, 2020

Little Sugar Creek ACW Solo Game

During the lockdown I've continued to experiment with solo games. My friend Jim has given me pointers over the past months and I've learned to develop my own systems. Like Jim has told me; it's not like you can go out and buy a set of solo rules that fit for everything.

Frankly, I've found the experience most enjoyable. I have yet to have an argument with myself! I also have yet to win a game and that is encouraging.

For this game I modified a scenario from my collection of ACW scenarios called Little Sugar Creek or Dunagin's Farm. The battle was fought in Arkansas on February 17th, 1862.

Historically, the battle was little more than a skirmish. It factored into the Pea Ridge Campaign. One of the features of the campaign was the Confederate withdrawal from Missouri into Arkansas in the hopes of uniting the army. Federal forces followed the Confederates in pursuit and came into contact with the Confederate rearguard near Little Sugar Creek and Dunagin's Farm.

I took some liberties with the Order of Battle settling for what I simply called a Union pursuit versus a Confederate rear guard.

The rules used were based on an old set called Rally Round the Flag from the 80's. The set emphasizes a regiment/brigade scale. A second set called Rally Round the Flag was printed a number of years ago but is quite different although it did give me come concepts that I integrated into my system.

The main one was the idea of Command Points. In my system a brigade receives one command point for each unit in the brigade. A brigade consists of the brigade commander and each unit of infantry, cavalry and artillery assigned to the brigade. Most brigades will start with 3-5 command points per turn.

Command points are modified by a 10-sided die roll. This represents a certain amount of Fog of War. It costs command points to maneuver so it's possible to have an abundance of the command points to do what you want but it's also possible to end up with few thus forcing the making of priority decisions. Brigades are activated in general way with the draw of an assigned card. Jokers are included as more FOW as an individual unit will get a "free move" even if they have moved or fired before. The AI gets more Jokers than me in my system. It makes for a tough opponent!

I also eliminated single figure removal from the equation. Instead, the charts have been adjusted to remove stands. The number of stands in a unit is fixed at six. Instead of taking a figure out at a time the loss of a stand represents a step down in the unit's effectiveness. It has a bearing on their morale and combat ability. It's more of a board game concept than anything else but for what I'm shooting for it works rather well.  Well, that's enough about my rules so here is the Order of Battle I used the game.

Union

Ellis's Cavalry Brigade (3 CPs)

3rd Illinois (IL) Cavalry BLC Green
1st Missouri (MO) Cavalry (US) RM Green

Dodge's Brigade (4 CPs)

35th Illinois (IL) RM Green
4th Iowa (IA), SBM Average
4th Iowa (IA) Battery 6lb SB Average

Vandever's Brigade (3 CPs)

9th Iowa (IA) RM Average
25th Missouri (MO) Militia (US) SB Green
3rd Iowa (IA) Battery 6lb SB Average

Confederates

Herbert's Brigade (3 CPs)

14th Arkansas (AR) SBM Average
13th Arkansas (AR) SBM Average
3rd Louisiana  (LA) RM Crack

Little's Brigade (4 CPs)

1st Missouri (MO) Cavalry (CS) SBM Average
2nd Missouri (MO) (CS) SBM Average
3rd Missouri (MO) (CS) SBM Average
Clark's Missouri (MO) Battery 6lb SB Average

Historically, Ellis's cavalry went in mounted and soon retired when Ellis realized he had bite off more than he could chew. For purposes of the game I dismounted all the cavalry and assumed that the Union would press the Confederate rear guard. The Confederates were commanded by the AI.

1st MO (US) Cavalry leads Dodge's Brigade. The unit did have six stands and the pic was taken prior to the game when I was still considering a four stand unit. The figures are a mixture of Musket Miniatures and RSM.
Same as above but it's the 3rd IL screening the artillery and Vandever's Brigade.Figures are New Line Designs
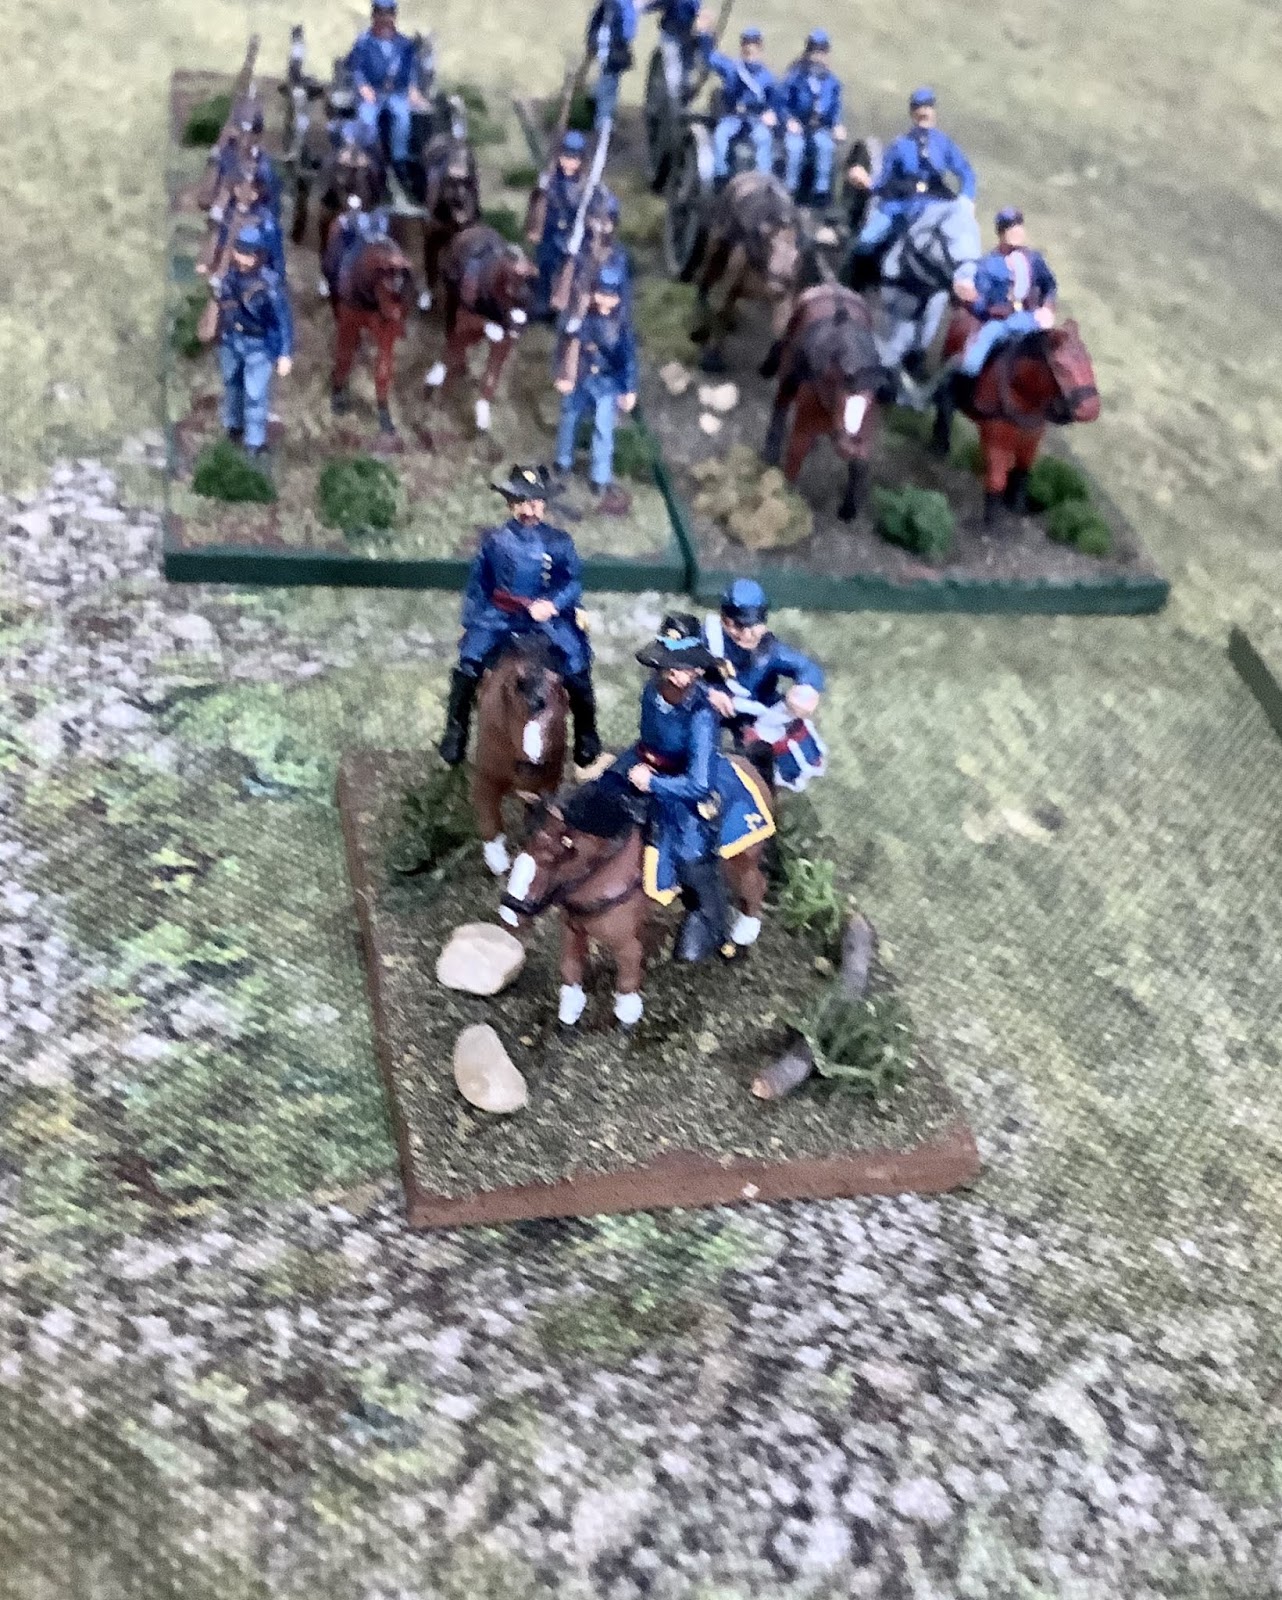
Ellis and his staff checking things out. Ellis would die on the very first turn thus crippling his small brigade.
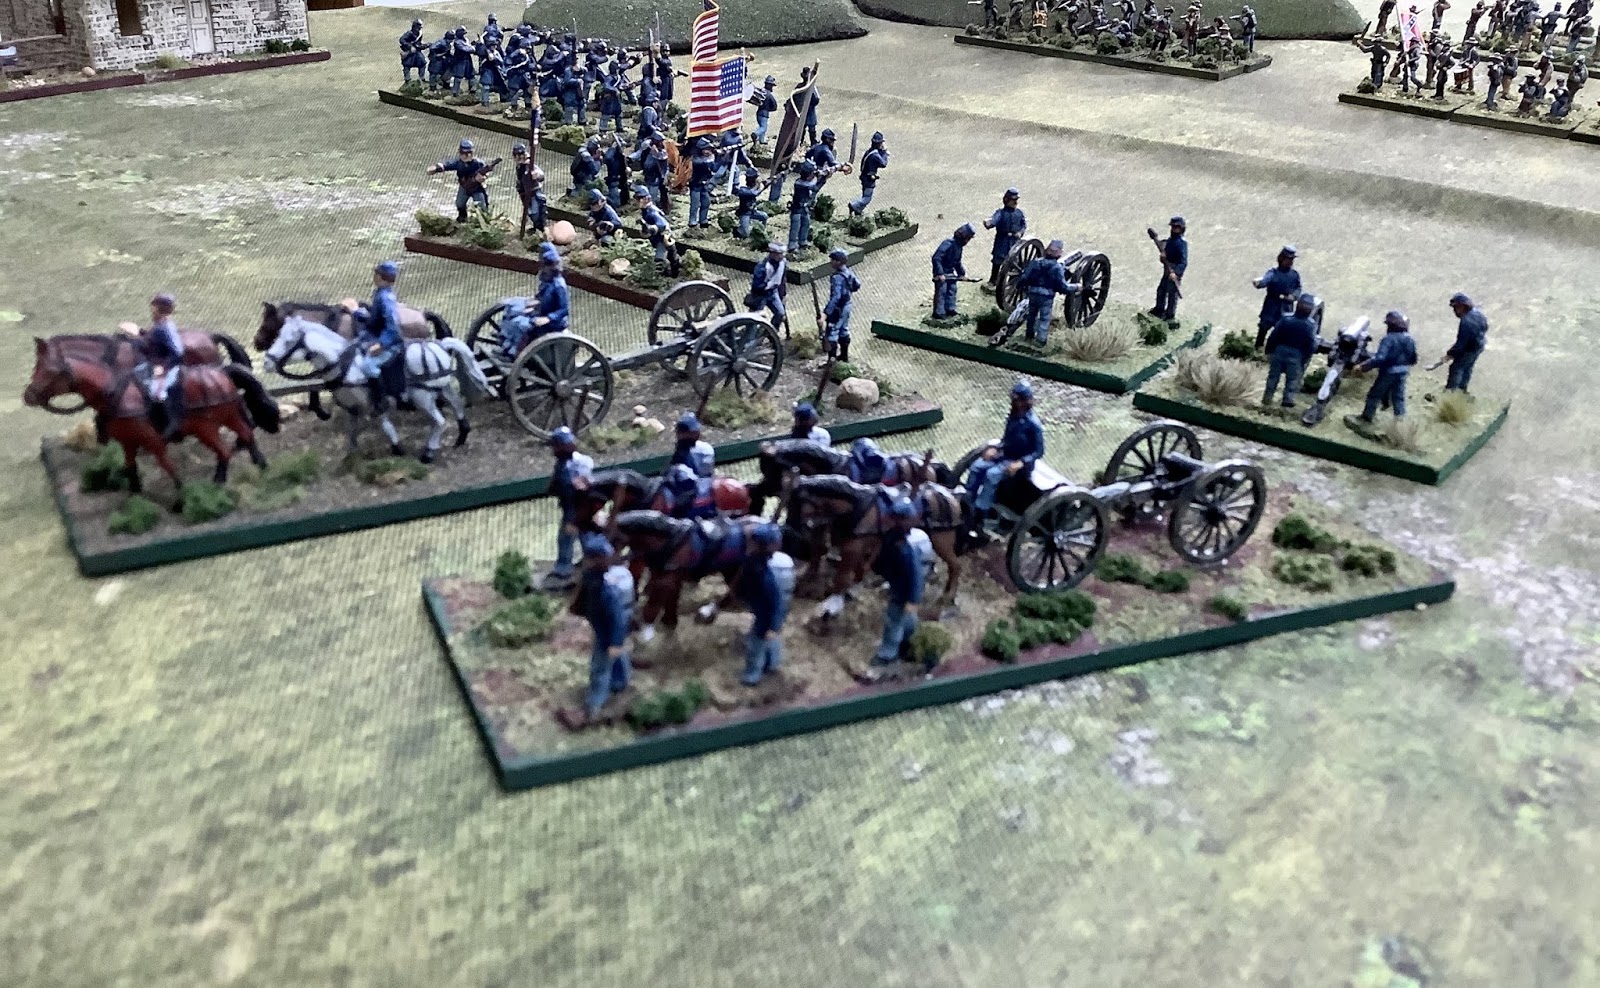
The two Union batteries moving up. My thought was to get the artillery up and pound the Confederate line of battle. Most of the Confederates were armed with SBM so I sought to outrange them. 

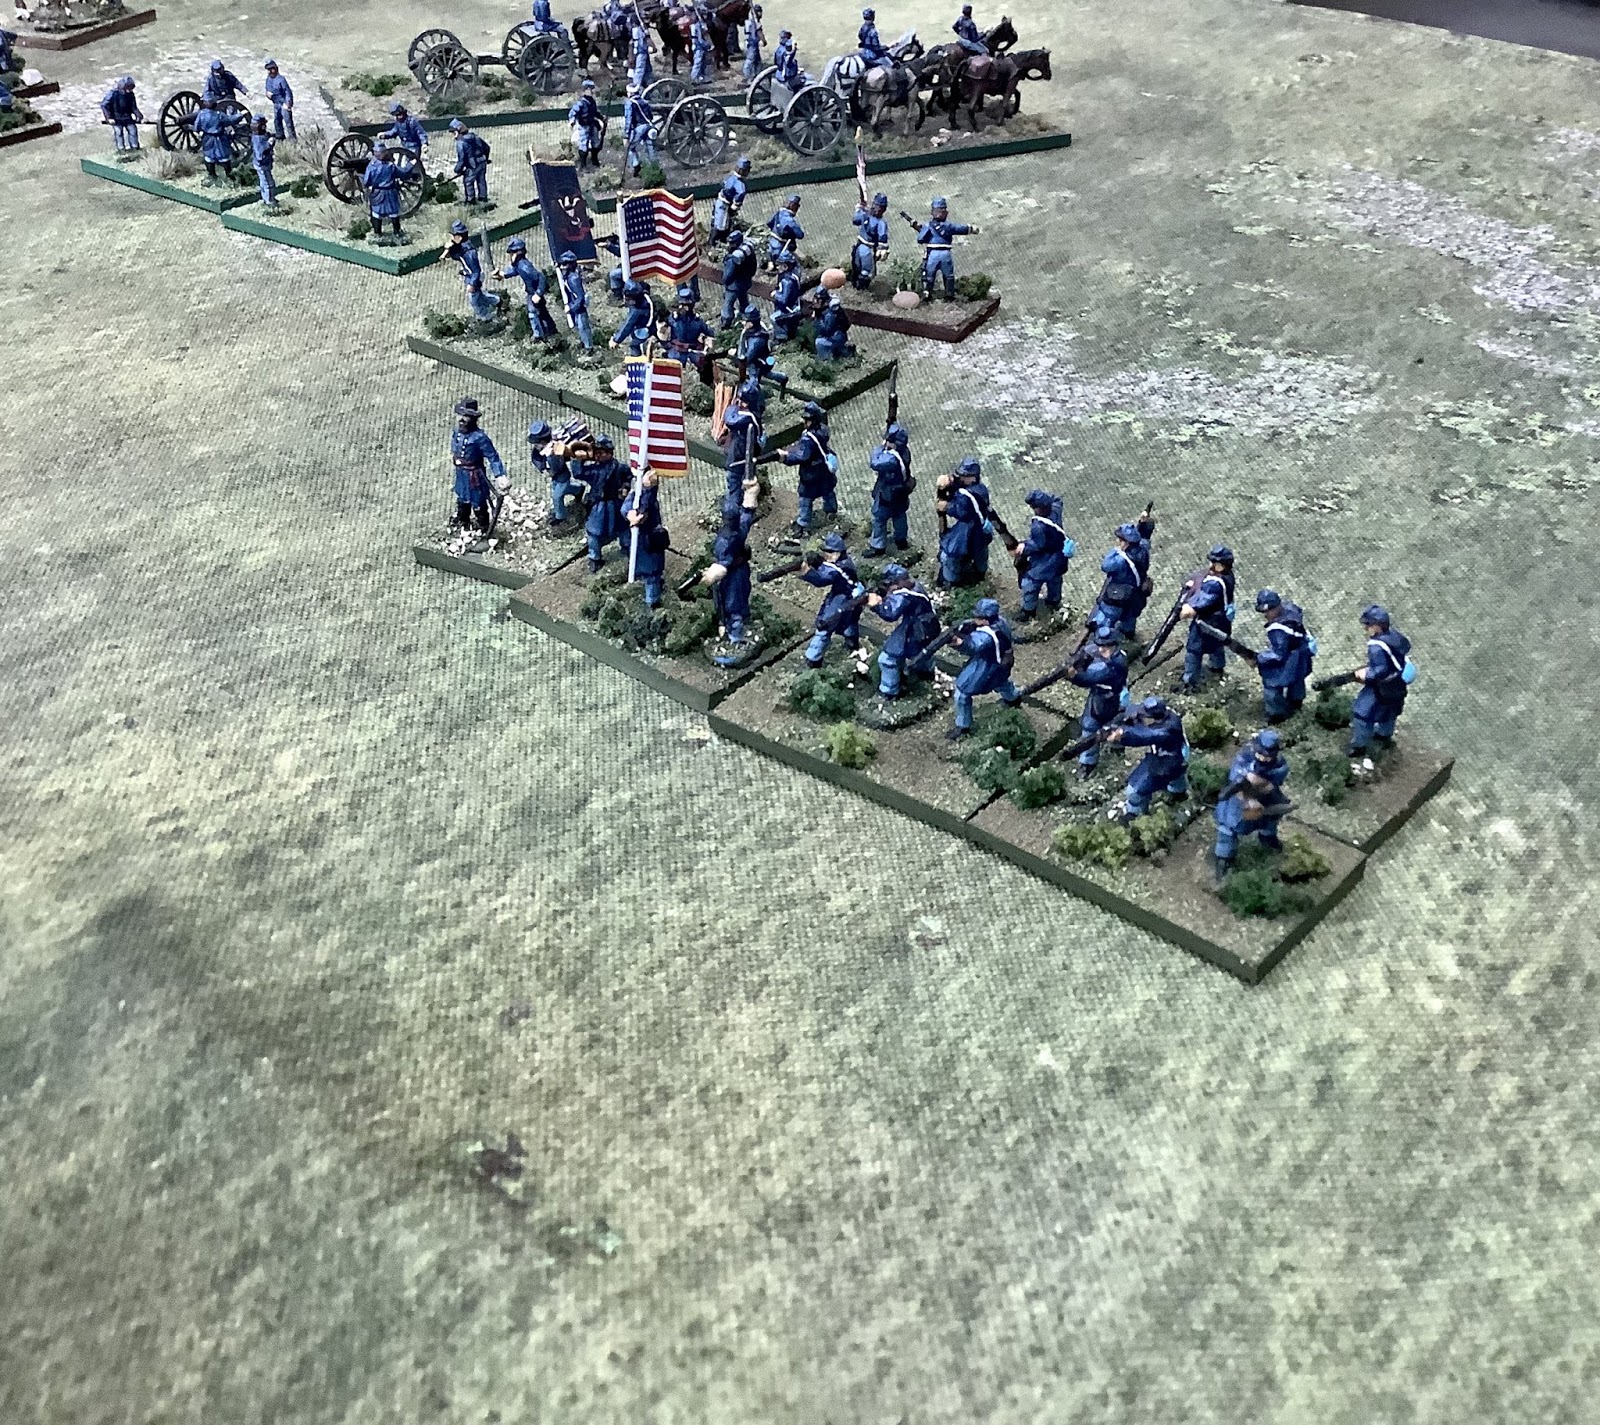
A nice view of Dodge's Brigade
One of the Union batteries got ahead of the other in a free move. 
This one is hurrying up. The escort are classic Airfix figures!
Little's 1st MO (CS) Cavalry screening the 2nd and 3rd MO. The unit includes Airfix, Accurate  RSM and Musket Miniatures figures.
The 2d and 3rd MO (CS). Figures are New Line Designs
13th Arkansas, again an admixture of figures and this time with a few Irregular Miniatures.
Same as above except it's the 14th Arkansas

Clark's MO Battery. The officer is Airfix and the crew are Musket Miniatures.
Part of the Confederate force withdrawing while the rear guard holds.

The 4th IA. The figures are Strelets from the Union Infantry Firing set.
The Union Artillery deploys. Airfix crews on Musket Miniatures cannon.
The 14th Arkansas routs from artillery fire but would recover. The 13th Arkansas and the 3rd Louisiana hold the line.
I counted on the Union Artillery to blow a whole in the Confederate line. It went well at first.
The Standard Bearer's in the Strelets sets leave much to be desired so you have to convert. Otherwise, the figures are excellent except that they do not mix well with other brands imo.
The crack 3rd LA. It was the only CSA unit with rifled muskets and thus had a chance of getting a hit. It was amazing how often they missed. Great FOW!
This illustrates the reasonable line of battle both sides had just before everything fell apart for the Union. The CS MO Brigade is on the left. The 1st MO (CS) cavalry have badly handled the 1st MO (US) cavalry.THe Confederate AI only needs to hold and so far the Union can't get anything going besides routing the 13th AR on the other flank. What happens next is a tribute to the FOW command system.
According the sequence Dodge's entire brigade "got their dander up" changing the CS MO brigade. The 1st (CS) MO Cavalry easily routs their Union cousins 1st Mo Cavalry. Next in the sequence Confederate artillery routes the 35th IL while the (CS) Mo Brigade also get their dander up. The way the cards fell meant that the 1st MO (CS) cavalry effectively rolled up the Union flank backed by the two MO Infantry regiments. Great day for CS MO.