Monday, July 25, 2016

Blast from the Past


If you read this blog then you probably know we are a group of older gamers that began gaming in High School in the late 60s.

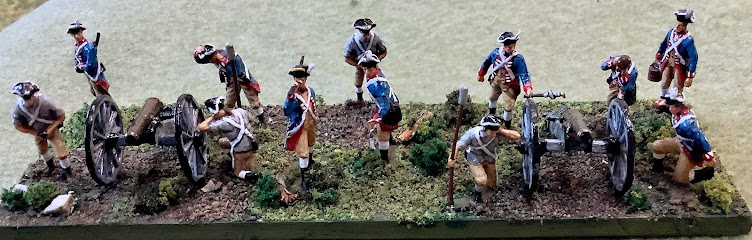
Back then all we had were Airfix figures and Minitanks. Some survive to this day. My friend JZ sent these two pics below for a trip down memory lane.

Cutting edge wargaming 1968
American infantry and tank destroyers attack a Nazi held village.
Airfix infantry and Minitank vehicles    
Minitank trees and obstacles
Atlas Houses under Contruction set

American M-10 Tank Destroyers and M-8 Greyhound Armored cars supported by infantry assault a German held village.


Tuesday, July 19, 2016

Zulu War in HO Scale


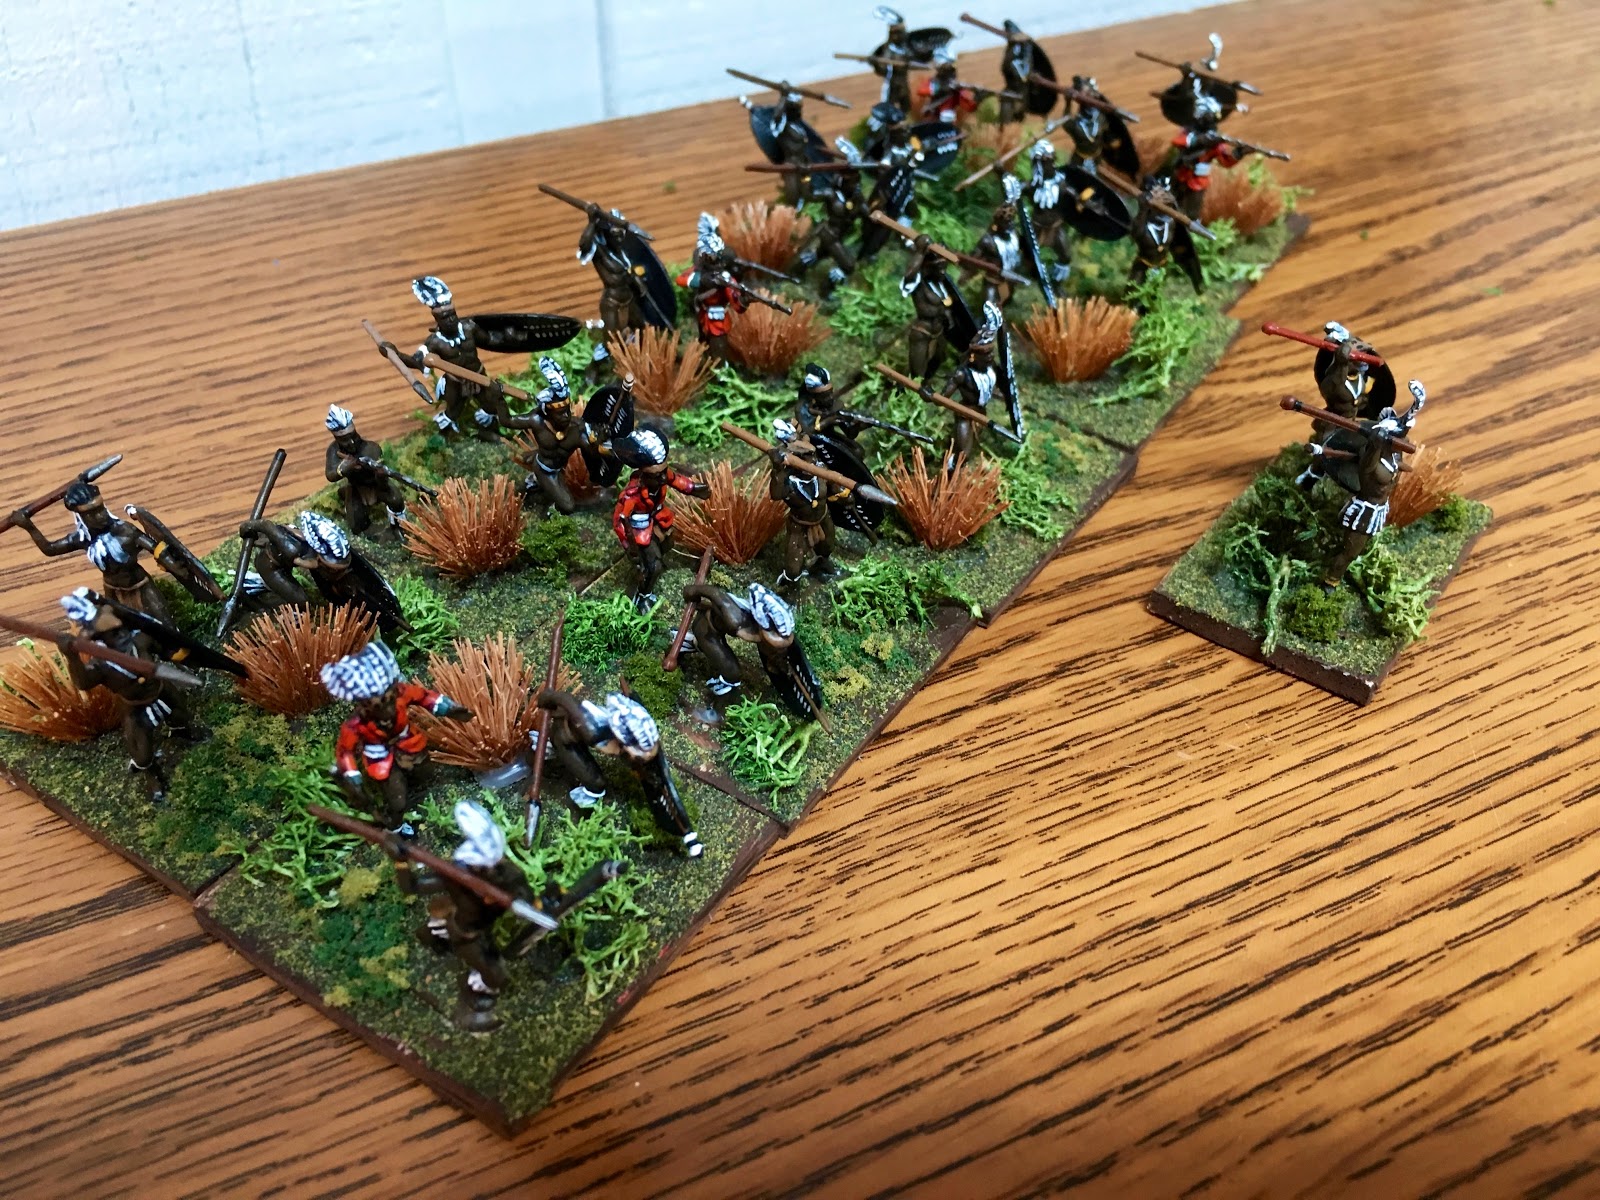
This is the start of my Zulu War Project I'm doing with a friend. For the most part we are using ESCI\Italeri and HAT plastics in 1\72 scale.

Although some are mounted on single stands the organization will be from Black Powder and the Zulu War Supplement. I also may make The Sword and the Flame work for smaller games that have a one-to-one feel to them.

The HAT British Mounted Infantry features enough poses for an 8 figure mounted unit as well as a 8 figure dismt unit.  I will use them interchangeably. 
Dismt and Mtd Contingents.
Mtd Contingent Skirmishing from the saddle
ESCI\Italeri Zulus...Excellent figures and a bit fancy! These are the umHlanga-The Reeds.
My organization will be 24-30 Zulus to a regiment plus a command unit.
inDunas out front end the um Hlanga to wash their spears!

Wednesday, June 22, 2016

Battle of St. Remy du Pleme 1432


THE BATTLE notes
The date of the battle was moved up a bit so that some of the knights were wearing outdated rather than anachronistic armor.  It was more important to recreate the game rather than document the progression of European armor styles year by year.
The battle was actually part of the Hundred Years War but was historically an inner French civil war between the King of France and the Armagnacs, a rebel faction.  A small affair by other battle's comparisons it weakened the Armagnacs and kept them at bay so that the English could gain all the glory at Agincourt.

RULE notes
The set used was the Cleveland Amendment version of the WRG late medieval rules.  The game flowed very well considering that the rules have been dormant for 30 years.  Somewhat complicated compared to the recent "quick learn" rule sets the era was recreated accurately by the dominance of the armored knight, as long as the field held no English longbowmen.  The army lists used were the WRG book three covering the early to late medieval/early renaissance periods.  The WRG system was used to field 1500 points for each army with most points obviously spent on armored cavalry.

ARMY notes
The book three lists allowed accurate representations of the two forces with well mounted knights on both sides along with lesser and mercenary cavalry filling the second ranks.  Militia and mercenary infantry were fielded and performed their role well, either holding their position or ridden down by the cavalry.  The small artillery park provided by the King accurately fired a few rounds and departed.  Italian mercenaries are abundant as the King had the money to spend.  The Swiss were aware of this fact and soon became the King's favorite employees.

Editor notes: Sadly, I (BR) lost the pic descriptions and am unfamiliar enough with the period (and was not at the game) to be able to identify the units and\or the game action. Nevertheless, the pictures are a feast for the eyes and worthy of a post. My apologies to my friend JZ who provided the scenario and figures. 

Peasants watch the knights collide


The abandoned artillery park after the news of Francois' demise.


Peasants cling to the Armagnac right. 

 The religious contingent lines up.


Wednesday, May 4, 2016

Oldies but Goodies: A Union Infantry Brigade in 22mm

Below are a number of pictures of Union ACW units that I painted about 30 years ago. Yeah, I'm that old.

The figures are 22mm Musket Miniatures (now out of business) but in 1984 they were called Stone Mountain Miniatures. Today a company named Stone Mountain makes similar miniatures but in the popular scale of 15mm.

A number of years after I painted these I got out of miniature wargaming for a number of reasons and sold off most of the thousands of metal miniatures I had painted and war-gamed with.

Although I have no memory of it one of my friends ended up with my ACW collection. I had roughly 4-5 regiments of USA and CSA and a couple of batteries. They were organized for a set of rules titled Rally Round the Flag.

In 2014 I reconnected with two of my old wargaming friends including the one who now owned my old collection. He had kept them in a box for roughly 20 years.

When we decided to war-game the ACW period again he dusted them off, remounted them and brought  them out for our first ACW battle in that scale in more than 20 years.

I was surprised how well they held up.

The added touch is that the flags are all hand painted by the other friend I reconnected with. I'm not sure he could do them now but he still is an excellent painter so who knows.

The brigade I painted was meant to model a brigade from the western Union armies. Each brigade had an attached artillery battery. A small unit of Union cavalry on the right rounded out my collection at the time (1984ish)
Close up of the firing line of the 26th Wisconsin. I had to paint at least one unit from my home state! Historically, I believe it was the 10th Wisconsin that was part of the brigade. Note the cavalry horse holder in the left background. Musket Miniatures was a very comprehensive line of 22mm figures. 
The 94th Ohio! I know that Union Regiments rarely carried a State flag so forgive the artistic license. 
The 33rd Ohio! Note the painted on Battle Honors. Onward Buckeyes!
Historically the 33rd Ohio saw a lot of action in some of major battles of the ACW.

Another view of the 33rd Ohio.
The majority of the units in this brigade were from the Buckeye State.
The Hoosier's of Indiana contributed the 38th to  the brigade. The Union Army frequently mixed units from the northern states into brigades while the Confederates after Antietam tried to maintain a State character to theirs.
In the meantime I'm painting new units of ACW. Most of the new units are plastic but I did manage to obtain a good number of Musket Miniatures before he went out of business in June of last year (2015)

Watch this space for the Texas Brigade ANV organized for Black Powder.


Saturday, April 30, 2016

Creeping Tide East Prussia 1914 variant


Scenario Description


The Russian XV Corps is advancing toward the strategic town of Hohenstein off a main road. The German 37th ID of XX Corps stands in their path. The German XX Corps is screening the entire Russian 2nd Army as the remainder of the German 8th Army fights the opening battles of Stauponnen and Gumbinnen. 

By August 23rd, 1914 it was obvious that that the 2nd Army was trying to cut off the entire German 8th Army. The German commander deployed the 37th ID plus whatever Landwehr and Corps troops he could muster in front of the Russian 6th and 8th ID (XV Corps). His goal was to slow down the Russian advance and prevent the encirclement of the 8th Army.

In this scenario the Russian 8th ID has crossed a river line and is advancing on the German defenses. It faces roughly half of the German 37th ID plus called up Jaeger and Dragoon divisional assets.


Russian OB

2nd Army, XV Corps, 8th Infantry Division

            2nd Brigade

                        31st Infantry Regiment (Aleksopol) 4 Bns + MG Co asset
                        32nd Infantry Regiment (Kremen) 4 Bns + MG Co asset
                        8th Artillery Bde. Div. #1 Bde asset
                       
            1st Brigade

                        29th Infantry Regiment (Chernigov) 4 Bns + MG Co asset
                        30th Infantry Regiment (Poltava) 4 Bns + MG Co asset
                        6th Artillery Bde. Div. #2 Bde asset
                        Oren Cossack Regiment Bde asset (8 stands in two sub units)

            Divisional Assets

                        15th Howitzer Division (122mm howitzers off board)

                        15th Sapper Bn

German OB

8th Army, XX Corps, 37th Infantry Division

            Infantry Brigade 75

                        Infantry Regiment 150 3 Bns + MG Co asset
                        Jaeger Bn #1 + MG Co asset
                        FAR 73 (1 Bn 77mm) Bde Assets

            Infantry Brigade 73

                        Infantry Regiment 147 3 Bns + MG Co. asset
                        Infantry Regiment 151 3 Bns + MG Co asset
                        FAR 82 (1 Bn 105mm)
                        FAR 82 (1 Bn 77mm)
                       
            Division Assets

                        28 Pioneer Bn
                        Dragoon Rgt #11 (8 stands in two sub units)

Battle Summation

The Germans easily held all of their improved positions. 

The initial Russian attack was on the German right flank where the sides had near numerical parity. The Russian attack was broken up by off board artillery fire just as they entered a village. Most of the units were suppressed or had to retire and the attack made little progress.

Eventually the attacking lead regiment plus its supports suffered so many casualties that it routed.

The German left flank was lightly defended by dismounted dragoons, one battalion of infantry and 1/2 battalion of jaegers. The Russians had numerical superiority on that flank but had to move through difficult terrain. Once again the off board German artillery caused a stall in the Russian advance and by the time they got going again the Russian left had collapsed. 

The Russian players called the game at that point since it was too little too late to gain even a tactical victory or draw.

The attrition rate favored the defender naturally enough but the Germans did suffer enough loss to make the attrition rate closer than the game outcome suggests. (The Russian route tipped the scales with a number of battalions routing with light casualties.)

Below are some shots of the action in no particular order.


Improved German position on the German right flank. There troops were relatively unengaged. Strong position.

Part of the Russian right center. Three battalions can be seen moving through a woods for cover. By the time they worked their way through the terrain it was too late to affect the outcome of the battle.

Russian infantry and artillery deploying for the attack.
The Russian attack with banners flying! The backs of the stands are colored to represent the regiments involved. Regimental integrity is important.

After working their way through the woods and off board artillery fire these Russians would begin to  outflank the German position and seize the village but it was too little, too late.

A German 105mm howitzer battery (actually Austrian Skoda 104mm models by HAT). The board is divided into three sectors and cards activate units in each sector. The string marks a boundary between the sectors and when a unit straddles a boundary it can be activated by cards for either sector-a big advantage for artillery support.
The German right center. The forward artillery positions are 77mm "whiz bangs" termed so by the British for the sound they made. An infantry battalion consists of 4 stands with 2 figures each. Pictured are Airfix figures. 
A German infantry battalion and 1\2 battalion of jaegers turn to meet the Russian flank attack late in the game.

The sector where the Russians began to show progress but it was too little too late to affect the game. The Oren Cossacks, pictured on the right massed for a charge but it never came. One of the German Dragoon units withdrew off the table creating a gap late in the game.

The German Dragoons are marked dismounted. They are supported by the regimental MG CO. 

Russian Putilov 76.2 mm artillery brigade firing from the edge of the woods gives the Russians a bit of an edge on the German left flank.

A Russian infantry battalion with the standard held high begins to advance through  an unharvested field.

Overview shot of the game board-in this case we used 9' of game board. The Germans held the line of villages and in between were numerous improved positions. Tough nut to crack.

The Oren Cossacks and their MG CO support mounted in a wagon.
The German flank turning on the Russian right. The infantry battalion in the top right of the picture is suppressed and has a casualty marker. The 1\2 battalion of jaegers is outnumbered. Not pictured on the far left is an isolated German Dragoon unit. Again, too little too late and once the Russian left routed it was mathematically impossible for the Russians to win so the game was called with a German strategic win. The German 8th Army would remain safe from encirclement.