Saturday, May 30, 2020

Little Sugar Creek ACW Solo Game

During the lockdown I've continued to experiment with solo games. My friend Jim has given me pointers over the past months and I've learned to develop my own systems. Like Jim has told me; it's not like you can go out and buy a set of solo rules that fit for everything.

Frankly, I've found the experience most enjoyable. I have yet to have an argument with myself! I also have yet to win a game and that is encouraging.

For this game I modified a scenario from my collection of ACW scenarios called Little Sugar Creek or Dunagin's Farm. The battle was fought in Arkansas on February 17th, 1862.

Historically, the battle was little more than a skirmish. It factored into the Pea Ridge Campaign. One of the features of the campaign was the Confederate withdrawal from Missouri into Arkansas in the hopes of uniting the army. Federal forces followed the Confederates in pursuit and came into contact with the Confederate rearguard near Little Sugar Creek and Dunagin's Farm.

I took some liberties with the Order of Battle settling for what I simply called a Union pursuit versus a Confederate rear guard.

The rules used were based on an old set called Rally Round the Flag from the 80's. The set emphasizes a regiment/brigade scale. A second set called Rally Round the Flag was printed a number of years ago but is quite different although it did give me come concepts that I integrated into my system.

The main one was the idea of Command Points. In my system a brigade receives one command point for each unit in the brigade. A brigade consists of the brigade commander and each unit of infantry, cavalry and artillery assigned to the brigade. Most brigades will start with 3-5 command points per turn.

Command points are modified by a 10-sided die roll. This represents a certain amount of Fog of War. It costs command points to maneuver so it's possible to have an abundance of the command points to do what you want but it's also possible to end up with few thus forcing the making of priority decisions. Brigades are activated in general way with the draw of an assigned card. Jokers are included as more FOW as an individual unit will get a "free move" even if they have moved or fired before. The AI gets more Jokers than me in my system. It makes for a tough opponent!

I also eliminated single figure removal from the equation. Instead, the charts have been adjusted to remove stands. The number of stands in a unit is fixed at six. Instead of taking a figure out at a time the loss of a stand represents a step down in the unit's effectiveness. It has a bearing on their morale and combat ability. It's more of a board game concept than anything else but for what I'm shooting for it works rather well.  Well, that's enough about my rules so here is the Order of Battle I used the game.

Union

Ellis's Cavalry Brigade (3 CPs)

3rd Illinois (IL) Cavalry BLC Green
1st Missouri (MO) Cavalry (US) RM Green

Dodge's Brigade (4 CPs)

35th Illinois (IL) RM Green
4th Iowa (IA), SBM Average
4th Iowa (IA) Battery 6lb SB Average

Vandever's Brigade (3 CPs)

9th Iowa (IA) RM Average
25th Missouri (MO) Militia (US) SB Green
3rd Iowa (IA) Battery 6lb SB Average

Confederates

Herbert's Brigade (3 CPs)

14th Arkansas (AR) SBM Average
13th Arkansas (AR) SBM Average
3rd Louisiana  (LA) RM Crack

Little's Brigade (4 CPs)

1st Missouri (MO) Cavalry (CS) SBM Average
2nd Missouri (MO) (CS) SBM Average
3rd Missouri (MO) (CS) SBM Average
Clark's Missouri (MO) Battery 6lb SB Average

Historically, Ellis's cavalry went in mounted and soon retired when Ellis realized he had bite off more than he could chew. For purposes of the game I dismounted all the cavalry and assumed that the Union would press the Confederate rear guard. The Confederates were commanded by the AI.

1st MO (US) Cavalry leads Dodge's Brigade. The unit did have six stands and the pic was taken prior to the game when I was still considering a four stand unit. The figures are a mixture of Musket Miniatures and RSM.
Same as above but it's the 3rd IL screening the artillery and Vandever's Brigade.Figures are New Line Designs
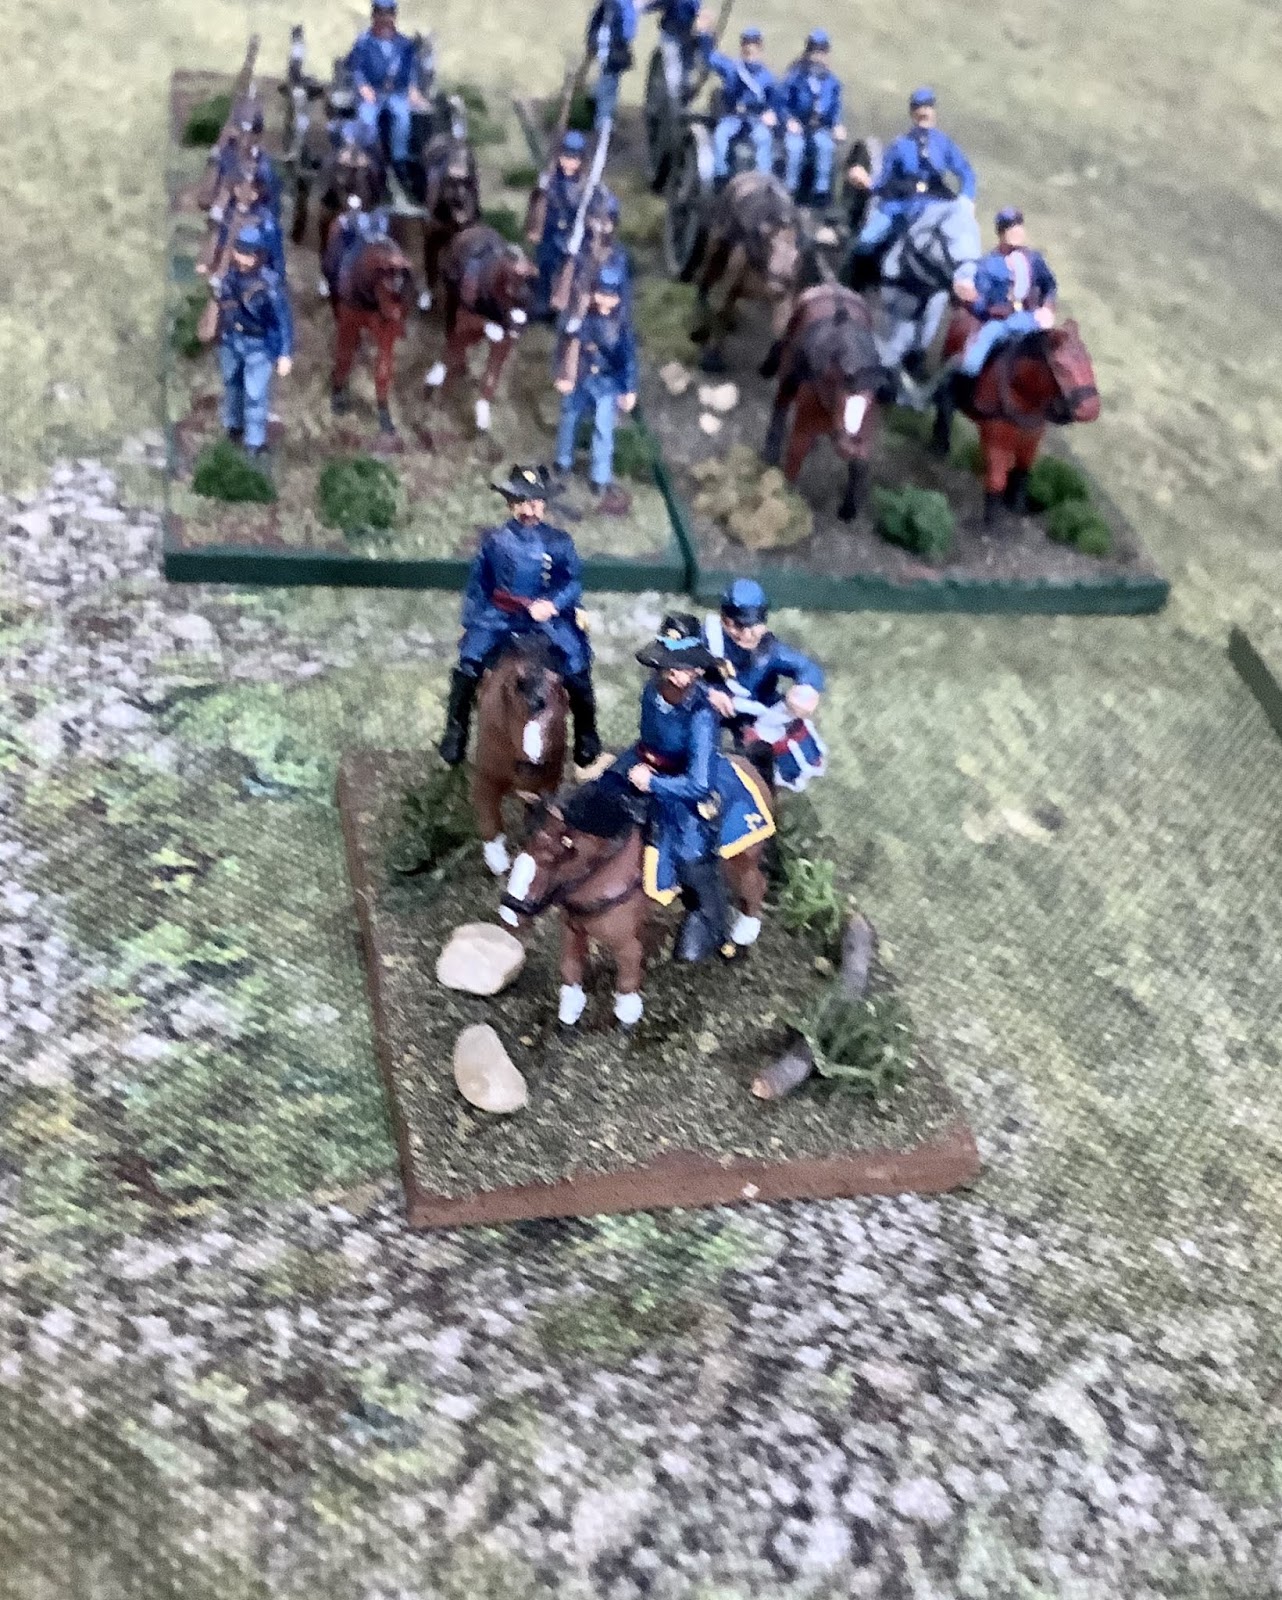
Ellis and his staff checking things out. Ellis would die on the very first turn thus crippling his small brigade.
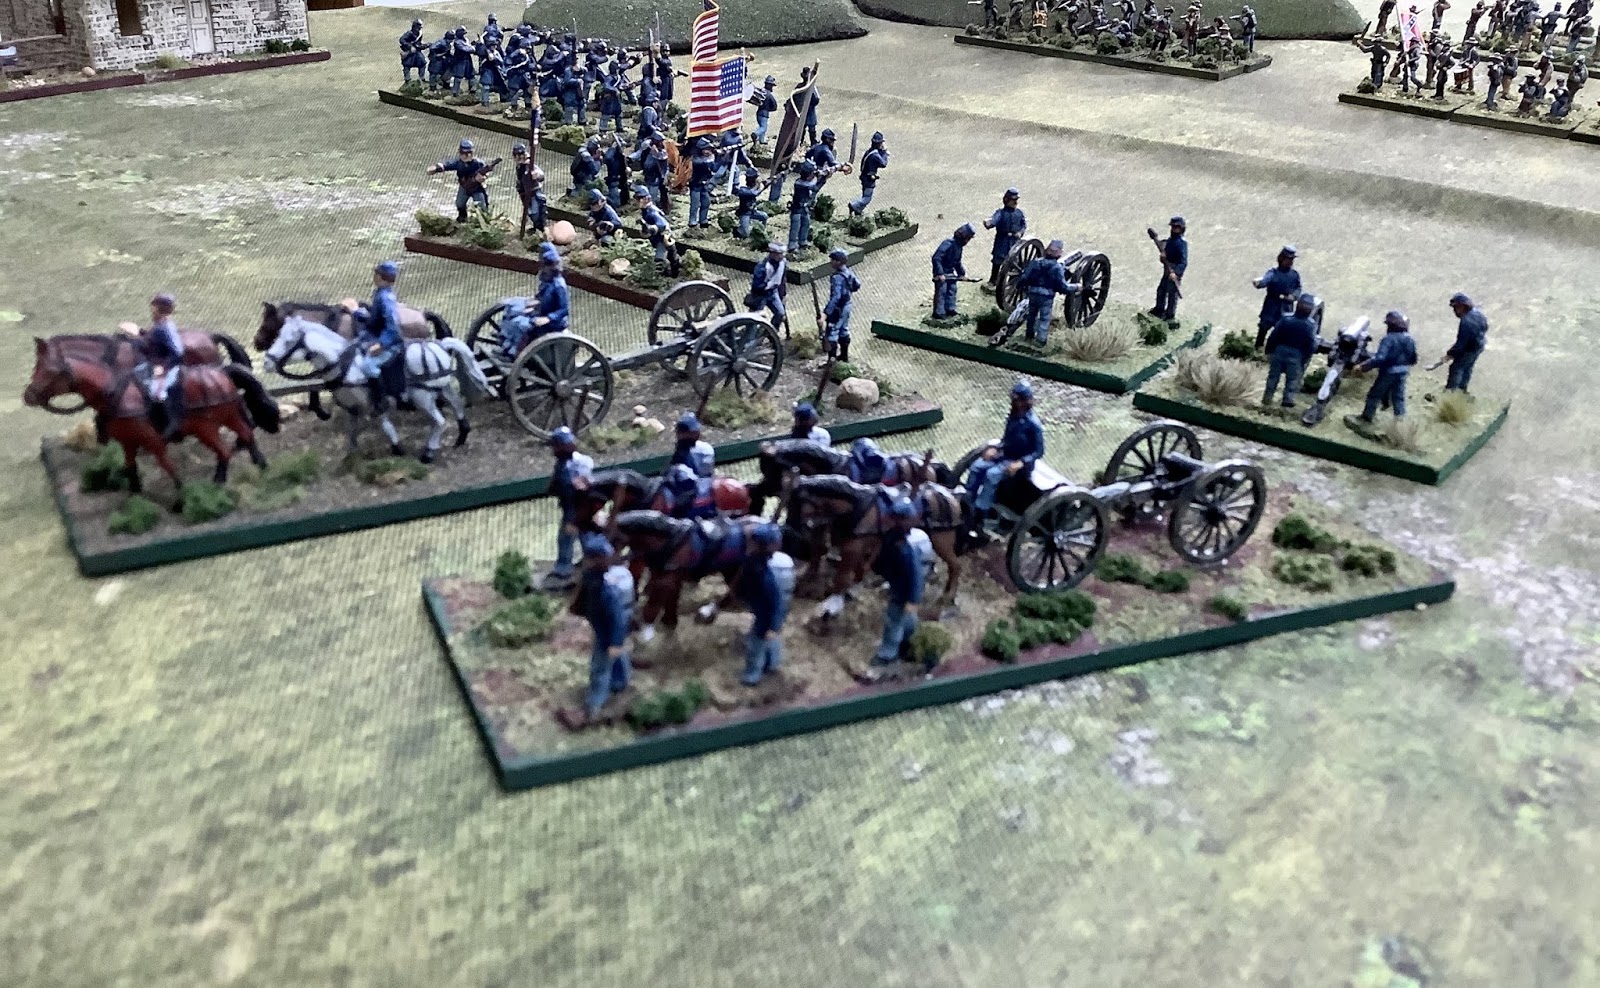
The two Union batteries moving up. My thought was to get the artillery up and pound the Confederate line of battle. Most of the Confederates were armed with SBM so I sought to outrange them. 

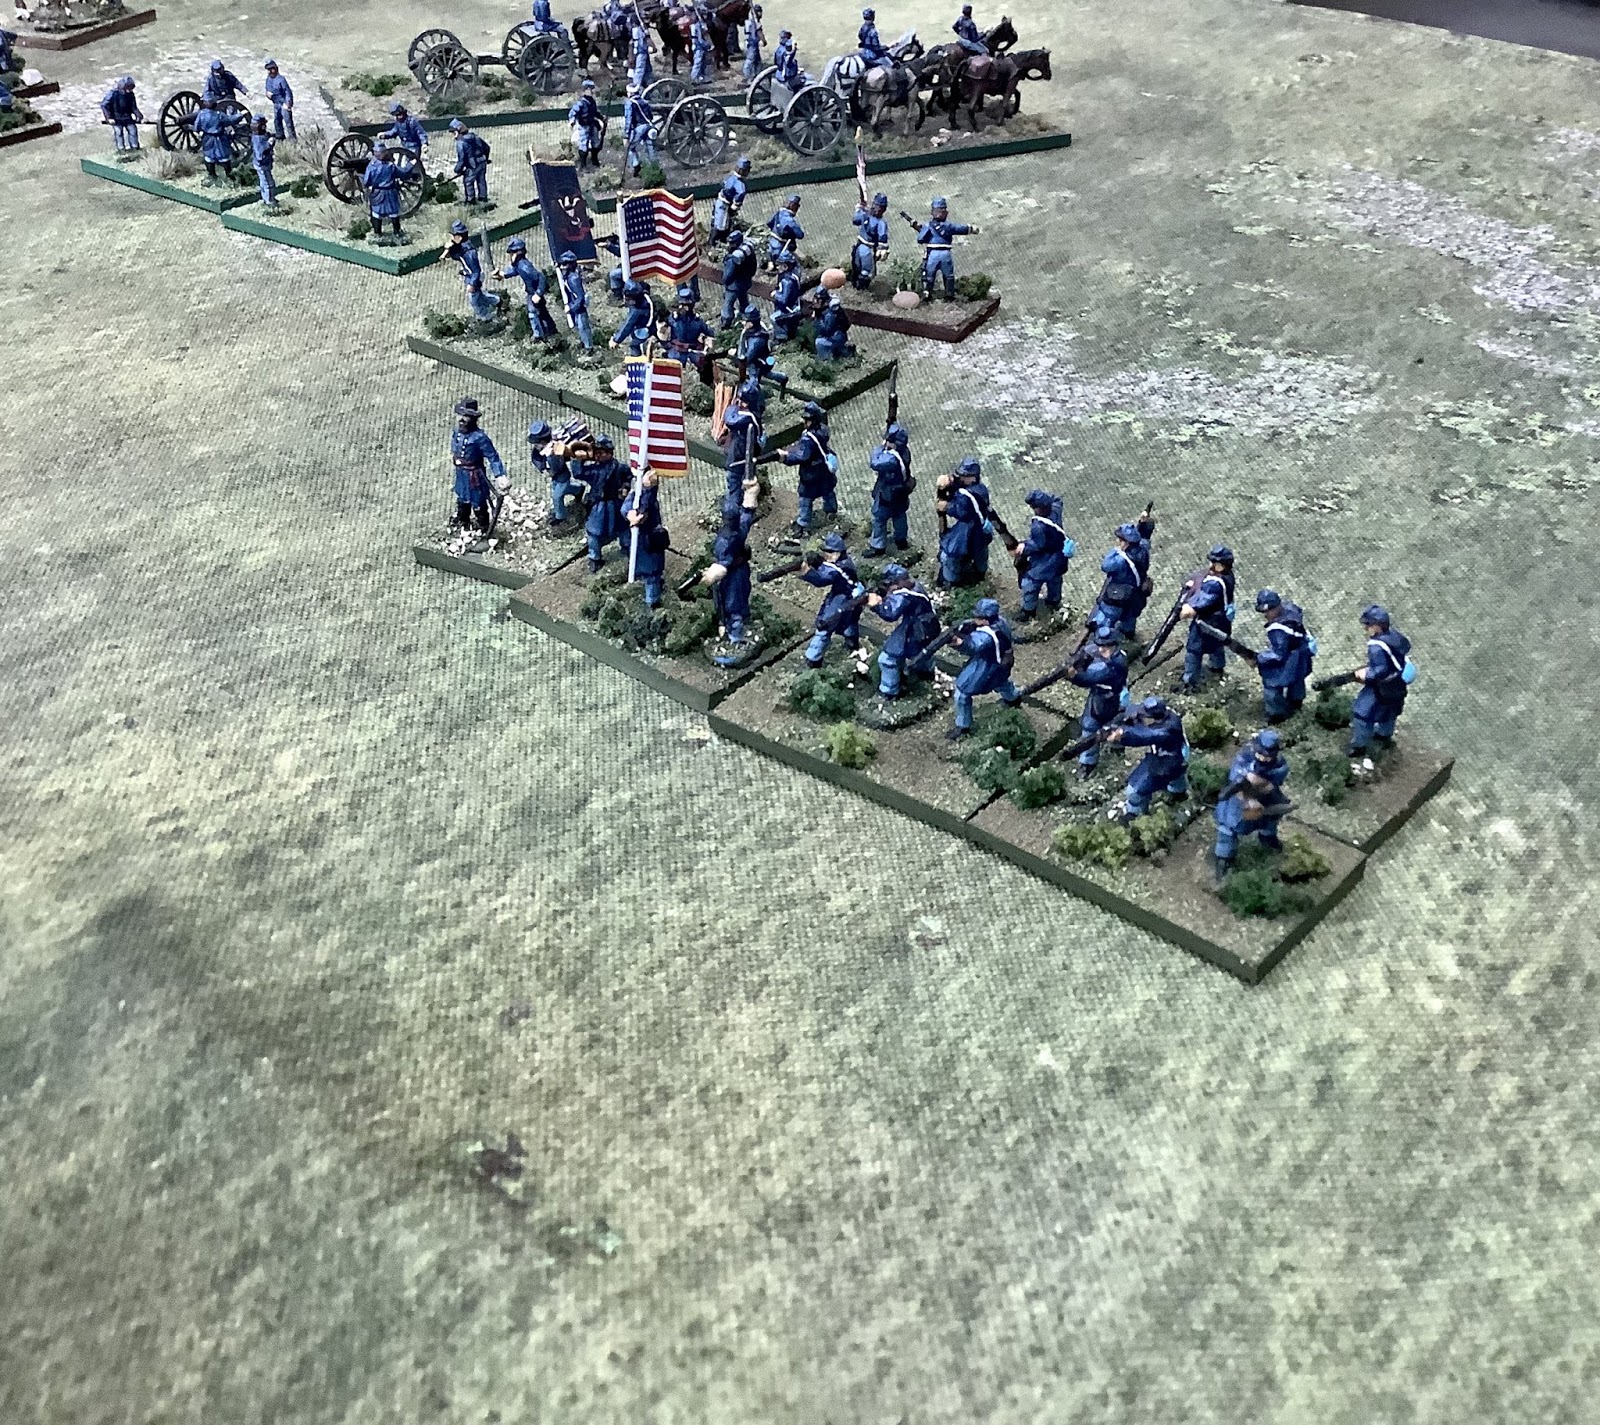
A nice view of Dodge's Brigade
One of the Union batteries got ahead of the other in a free move. 
This one is hurrying up. The escort are classic Airfix figures!
Little's 1st MO (CS) Cavalry screening the 2nd and 3rd MO. The unit includes Airfix, Accurate  RSM and Musket Miniatures figures.
The 2d and 3rd MO (CS). Figures are New Line Designs
13th Arkansas, again an admixture of figures and this time with a few Irregular Miniatures.
Same as above except it's the 14th Arkansas

Clark's MO Battery. The officer is Airfix and the crew are Musket Miniatures.
Part of the Confederate force withdrawing while the rear guard holds.

The 4th IA. The figures are Strelets from the Union Infantry Firing set.
The Union Artillery deploys. Airfix crews on Musket Miniatures cannon.
The 14th Arkansas routs from artillery fire but would recover. The 13th Arkansas and the 3rd Louisiana hold the line.
I counted on the Union Artillery to blow a whole in the Confederate line. It went well at first.
The Standard Bearer's in the Strelets sets leave much to be desired so you have to convert. Otherwise, the figures are excellent except that they do not mix well with other brands imo.
The crack 3rd LA. It was the only CSA unit with rifled muskets and thus had a chance of getting a hit. It was amazing how often they missed. Great FOW!
This illustrates the reasonable line of battle both sides had just before everything fell apart for the Union. The CS MO Brigade is on the left. The 1st MO (CS) cavalry have badly handled the 1st MO (US) cavalry.THe Confederate AI only needs to hold and so far the Union can't get anything going besides routing the 13th AR on the other flank. What happens next is a tribute to the FOW command system.
According the sequence Dodge's entire brigade "got their dander up" changing the CS MO brigade. The 1st (CS) MO Cavalry easily routs their Union cousins 1st Mo Cavalry. Next in the sequence Confederate artillery routes the 35th IL while the (CS) Mo Brigade also get their dander up. The way the cards fell meant that the 1st MO (CS) cavalry effectively rolled up the Union flank backed by the two MO Infantry regiments. Great day for CS MO.

Saturday, April 25, 2020

Solo Battle of Mill Springs, ACW

This is my second attempt at a solo game. This time I choose the Rebels and Patriots rules from Osprey and the figures from my ACW collection.

Context of the Historical Scenario 

The scenario was drawn loosely from the Battle Of Mill Springs, KY (Logan's Crossroads) in January, 1862.

The Confederates were on the offensive so I elected the Union side to be the AI.

The conditions for an attack were atrocious. The terrain was difficult, it was raining, visibility was limited and most of the Confederate forces were armed with smooth bores with many being flintlocks!

Despite the obstacles Confederate General Crittenden went on the offensive to catch the Union forces off guard and gain an entry into eastern Tennessee, a pro-Union area of the state.

The Indiana and Kentucky troops that met the initial attack were tasked to hold back the Confederate advance until other Union regiments could form a line of battle. Because of the terrible terrain of woods and ravines the initial Confederate advance by the 15th Mississippi could not be co-ordinated.

I sought to reproduce on a small scale some of the challenges to the CSA forces. The Order of Battle below reflects the initial push by companies of the 15th Mississippi supported by a few companies of the 20th Tennessee.

I modified the Rebels and Patriots rules for solo purposes.

Union OB

3 Companies of the 10th Indiana, 18 figures each, veteran and aggressive, rifled musket (RM)
1 Company of the 1st Kentucky Cavalry (Union), 12 figures with Lt. Infantry capability, Breech Loading Carbine (BLC)
1 Troop of the 1st Kentucky Cavalry (Union), 6 figures, mtd. skirmishers, (BLC)

Confederate OB

5 Companies of the 15th Mississippi, 18 figures each, (RM)
2 Companies of the 20th Tennessee, 12 figures each, (SB)

I did not use the point system for the OB but a quick estimate showed me the game was roughly equal in number of points.

Description of the action

Two of the three 10th Indiana companies were positioned behind a fence line while the third was tasked with being reserve and a link to the KY Cavalry on the Union left.

The five companies of the 15th Mississippi were just about to enter the ravine (special rules to get through it). Their frontage was roughly equal to the Indiana troops but were stacked up in the heavy terrain.

The two companies of Tennessee troops were opposite the Kentucky cavalry.

I use a card system for solo games and include a "bonus" card for each side. The bonus card allows to actions per turn. Where it pops up is great fog of war and it can be decisive.

I initially got something going with 15th Mississippi with two companies getting through the terrain in good order. The other three tended to get bogged down.

The two companies of the 15th Mississippi had good cover until they emerged from the tree\ravine line and approached the clear farm field bordered by the fence. While I did not allow volley fire I did allow first fire.The 10th Indiana companies behind the fence did hold their fire until the 15th Mississippi emerged from cover (this was diced for) and the result was an assault that fell well short of the fence line. In fact one company would rout and the other would fall back, rally and try again only to rout on the second effort.

Meanwhile the two Tennessee companies advanced on the Kentucky cavalry driving back the skirmishers but stalling where the cavalry was concentrated dismounted in hard cover.

The Confederate first push stalled along the entire line inflicting few casualties on the Union forces.

I decided to regroup and work off the disorder markers and give it another go.

I had some initial success toward the center of the game board against the Indiana company that was the link between the other two companies and the KY cavalry. I managed to get two fires on the unit in the same turn and it routed-the only success the Confederates had.

The two Tennessee companies tried another push but one was shot up in disorder losing half the figures and the other routed.

The remaining three Mississippi companies were so disordered by the terrain that I could not swing them away from the fence line and try to take advantage of the Indiana company routing. I had to concede the AI did it's job in delaying the Confederate advance. In fact had the Union been reinforced they could have counter attacked against a disorganized Confederate command.

The game was a lot of fun and I think I did a good job with play balance.


One of the 10th Indiana Companies on the Union right flank. (Musket Miniatures)
The tan areas are the ravines the 15th Mississippi had to get across. The trees represent woods throughout the board. Except for the clear area by the field everything was at cover.
One of my Newline CSA units.
The Union right center and center companies of the 10th IN.
This illustrates how hard it was working through the terrain. Both companies behind the ravine have fallen back in disorder. The other company got bogged down and as it turned out it was a good position as long as they stayed there!
The Tennessee companies on the CSA right. They were armed with smooth bores and had the poor shot penalty because of it.
Close up of Union unit. The figures are 22mm Musket Miniatrues 
Confederate unit of mostly Musket Miniatures but some Irregular poses mixed in.
These Confederate figures are from the Confederates Skirmishing set by Strelets-an excellent set imo! 
Old MacDonald's farm.
Confederate high tide. Got to the edge of the field before being driven back into the ravine.
The 10th Indiana captain steadies his companies on the fence line.
This is what it looks like when your left flanks skedaddles! 
This was part of the initial advance. The two lead units would get through the terrain but would be unsupported.
Both units of the 1st Kentucky (Union) Cavalry 
I had a chance in the center but it fizzeled.
One unit has fallen back and the other will shortly! 
I had some high hopes at this point in the game. Note the casualty markers.
The dismounted cavalry were more than a match for the 20th Tennessee.
This is the company of the 10th IN that would finally rout.
Initial Union IN deployment
This Tennessee company would not rally and eventually routed!
The TN unit on the left got shot to pieces but would not rout!
Second turn advance of the 15th Mississippi. It took 2-3 turns to work through the ravine.
I just liked this pic. Newline Designs


Saturday, April 18, 2020

Solo The Men Who Be Kings Scenario During CoVid19

A friend of mine has been solo gaming for about 30 years. When I reconnected with him about five years ago I started to quiz him on the topic. I had heard of solo gaming, but always thought it would be too hard to create a reasonable AI for a solo miniatures game.


Well, over the years I badgered him about his AI. Until recently he was kind of vague, not to be secretive but to express the reality that he gamed solo in multiple and I do mean multiple periods. This meant there was a system for each and although some had similarities the solo gamer does what he has to in order to make it work according to his interests and expertise. In other words it's not exactly you get a solo gamer to give you a plan on the page that works for everything.


So I read up on solo gaming from articles on the INET and from Stuart Asquith's book from the late 1980's and received advice from my friend.


Then along came the virus and virtual isolation, My regular gaming with this friend came to an abrupt end. I decided to give solo gaming a go with the armies for which I had both sides, obviously a necessity for a solo gamer.


I picked my Colonial Wars collection of British and Zulus and used The Men Who Would Be Kings (TMWWBK) as my rules template. TMWWBK does has a sub section for solo gamers which is not bad but I chose not to use it and instead game up with my own system on the fly.


It's important to point out that my friend gave me a couple of pieces of great advice. One was to set yourself up; that is, make it hard for you to win. I chose the British force in this scenario to be the AI since on paper a British force should always trounce a force armed primarily with spears and shields. As it turned out they did!


I took a lot of notes during the game. The first part of the this post is a rough sketch of how I did it. No doubt some aspects will be confusing as you try to get into my head and say, what was this guy thinking!. Let me say now, somethings had to be made up as the game went on. I learned a lot and that was the main thing.


The second part of the blog are most of the pictures I took. The third part is a blow by blow of the action. It's written in my code for the game and probably hard to follow but I included it in an effort to document my efforts for posterity on this blog.


Anyway, I hope you enjoy my first recon into solo gaming!


Scenario Description

I picked a scenario out of One-Hour-Wargames that was a 6-4 scenario. That means 6 units versus 4. The title was "Ambush."

Because my board is a 4' by 4' I upped the number of units to a 8-5.  

Although it may be unusual I had the British ambush the Zulus. The scenario was originally intended for a medieval game where unit types would be similar. The idea was for the smaller force holding a fortified position to ambush the larger from cover on a flank. Given the British advantage in fire power I assumed the that Zulus either had poor scouting or the British mounted troops had prevented the Zulu scouts from alerting the main force.

The victory conditions were simple. The Zulu's had to overrun the farmstead and either destroy all British units or make them withdraw. The British conditions were the opposite, hold the farmstead or destroy or disperse the Zulus.


Mechanisms


I used a playing card system for activation by assigning one card per unit. This created what I’ll called situationals that had to resolved as they occurred.


I set myself up by being the Zulus and giving the British some advantage by assigning two extra cards (jokers) that allowed 2 actions per turn but not at the same time. In other words, when the joker was drawn a unit could perform a normal function. When it’s own card was drawn in the same turn it could perform a second. (or the other way around)


When a choice of action was available, I would dice for which weighing it in favor of the most obvious. Let’s say a British Foot unit draws a joker but two Zulu units are within range. Dice for which one receives the fire weighing the dicing where the odds are better. In another case the joker is drawn and choices could be made between two or even three units. One might move, another fire or another might get another rally attempt. In these “situationals” an equal chance is given to each to execute the extra action. 


Another situational was when a unit’s card was drawn, and it had to rally and failed. If the joker was drawn after the unit tried to rally and again failed, I had to carry the pin over to the next turn. This made multiple pins difficult to deal with although it affected the Zulus more.


As I said I selected a scenario from One-Hour-Wargames and modified it for colonials. I initially diced for the units using the chart provided in OHW. Since I have a larger board than OHW I added 2 Zulu Warrior units and one unit of colonial militia. This provided a quality ratio of 6 Zulu units to 3 British units with each having two auxiliary units of limited value..


All unit leaders were diced for on the basic table in TMWWBK. That proved to be an interesting variable.


Order of Battle


Zulus


6-16 fig warrior units, 4 of which I rated Fierce. All had at least a +1 for discipline and many had a +2 which was diced for. (The discipline turned out to matter a great deal especially with the +2 units because quite a few units diced poorly for leaders and the discipline for the unit functioned as an offset.)


2-12 fig skirmish units with good discipline. These units could only skirmish unless attacked in melee themselves. I did not use them as soak offs which imo is not a valid way to use Zulu skirmishers.


Zulu Regiments present were UmHlanga and UmBonambi although to expedite matters I refer to them as warrior or skirmish units numbered 1-8


British


Two redcoat British Foot (13th Foot) rated as +1 discipline but not sharpshooter. Instead, because it was an ambush the British had the first turn free and the Zulus could not respond. I made the assumption that the unit in the farmstead was ready to volley. The other unit in the scrub had to dice for it and as it turned out was ready to volley on T1.


One colonial militia unit of 12 figs as irregulars with obsolete rifles with a -1 to discipline and poor shots. They also managed to get poor leadership. One NNC unit with a -1 to discipline but they managed excellent leadership. Go figure. The unpredictability of variables are a must imo for the solo gamer.


A Natal Mounted Police unit of 12 figs as irregular skirmishers meaning they had to skirmish unless attacked in melee. That actually worked out since they fought at +5 and fired at +5. Since only half can fire when skirmishing the number of dice were doubled when they were attacked. I'm assuming that they firing like crazy at very close range when in melee! As mounted troops it takes two hits to remove one figure.  As it turned out in the game they out fought the Zulu unit that attacked it. I think I found the right formula for colonial horse.


Play Balance


As is my habit I question play balance. How would it work out using an AI for the British and setting myself up as the Zulus? Could the Zulus win? 


I think the ranges for my board are too long and inhibits maneuver. I think this may be issue in all the Osprey rules. It results in a quick game to be sure but at the price of maneuver. Not sure about this, but will try reduced ranges and movements next time.


Giving the British two jokers may have been too much. The most logical thing to do is fire 2x with the same unit. It worked out that was about 2\3 of the time when choices were involved. My thought at this point would be to allow one joker per side or two for the British and one for the Zulu. It's a great variable and curve ball! Rebels and Patriots another Osprey set has a number of curve balls that could be used in solo play. I will research that for the next game.


Apart from that I thought it went pretty good. When it came to quality units the Zulus had 6 to the British 3. I had one opportunity to turn the British left flank and on that turn the dice left me thus allowing the British Foot unit on that flank to fire twice. In one volley they cut one Zulu unit in half!


The card system worked very well imo. It was a crushing Zulu defeat but the card sequence could have meant a closer game. As it was I came close to getting around the British flank.


UmBonambi by Hat

Natal Mtd. Police by Newline
Skirmish Zulus by Newline

 UmHlanga by Esci\Italeri
British Field Force stats
Zulu stats
Colonial Militia, 20mm old Minifig Boers except for two Airfix from the Confederate set.

Initial Zulu center position, three warrior groups pictured
Zulu initial left flank position

British right flank initial position, Co B, 13th Foot and Natal Mounted Police
Natal Native Contingent on the flank of Co B. 
Co A, 13th Foot and colonial militia
Luckless Zulus pinned down by the ambush!
Another pinned Zulu unit pinned on T2
Zulu Warrior #3 manages to close with the colonial militia and wash their spears. Zulu high tide I'm afraid.
Zulu high tide as they push back the militia and cross the fence
Zulu skirmish unit on the Zulu right working to flank the militia. The Zulus had their best chance on that flank.
The Natal Mounted Police are engaged by Zulu Warrior #6 and manage a melee win.
Co A pivots and destroys Zulu Warrior #2.
The NNC move to finish off pinned Zulu Warrior #1

Another warrior unit crosses the fence line but falls short of contact. This proved to be fatal as the turn sequence favored the  British and Co A fired twice at close range destroying te unit.
The Zulu second wave moves up in support.
The NNC and a KIA on pinned Zulu Warrior #1 with a spear toss.
The Natal Mounted Police would hold the flank throughout the game and destroy Zulu Warrior #6
The NNC move in for the kill thus avenging years of oppression by the Zulus
A Zulu skirmish unit crosses the fence to outflank the militia.
The Zulu second wave was the Zulu's best hope but were too little too late!

Play by Play


1st Turn was the free ambush turn


---Mtd Police fired at Skir#4 and KIA=2, Skir#5 pinned

---B Co fired at W#1 and KIA=2, W#1 pinned

---A Co fired at W#2 and KIA=3, no pin


2nd Turn


---W#2 tested to use DT and got it and closed with militia the fence line. Militia did receive the defense bonus. Zulus KIA=3, Militia KIA=1, Zulu win, Militia pinned

---Mtd Police fire at Skir#4 KIA=1, Skir#4 stays pinned, no rally possible this turn

---Skir#4 moves to fence line to flank militia

---Co A dices to fire at multiple threats, fires at W#1 KIA=3, pinned again, no rally possible this turn

---W#6 gets the DT and contacts Mtd Police, W#6 KIA=2, Mtd Police KIA=6, W#6 retreats and is pinned.

---Joker, Co A fires again at W#2 KIA=6, Yikes! W#2 pinned in front of pinned militia

---Militia did not rally

---NNC pass activate, dice to either support farm or move to attack to pinned W#1. Moved to attack. Gutsy.

---Joker, lots of choices and diced for, militia attempt to rally but does not.

---W#6 attempts to rally and does so

---Co B fires on W#1 KIA=1, pin remains

---W#3 normal move toward fence line to support W#2 and Skir#5

End T2


3rd Turn

---Co B fires at W#1, KIA=1, no rally allowed this turn

---W#3 crosses fence line but falls short of contact with militia, tosses spears KIA=2, militia pinned again so no rally possible this turn.

---NNC move toward W#1, toss spears KIA=2, W#1 pinned again, no rally allowed this turn

---Mtd Police fire at W#6 at half range KIA=2, W#6 pass pin test

---W#6 attack Mtd Police KIA=0!!!, Mtd Police KIA=2, W#6 retreat but pass pin test

---joker, Multiple choices diced for and the NNC attacked pinned W#1 KIA=2, Zulus KIA=3 but W#1 falls below 25% and disperses

---Co A fires at W#3 KIA=3, W#3 passes pin test

---Skir#4 does not rally

---joker, many choices diced for. Co A destroys W#2.


4th Turn


---W#6 attacks Mtd Police, KIA=1, Mtd Police KIA=3, W#6 destoyed

---Skir#4 no rally

---W#7 attempts attack on NNC but fails test!!!!!

---Co B choices result is to fire at stalled W#7 KIA=3, W#7 pinned!

---Militia fails to rally

---Skir#5 skirmishes militia KIA=1, militia pinned no rally possible next turn but there isn’t any

---joker, Co A fires at W#3 KIA=8!!!! W#3 pinned.

---Co A fires again at W#3 and destroys it

---NNC moves towards farm choice diced for

---joker, Co B fires at W#7 KIA=3, pinned no rally next turn

---Mtd Police skirmish on Skir#4 KIA=2, no rally next turn


Game over Crushing Zulu defeat. Lots of fun!