Monday, March 20, 2023

MiniFigs 1st Generation Stonewall Brigade

These are another of my eBay rescue efforts. They are 1st Generation Miniature Figurines in 25mm. For you youngsters out there who don't know, Minifigs was once a colossus in 25mm wargaming. Minifigs had lines in just about everything.

I first came across Minifigs way back in the mid-1970s. My first purchases were the British Infantry for the American War of Independence. They were first-generation, and sadly, I no longer have them. 

Being nostalgic for the old metal minis, I began to seek Minifigs and other 25mm figures out on eBay.

I found this lot with a few command figures relatively cheap. They needed a lot of work, and I saved these six out of eight or nine infantry figures.

I chose an early war uniform from the famous Stonewall Brigade for the repaint.

I have them mounted on temporary bases for potential use in a Rebel's and Patriots skirmish game.

Miniature Figurines 2nd Generation are still available today from the UK under Matchlock Miniatures.


The officer needed a lot of work. Keeping the saber on the figure was a challenge, but I didn't want to cut it off and insert a pin. 

The Minifigs ACW line always looked a little Napoleonic to me. Many of the poses featured backpack and blanket roll, and a full dress look to the uniform.

I believe the pose is called high port. A unit of Minifigs all in the same pose is impressive imo.

Today the 28mm manufacturers have all but conquered the market and 25mm figures are rare. I think Minifigs have a classic toy soldier look like most manufacturers from the 1970s and 80s.


Saturday, March 18, 2023

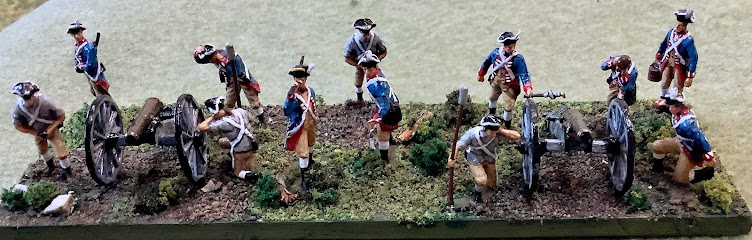
Scruby Mexican American War US Regulars

Back in the day, meaning the late 1960s and early 70's metal figures for wargaming were rare in the US. One exception to this was Jack Scruby. Jack was a pioneer in American Wargaming. He created figures in various wargaming scales. 

My first metal wargaming figures were 20mm hoplites and phalanx from Jack Scruby miniatures. They are long gone now (sadly) having been replaced by English figures by Miniature Figurines, Hinchcliffe and Garrison. 

They too are long gone although I'm working to replace some in the old classic scale of 25mm or one inch. 

So, when I got back into the hobby in 2014 I decided to collect a few of the old metal figures in addition to my interests in 1\72 plastics. I started with eBay searches and found some Jack Scruby Americans and Mexicans in Scruby 25mm. 

Later I supplentnted what I found by finding that Scruby miniatures had been taken over by Historifigs, a copmany out of Baraboo, WI, my home state. Sadly, for about a year now, Historifigs seems to be out of business, although the website is still up. Email inquiries have not been answered. 

I painted up my one unit of US Regulars by Jack Scruby. I like the old toy soldier look of Scruby miliatures and so used gloss coat to seal them. I'm not sure what happended to Historifigs but they filled a nostalgia itch for me. Here's my unit of US Regulars by Jack Scruby, painted by yours truly.

Sunday, February 5, 2023

Operation Norwind-Task Force Linden

What follows is the scenario description, an Order of Battle and then pictures from the action.

The game was played out in 1\72 scale. The rules are called THAB (To Hell and Back) and are homegrown.

A company of infantry has a variable number of figures, usually between 8-12 and that includes intrinsic support weapons like MG's, panzerfausts and bazookas. All the weapons within the company are accounted for in the rules.

Three to four actual AFV's are represented by a single model.

Scenario: In January of 1945 Operation Nordwind was launched to take pressure off of the Bulge Offensive to the north.  The 6th SS was tasked to attack American forces along with the 553rd Volksgrenadier and drive them back.  The inexperienced Americans were badly mauled by the German attacks and failed to hold their part of the front and all counter attacks met with complete disaster.  Falling back the Americans were forced to leave wounded comrades behind out in the snow.  German forces continued their drive and the next day hit the 3rd Algerian Division and the slaughter began again.

This scenario depicts the German assault on Task Force Linden in the early hours of January 6th, 1945.

Order of Battle

American Elements

2nd battalion 242 Regiment Task Force Linden
   A and B companies

A company 281st Tank Bn    2 M-4

14th Cavalry Group
    1st Squadron  1 M-5   1 M-10
     2nd Squadron   2 M-8   1 Jeep

2nd battalion 242 Regiment 
     E company  1 M-3

German Elements
6th SS
     1 and 2 companies
     6 SS Panzerjager   1 Puppchen 

553rd Volksgrenadier 
      1 and 2 companies
      553 Panzerjager   2 Hetzer 38t

Sturmgeschutz Abteilung 1553   1 Sturm III     1 Sturm IV

The victory condition was for the Germans to get one element in the town. The Americans would win if they prevented that.

It would have been hard in my opinion for the Americans to win, We do not mind lop sided games but this game went beyond lopsided due to my uncanny dice rolling when I needed it as the German player. I can assure you that is not usually the case. I usually think my dice hate me. Maybe I was fortunate because I used my friend's dice. He won't make that mistake again.

So, suffice it to say, the Germans took the town losing 3 or 4 infantry figures and the two  Hetzers. The Americans lost everything.

I will describe some of the action with the captions.

I

An American Infantry company holds their left flank. They would face 2 Volksgrenadier companies and one SS Mountain company as well as a supporting Hetzer. They were overwhelmed with killed, captured or routing.

The M10 was the American's best chance to take out the German armor. My extraordinary dice throwing meant it hardly had a chance being destroyed early. The M8 on the left would survive until the end of the game,

The Stuart was destroyed on Turn One due to extraordinary dice throwing. I am serious. I have never thrown such good dice in a game!

Nice overview of the town and the American armor elements defending it.

The German right flank would be unengaged and just serve as a reserve or additional threat. The infantry are SS Mountain troops recently arrived from garrison in Norway. The division was understrength and had the combat strength of two infantry companies. The RSO is towing a Puppchen, basically a panzerschreck on wheels.

A Volksgrenadier company supported by one of the Hetzers assault the American left flank.

The other American Infantry company took up a defensive position in the shot up buildings. They did not last long.

Two elements of Shermans tried to come to the rescue. My opponent (JZ) wanted to use them to contain my infantry since the infantry was the bigger threat. As it was he had to try to take out the StugIII and StugIV but they took out the Shermans. JZ was heard to say he always did bad with Shermans.

One of the Hetzers. It took out the Stuart and the M10 before the Shermans got it. I think an Iron Cross is in order if there was anyone left alive.

A StugIII and a StugIV. They occupied the German center after the Hetzer was destroyed, After the Shermans were either destroyed or routed the Americans had nothing that could really touch them.

JZ had high hopes for the Shermans.

After a glorious start the Hetzer is kaput!

Not to worry, the assault guns have arrived to clean up.

A Sherman bites the dust and the other loses morale leaving the table to fight another day.

Volksgrenadiers close in on the town passing the knocked out Sherman.

The assault guns get the M8 as the M8 bravely tries to stem the tide.

The other M8 gets the Hetzer when JZ finally got a decent die roll.

An SS company over runs the American halftrack and is now cruising around in it. The scene is almost at the end of the game.

The SS company over running the halftrack and then trying to take out the M8 with a panzerfaust or bundled grenades. The figure should have turned around because he missed.

The beauty of the game was an unusual scenario during a part of the war that does not get much attention. It was a great deal of fun, but of course I'd say that given my dice rolling.

My friend JZ provided all of the figures and equipment as well as the town buildings. Beautiful work JZ! 


Monday, January 16, 2023

Rebels and Patriots: Mexican-American War Scenario

Rebels and Patriots by Osprey (Daniel Mersey) has opened a wide world of gaming that we could not accomplish prior simply because we are interested in just about everything.

Being interested in all things historical gaming is both a blessing and a curse. It's a blessing, because interest means gaming in many periods of interest. The curse is finding the time to paint and organize the armies in our chosen scale which is most often 1\72 or 25mm.

Daniel Mersey's rules (the ones we use are Rebels and Patriots, The Men Who be Kings and Lion Rampant 2) have enabled us to produce armies that number less than a 100 figures in 6-10 units.

While the official scale is for skirmish games if you don't care about that so much you can call your units whatever you want like we have in the orders of battle below.

We like it that way and the units all have historical names.

The scenario chosen for this engagement was drawn from One-Hour-Wargames by Neil Thomas. I modified it a bit.

The Americans were the aggressor. The Mexicans held a forward position with light infantry and cavalry.

The Americans contested the advanced position (a ridgeline that ran alongside a road) with light infantry, dragoons and Texas Rangers.

The Americans easily pushed the Mexicans off the ridge but the dragoons were destroyed by Mexican follow up units. That's what you get for being cocky.

Both sides brought up reserves to contest the ridge and road. The Americans has a qualitative advantage with 46 points while the Mexicans had a numerical advantage (two more units) but with 36 points.

Both sides struggled with units that simply would not do what they were told. That kind of FOW rule always makes our games interesting and hard to predict.

While the American regulars were rated aggressive (fighting 5 or 6) and were in large units (18 figs each) I could never quite get them in a decisive position to use their advantage. The Mexican reserves formed a formidable battle line and the surviving Mexican cavalry did good work on the flank I hoped to turn. 

The result was a major Mexican victory because they easily retook the ridge after losing it early on. After the OB's below I will attempt to say something about the actions in the pictures.

American OB

2nd Dragoons

3rd Regulars

7th Regulars

1st Regiment of Voltigeurs (never saw historical action)

Provisional Battalion of Artillery men serving as infantry.

2nd Indiana (Volunteers)

1st Mississippi (Volunteers) (Jefferson Davis's regiment)

Bragg's Flying Artillery (a type of horse artillery as the Americans pushed their artillery forward)

Texas Rangers company of scouts

Mexican OB

3rd Line Infantry

11th Line Infantry

4th Light Infantry

Standing Battalion of Mexico City (Militia)

Pueblo Activo (Militia)

Marine Battalion

San Patricio Battalion (Irish deserters from the American army)

Tampico Coast Guard

2nd Line Cavalry

7th Line Cavalry

Tulacingo Cuirassiers (how could a person not paint this unique unit?)


The American Voltigeurs, 2nd Dragoons  and Texas Ranger Scouts approach the ridge line.

The Mexican 4th Light Infantry. The unit is something off an elite for the Mexicans, Sadly, it did not last long and routed after only a few turns. 

The 7th Line Cavalry of the Mexicans. The American 2nd Dragoons charged them as soon as possible destroying them as a unit. The ridge belonged to the Americans. Huzza!

The 2nd Dragoons were rated aggressive and had a plus 1 to discipline. They were the best unit in the American OB. (and cockiest)

The charge noted above. The Americans were converted from old Airfix US Cavalry set.

The Texas Ranger scouts were mounted skirmishers in the game and good shots. They got off one shot before being ridden down. The figures are from the Italeri Confederate Cavalry set supplemented by a few  dismounted figures from the old Airfix Confederate Infantry.

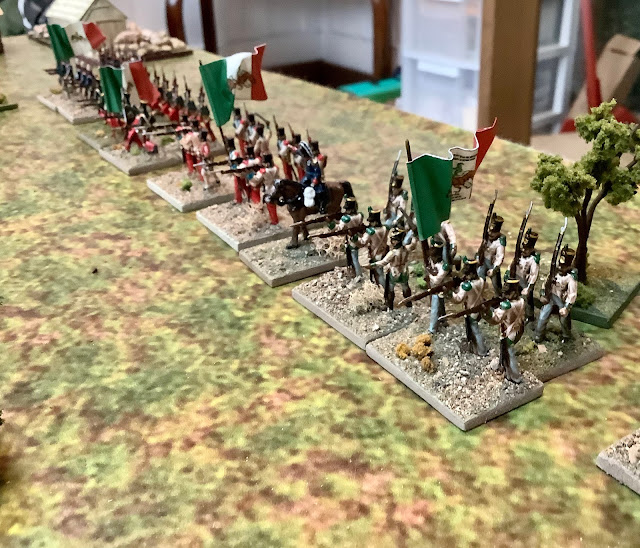
The 3rd Line and Marine Battalion avante! 

The Standing Battalion of Mexico City (blue pants) and 11th Line (red pants) form up with the Marine Battalion and 3rd Line.

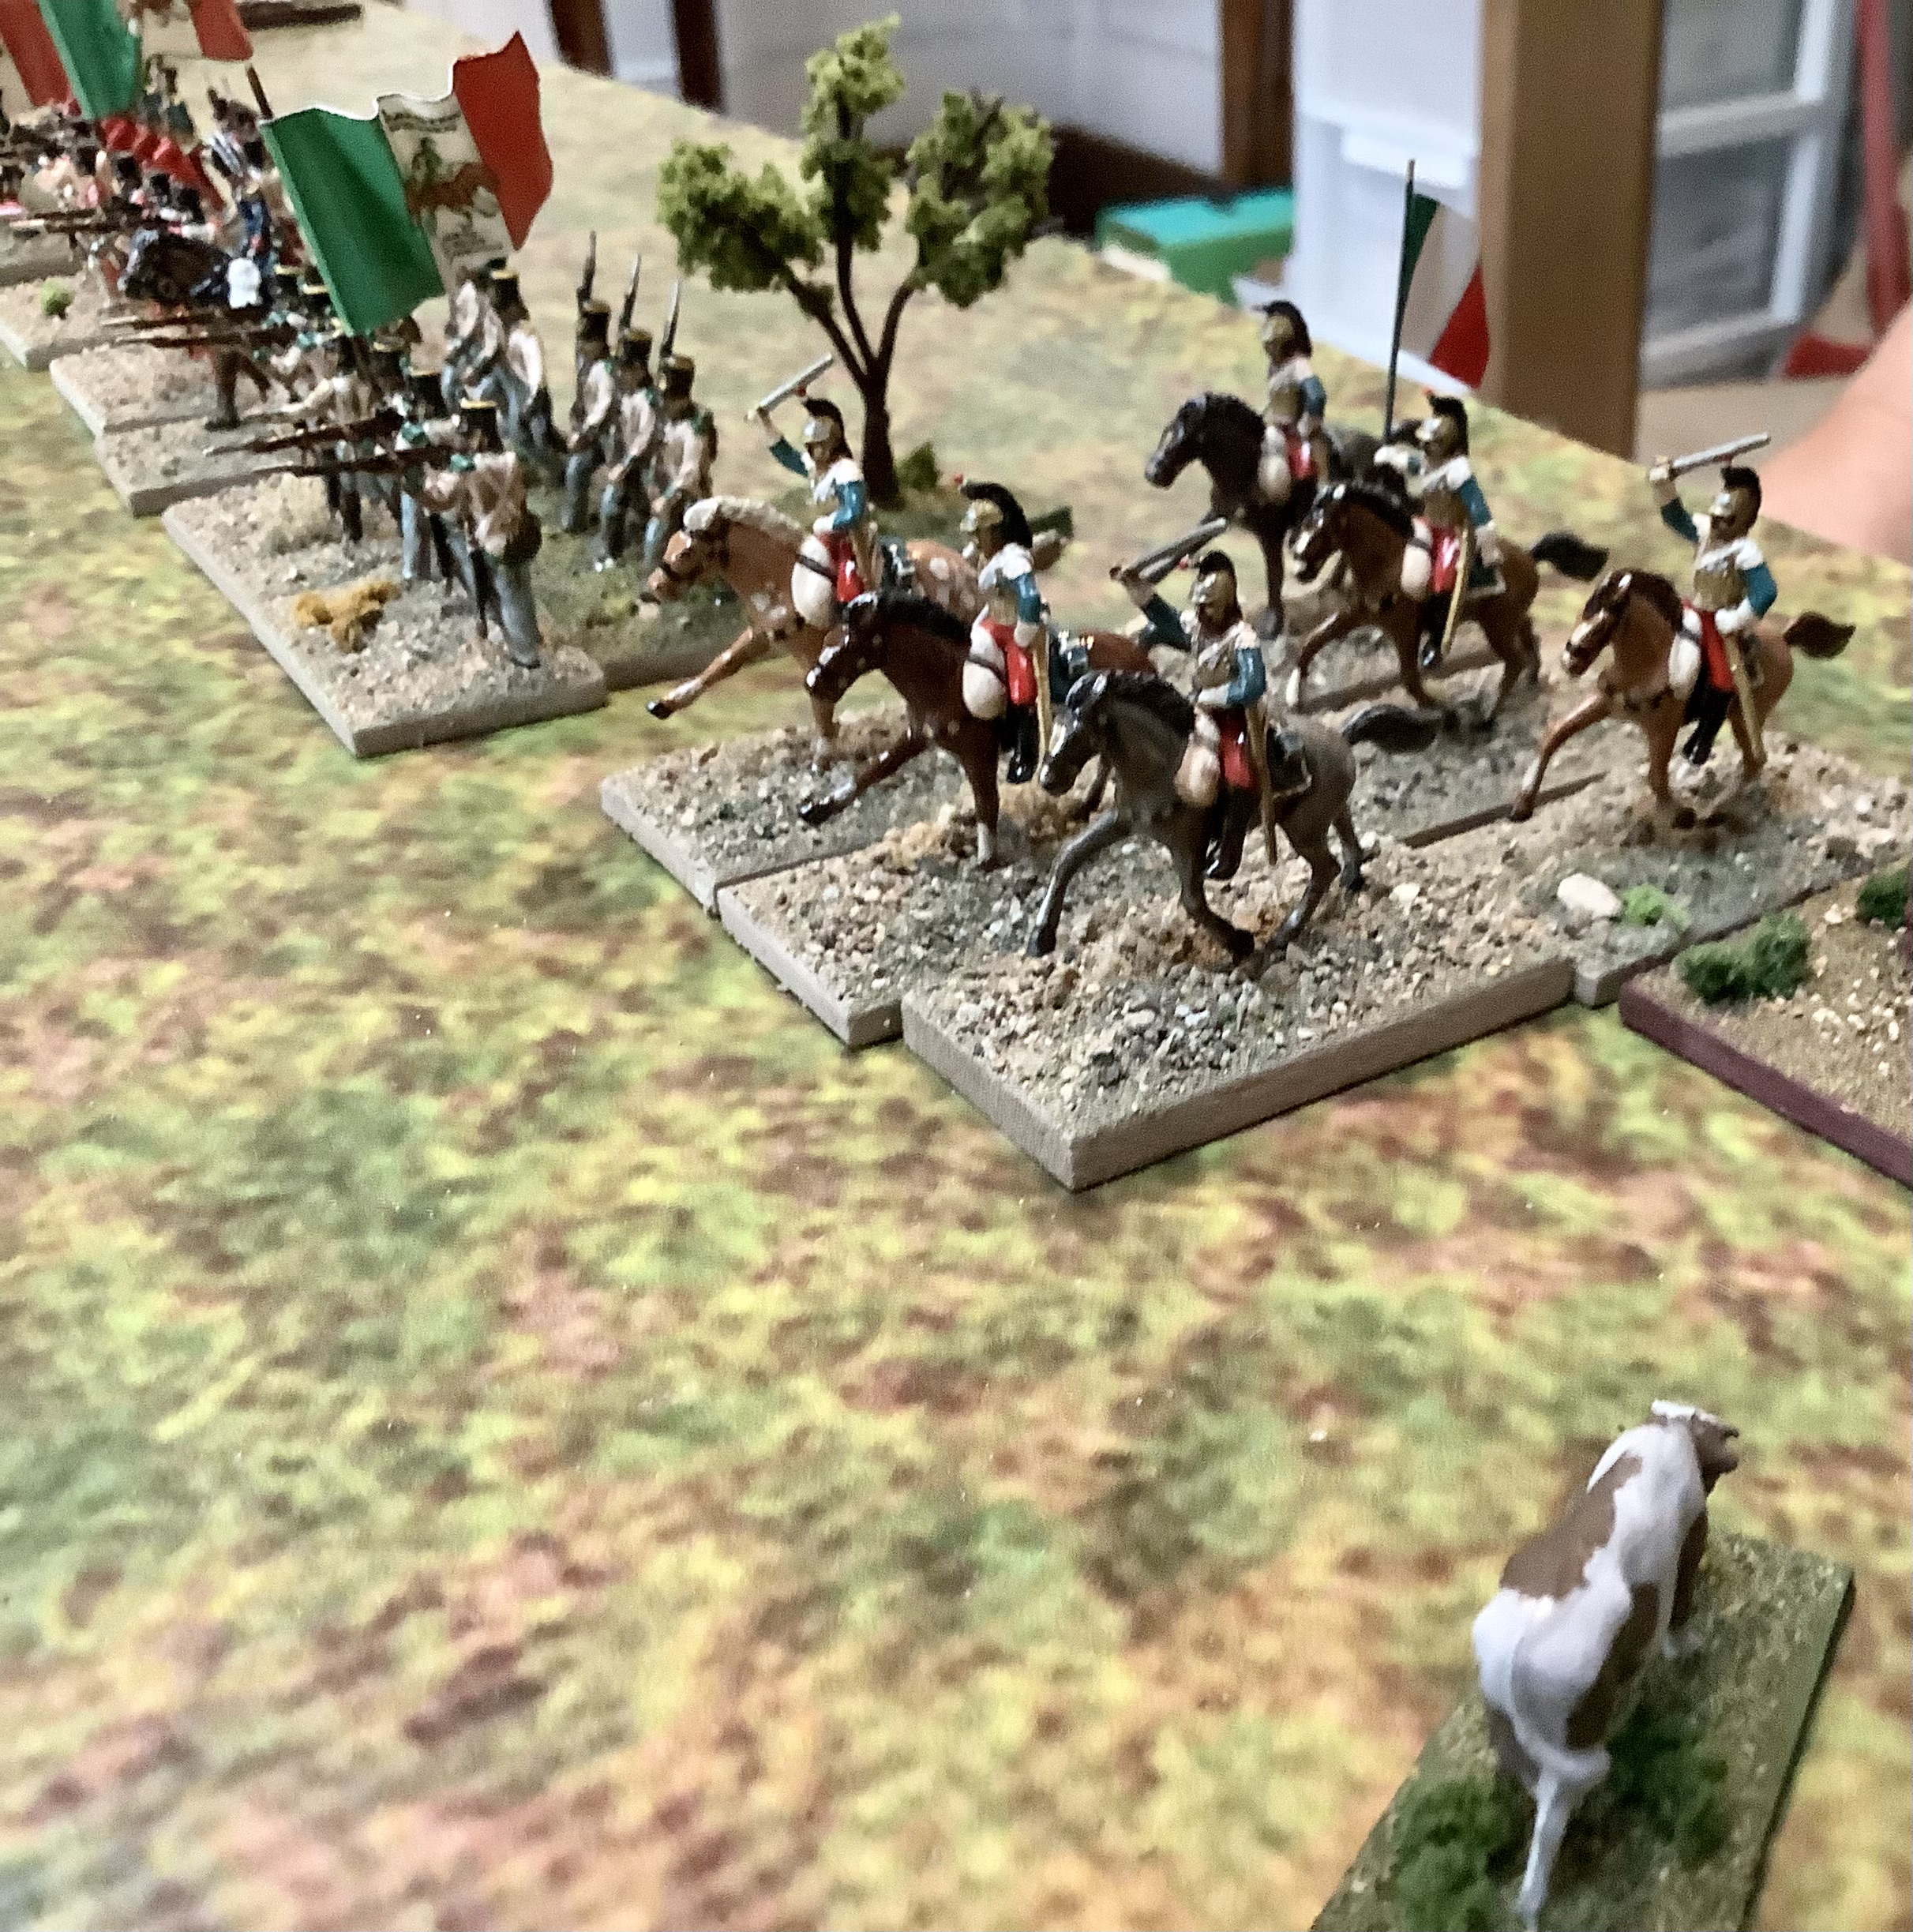
The Tulacingo Cuirassiers (converted from the Airfix French Cuirassiers)

The 2nd Dragoons impetously charge the Tulacingo Cuirassiers unsupported and are destroyed but take most of the cuirassiers with them. The Texas Ranger scouts finish off the cuirassiers as they refuse to move after their victory over the cocky Americans.

American reserves start to move up. The Provisional Battalion, Bragg's Flying Artillery (I need a limber!) The 1st Mississippi in red, the 3rd and 7th Regulars and the 2nd Indiana (barely seen), The 2nd Indiana simply would not move until it was too little too late. 

Nice shot of the 1st Mississippi. Converted from the Airfix Confederate set and painted by JZ. It's hard to see in the picture but JZ put ramrods in the ground in front of the shooters.

The Mexican battle line begins to cross the road. General Vega (on the right) directs them.

The San Patricio Battalion (Irish). If captured by the Americans they would be hung and historically were. In the game they must have known their fate because they usually refused to move!

The Mexican 2nd Line Cavalry. They rode down the Texas Rangers as the Rangers failed to evade. Sigh. The cavalry would survive the game bragging about the destruction of the hated Texans.

Nice shot of the 3rd Regulars. Figures by IMEX.

The Provisional Battalion of artillerymen serving as infantry. Historically, the Americans had more artillery crews than they had guns!

The Americans form a battle line to face the Mexican battle line. The difference was the American battle line fell apart.

The American Voltigeurs did their job until they reached 1\2 strength. They fell back to the woods and stayed there.

The Mexican 2nd Line Cavalry. I believe they are converted from the Strelets set of Napoleon's Guides

The Mexican left center. My opponent mixed his militia and regular units well minimizing the risk to poorly trained militia. The Mexican artillery (far right) was well served.

The 3rd US Regulars get to the top of the ridge only to be driven off by the Mexican artillery and an  impressive battle line of Mexican infantry,

The picture is a little blurred but I think it's the Tampico Coast Guard. My friend (JZ) has produced a very colorful and unusual army. It added a lot to the game.

My ill fated flanking move. Once the 1st Mississippi left the cover they got shot to pieces by the Mexican artillery and infantry. It proved to be a poor decision on my part since the 1st Mississippi were as good as the regulars.

The Americans have lost the advantage by now. My flanking move is doomed to failure and the regulars are held in place by the Mexican infantry battle line and artillery. My own artillery was taken out and largely ineffective.

The Mexicans are refusing their left. I hoped to take advantage of the weakness but to no avail. The cows were not concerned with the sounds of battle.

Looks like one of the last scenes from the 1962 version of The Alamo!

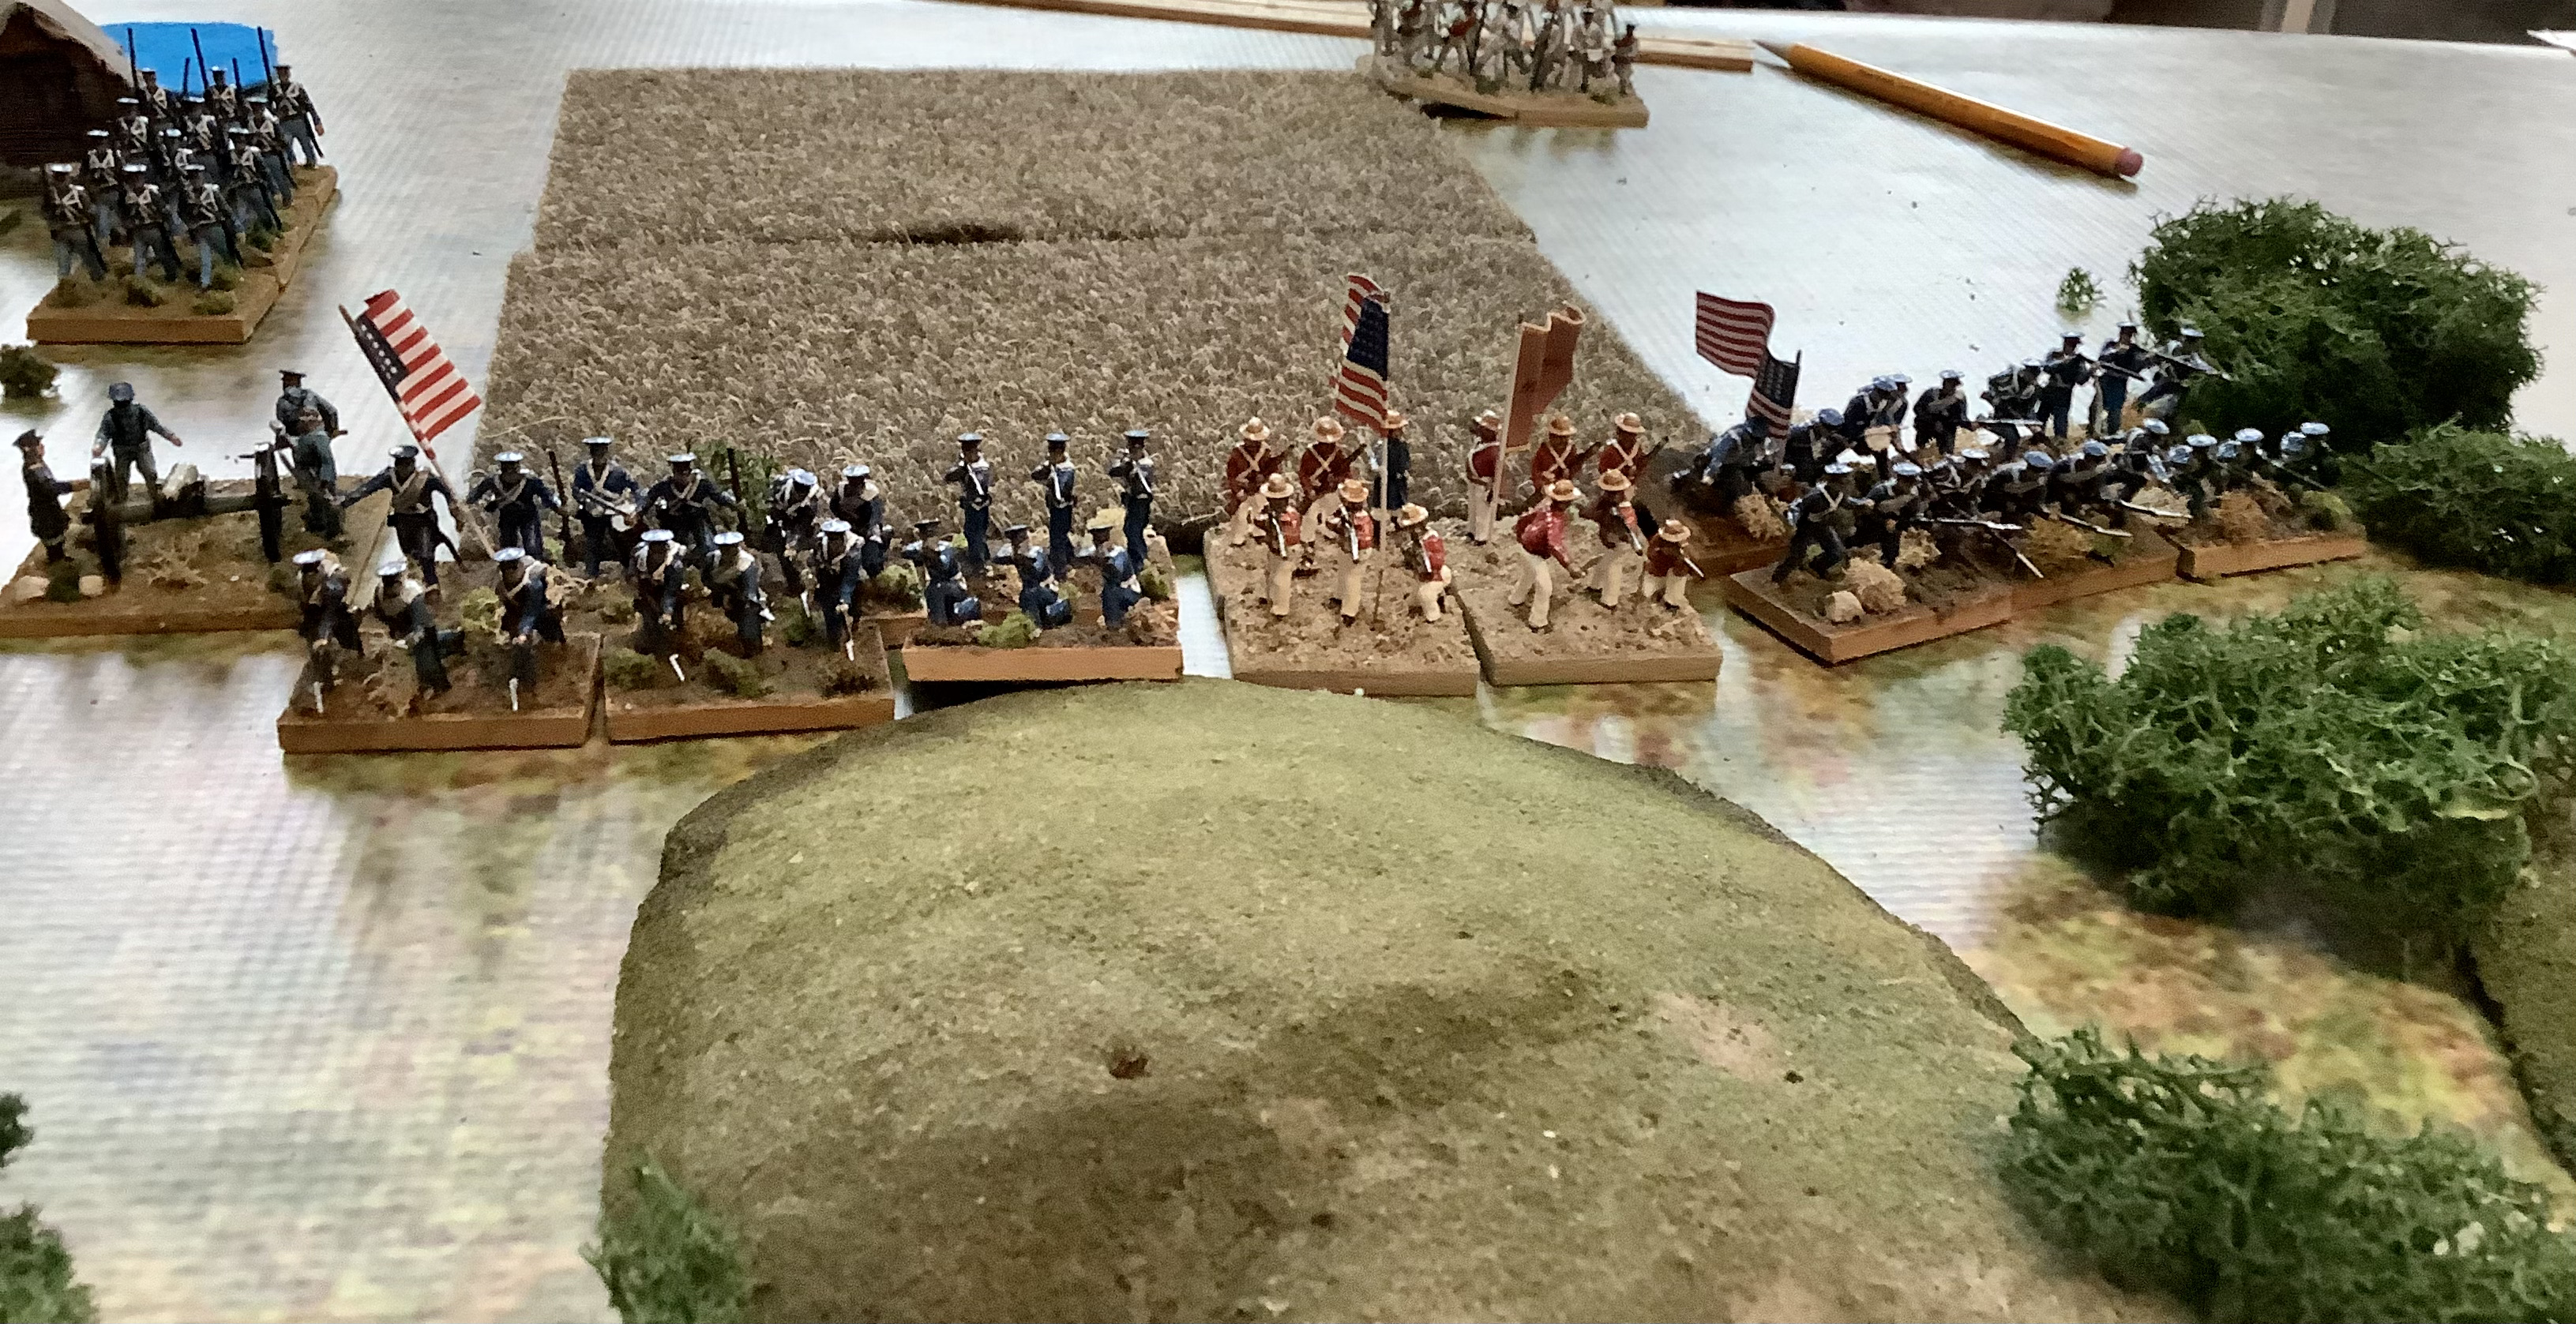
You can see disorder markers on the 2nd Indiana, 7th Regulars and the remnants of the 1st Mississippi. The Mexican battle line is intact. A charge on my part would have been a forlorn hope so I conceded. Viva Mexico.

The game was a lot of fun. The Mexican War is a period we never thought we would get too but Rebels and Patriots have made a lot of things doable.

As noted some of the figures are conversions from various sets but most of the figures are from the IMEX sets for the period.