
Official report of the recent action at Chantilly, Virginia, September 1, 1862
( Also referred to as the Battle of Ox Hill )
With Union forces retreating following the Battle of 2nd Manassas, Jackson sent Confederate forces against the Union right to try to disrupt the attempts to fall back and reform. General Pope who had lost all aggressive strategies ordered the retreat to continue. Generals Kearny and Stevens took it upon themselves to turn and face the pursuing Rebels and attempt to slow their flank turning action by standing at Chantilly. Rebel troops were forced to turn and face the blocking movement resulting in the action between the Little River Turnpike and Ox Road.
The game attempted to simulate that small action by setting the defensive Union line and letting the Confederate forces try to skip by the front and continue the flank move. With the Union lines holding firm Rebel units battered the far Union right to the near breaking point. With losses mounting on both sides the musketry duel continued into a stalemate where the Union troops could neither advance not permit their units to retreat. Confederate units kept up the pressure but could not muster up enough strength for the final push to the flank and crossroads.
The Union left held firm and prevented Rebel forces from reinforcing the flank move. The action ended with both sides refusing to yield keeping up a deadly firefight. The Union forces were awarded a minor tactical win as Rebel forces did not reach the vital crossroads.
Note: The pictures are in no particular order.
The figures used are mostly Musket Miniatures (metal 22mm) and classic Airfix HO plastic ACW. Also represented are Revell and IMEX.
Rules were the old version of On to Richmond. Units were regiments rather than OTR's brigades. Regiments portrayed are not necessarily the regiments that were actually at the battle.
 |
| The 7th WI advances to meet the Reb attack on the Union right. |
 |
| A look down the line at the 5th NY and 14th Brooklyn. The card markers are used for unit placement, brigade names and the Generals in charge. |
 |
| Part of a Georgia Brigade make their way across the deadly ground led by the brigade general. |
 |
| Looking down the Confederate battle line, Alabama Regiments. |
 |
| The Alabama Brigade crosses the fence to take advantage of a weak Union center. |
 |
| Getting ready to advance |
 |
| Nice ground level shot! |
 |
| The battle heats up around the Reid House. At least three units have morale markers! |
 |
| Initial Confederate deployment. One regiment is well in advance of the main battle line. |
 |
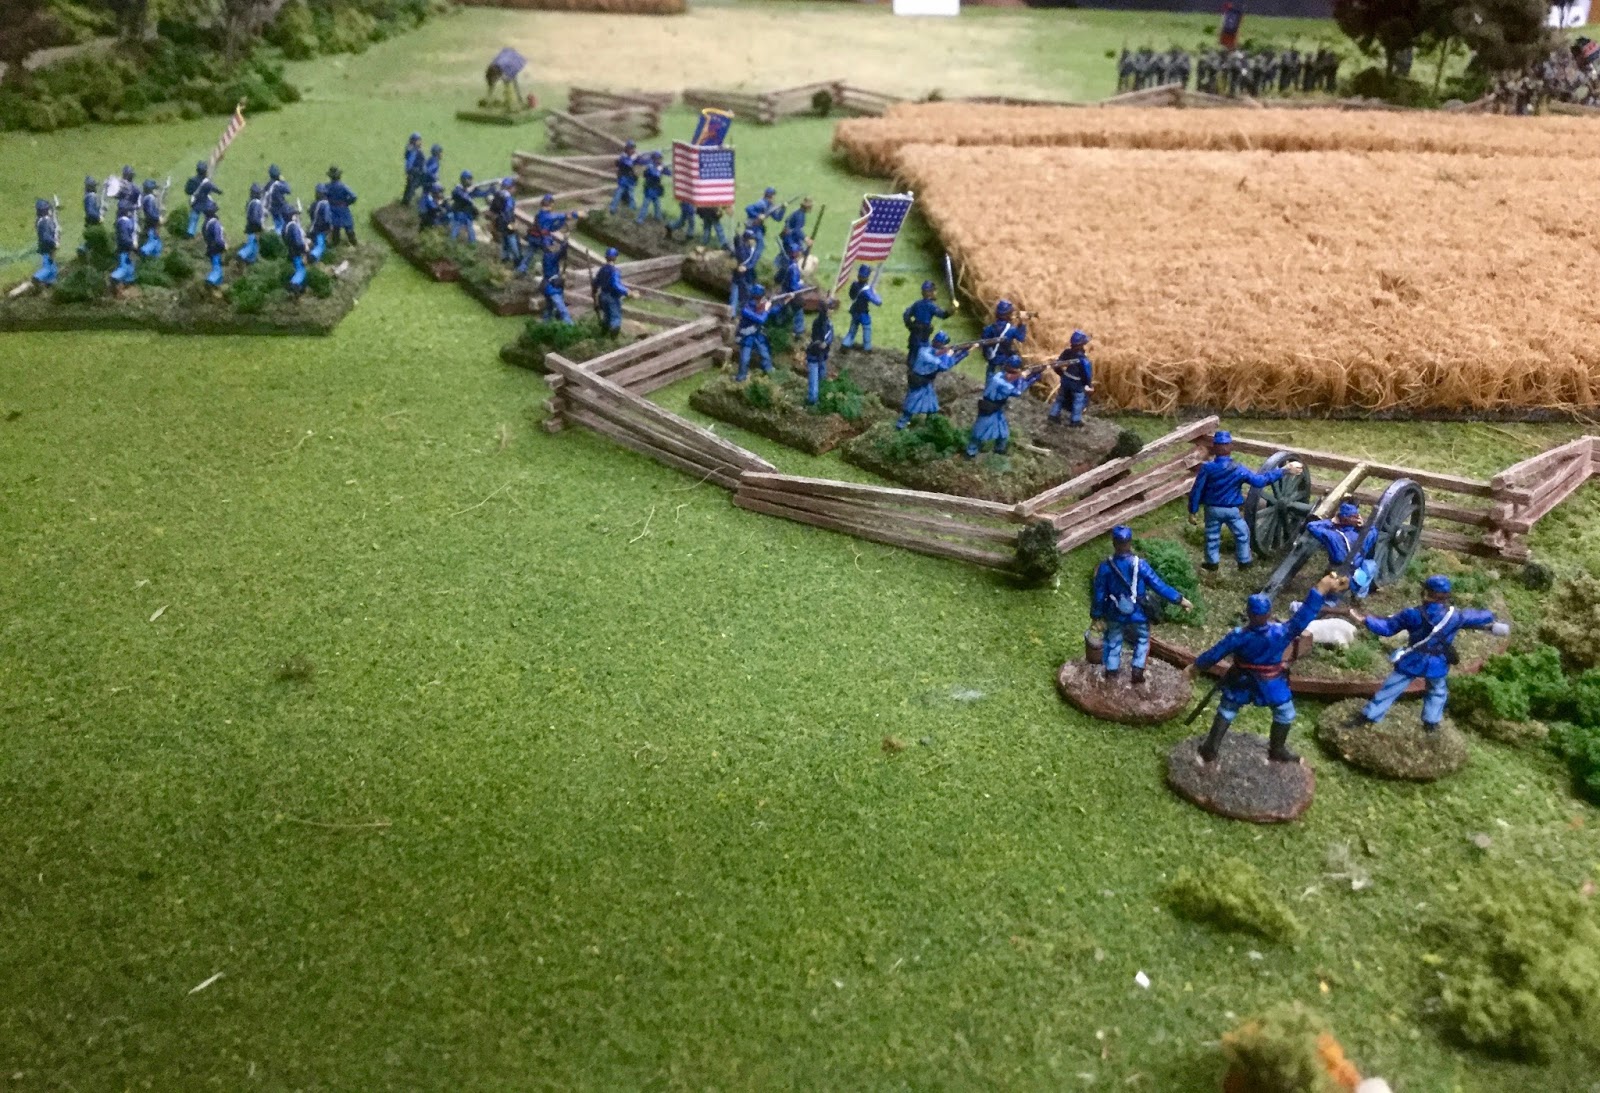
| A Union regiment (75th PA) makes it was across a wheat field in attempt to outflank the Confederate advance. They would fail. |
 |
| A unit of dismt Union cavalry add pressure to the Reb left. The dismt cav figures are plastic and from IMEX. |
 |
| The two LA regiments on the Union right suffered from uncanny Union marksmanship. This unit is already at 2/3 strengthen and its early in the game. |
 |
| Confederate pressure in the center would destroy the 14th Brooklyn Zouaves.The 2nd South Carolina is about to cross the fence. |
 |
| Airfoil Georgia Rebs delay the Union left by taking cover behind the fences in the area. |
 |
| The 14th Brooklyn had a morale loss that resulted in a rare revenge move that resulted in their destruction. |
 |
| The 14th Brooklyn down to 1\3 strength. |
 |
| The game board. The markers are for IDs and deployment positions. |
 |
| The Confederate Matthew Brady takes the picture of three eager "secesh." |
 |
| No color pics in 1862! |
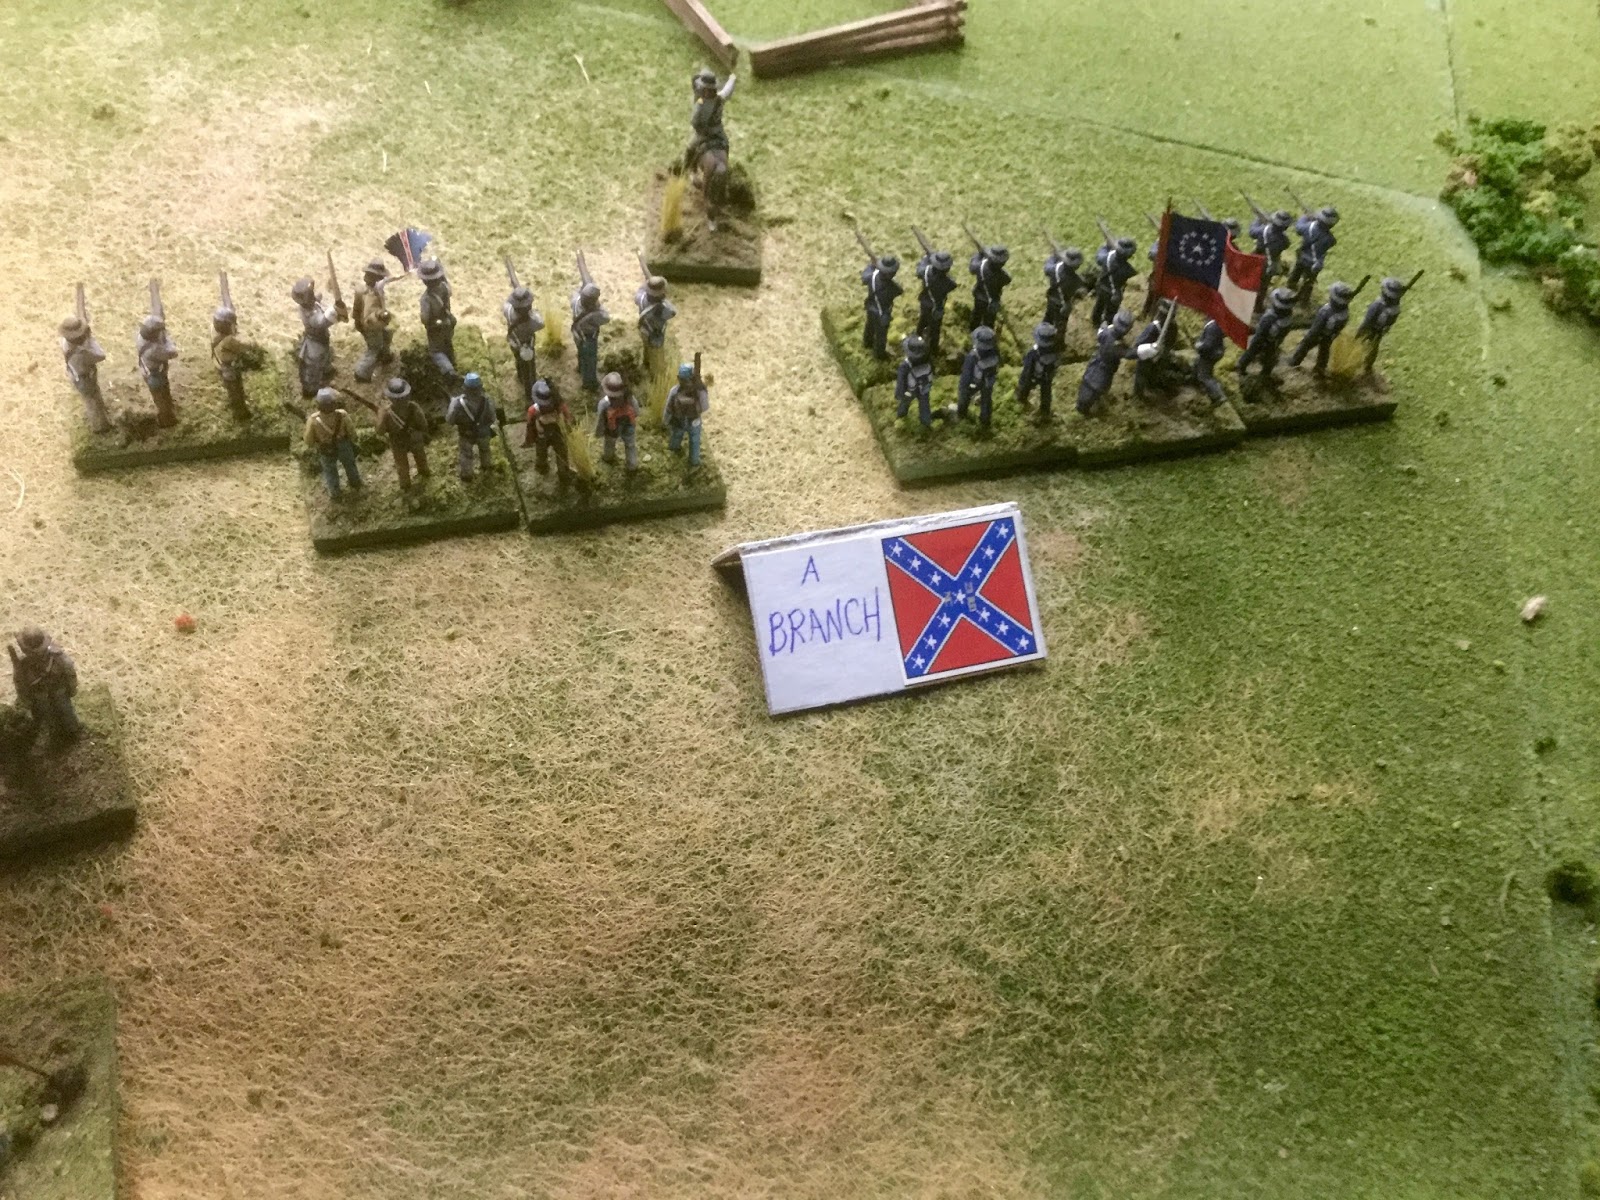 |
| Part of Branch's Brigade (Airfix figures) |
 |
| The 2nd South Carolina Regiment that screened the Confederate center advance. |
 |
| The rules call for 6 stand units. The number of figures on a stand are irrelevant but eye appeal is important too!Here are two regiments of Musket Miniatures. Musket Miniatures was sold and at the time of this writing nor longer available. |
 |
| Nice shot of the 14th Brooklyn, the 5th NY Zouaves and a section of rifled artillery. |
 |
| A Union battery makes it way to the crisis developing on the Union right. |
 |
| Part of Branch's Brigade front view. |
 |
| One of the nice buildings that added so much to the game. |
 |
| The road to Centerville and some more buildings. |

 |
| The Confederate right flank tasked with protecting the Confederate attack on the left flank. |
 |
| The game board featured cultivated fields to cross that were so typical in the ACW. |
 |
| The 6th, 7th WI and the 2nd US Cavalry did their job in preventing the "secesh" from talking the crossroad. |
 |
| The 2nd US Cavalry using their carbines. |
 |
| Nice shot of the Reb advance. The Confederates advanced boldly but it wasn't quite enough. For the Union though it was as Wellington said of Waterloo-a near run thing! |
 |
| You have to love Zouaves. |
 |
| The Union battery on the right. Revell figures I think. |
 |
| The Union left starts its advance. |
 |
| For a while it looked as if the Confederate right might collapse but they held on. This Reb unit is at 1\2 strength. |
 |
| Doesn't look good for the boys in blue! Flank is in the air! |
 |
| The Union right falls back to protect the critical cross road. The Union suffered terribly but denied the enemy the crossroad. |
A splendid time was had by all-thanks to JZ, JR and MS!
3 comments:
Awesome report, splendid photos and minis...and terrain!
Cool Blog mate, link added
Thank you for stopping by and your kind words mate!
Post a Comment