
The forces used were almost double the basic field forces of 24 points suggested in the rules. Nevertheless, the game flowed quickly and we had a conclusion within 3 hours.
The scenario I selected was "A" Just Passing By, a type of meeting engagement where the two sides are trying to get somewhere else but pass by each other and in the process decide to try and stop their opponent from achieving getting somewhere else! It was and is an interesting concept for a scenario.
I used a card system to activate groups of units rather than the "I go, you go" type system in the rules. The cards add a bit of the fog of war and create opportunities for advantages as well as potential disasters. A red card activated a British group in the OB and a black card the Zulus. The British had two cards and the Zulu's three.
The Order of Battle is as follows.
British forces under Captain Wilberforce:
A Squadron Mtd. Inf. (8 figs)
A Company 90th Foot (12 figs)
B Company 90th Foot (12 figs)
First section, Batt. C, Royal Artillery (7pdr)
British Forces under Lt. Milne
B Squadron Mtd. Inf. (8 figs)
A Company NNC (Natal Native Contingent) (12 figs)
B Company NNC (12 figs)
RMLI (Royal Marine Light Infantry) (12 figs)
Second section, Batt. C. Royal Artillery (7pdr)
Zulu Forces under the over all command of Prince Dabulamnzi kaMpande
Left Horn
Elements of:
nDhloko (16 figs)
uThulwana (16 figs)
inDluyengwe (16 figs)
Composite firearm unit (16 figs).
Chest
Elements of:
umHlanga (3 units of 16 figs)
Right Horn
Elements of:
umBonambi (3 units of 16 figs)
Composite firearm unit (16 figs)
Total Imperial Units=9
Total Zulu Units=11
Total Imperial Units=9
Total Zulu Units=11
The Zulu players elected to use the traditional charging bull tactics. The left horn was to advance to the heavy rocky area and block the British force from proceeding toward their "passing by" exit objective. Meanwhile, the right horn was to either proceed to achieve their exit objective by passing by the British or, if opportunity presented itself envelope the British force.
The chest was to support either of of the horns or both if necessary.
The right horn was almost immediately stalled and shot up by the British artillery and unable to either exit or envelope.
This caused the Zulu players to "go impetus" and launch an attack on the British position from the left horn and chest.
This attack initially fell upon Captain Wilberforce's command which inflicted heavy casualties on the Zulu's. It wasn't enough as the left horn crashed into the 90th and mounted infantry eventually destroying all of them (at great cost).
Meanwhile the chest took out Wilbeforce's 7 pdr gun section, one unit of the NNC and surprisingly the RMLI who failed miserably in their efforts to stop the charge. Nevertheless, after their initial charge two of three Zulu units stalled and suffered greatly from both gun sections before over running the NNC and RMLI.
On the British left Milne's other unit of NNC and other mounted infantry squadron advanced upon the stalled right horn eventually destroying them all and then moving on to destroy what was left of the chest.
Their advance proved to be the key victory as the Zulu's were more exhausted than the Imperial forces. A near run victory was granted to the Imperials.
More details below although the pictures are not in any kind of sequence. (It's hard to be a player, game master and combat photographer all at the same time!)
 |
| umHlanga of the chest of the bull forming for the charge. Two of the three units had poor leadership but they made the initial charge! |
 |
| The left horn that would take out both companies of the 90th Foot at great cost to themselves. |
 |
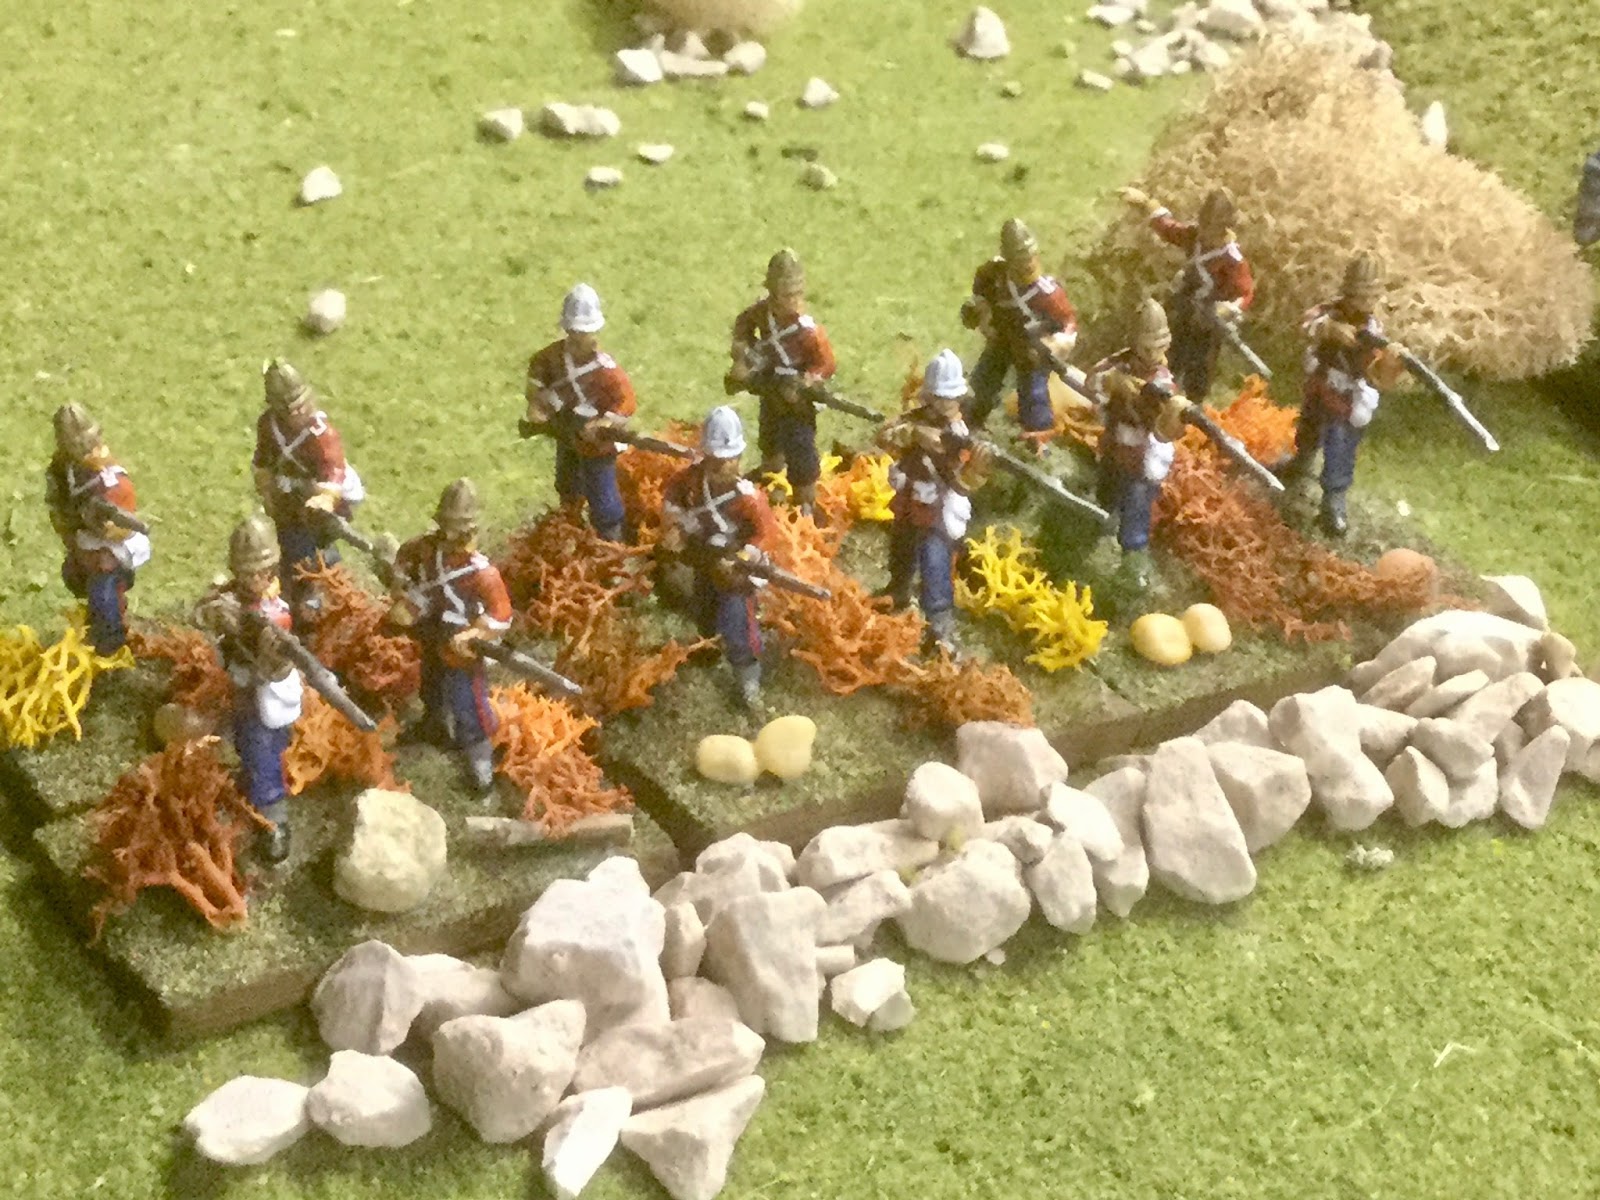
| The 90th formed up shoulder to shoulder for volley fire on a rise giving a good account of themselves before being over run. |
 |
| One of the mounted infantry squadrons. The figures in the game were HAT and ESCI\Italeri. |
 |
| The right horn that suffered from artillery fire and could not close with their tormentors! |
 |
| Left Horn and Chest units moving into position. The terrain provided some dead ground which allowed the Zulus to get close enough to launch an effective assault. |
 |
| One of the NNC units. Both NNC units performed well although this one was destroyed. The RMLI are moving up to take position of hill while the NNC are on part of it and moving through the mealie field. |
 |
| The stalled right horn. They did keep Milne's force busy though. |
 |
| This was a formidable position but part of the chest managed to close with the NNC and destroyed it. The RMLI had a terrible turn with the dice as the victorious Zulu unit crashed into them as well. This part of Milne's command was destroyed but the Zulu chest was badly hurt by other units and eventually destroyed by was left of Milne's force. |
 |
| This was a tough nut to crack but the left horn and chest managed to co-ordinate the assault thus providing too many targets for the 90th. Nevertheless, the 90th performed heroically as did the attached mounted infantry. The hilly terrain helped! |
 |
| The chest right before leaving cover to assault the British center. |
 |
| The original blocking force from the left horn. The large rocks provided for an excellent position and the British could not advance. |
 |
| This company of the 90th piled up loose stone to create an obstacle (it was for looks). |
 |
| A supply wagon from IMEX with a few HAT British provide for a nice vignette. |
 |
| One of the NNC units that did themselves proud. |
 |
| The other unit of mounted infantry that survived the battle. |
 |
| The hill is covered with Zulus preparing for the assault. The small white paper on the right is a reminder of unit going to ground. The larger white paper is the regimental name. The Zulu's were just as proud of their regiments as the British were of theirs. |
 |
| Close up. Each unit has a number of bases with figures either mounted as singles, doubles or triples to facilitate casualty removal. This helps in the larger games. |
 |
| The end of the right horn. Stalled and getting shot to pieces! |
 |
| The start of the assault as the left horn and chest try to close. The right horn at this point was pinned but the British commander could not totally ignore them lest they rally. |
The game was a great success and much fun was had by all!
7 comments:
Wow, beautiful looking game Bruce, these minis are just superb...and the terrain atmospheric!
Many thanks Phil. It was great fun too!
Excellent battle report as always! Your minis are great, I particularly like your Zulus shields.
Thanks for stopping by Phil. The Zulu and NNC shields are much easier to paint than the Italeri\Esci ones because the stitching is raised-a big help for old eyes!
excellent figure
einfach klasse
auch die base gefallen mir sehr gut
Excellent battle report as always!
บาคาร่าออนไลน์
gclub
Thanks for stopping by and the encouraging comment!
Post a Comment