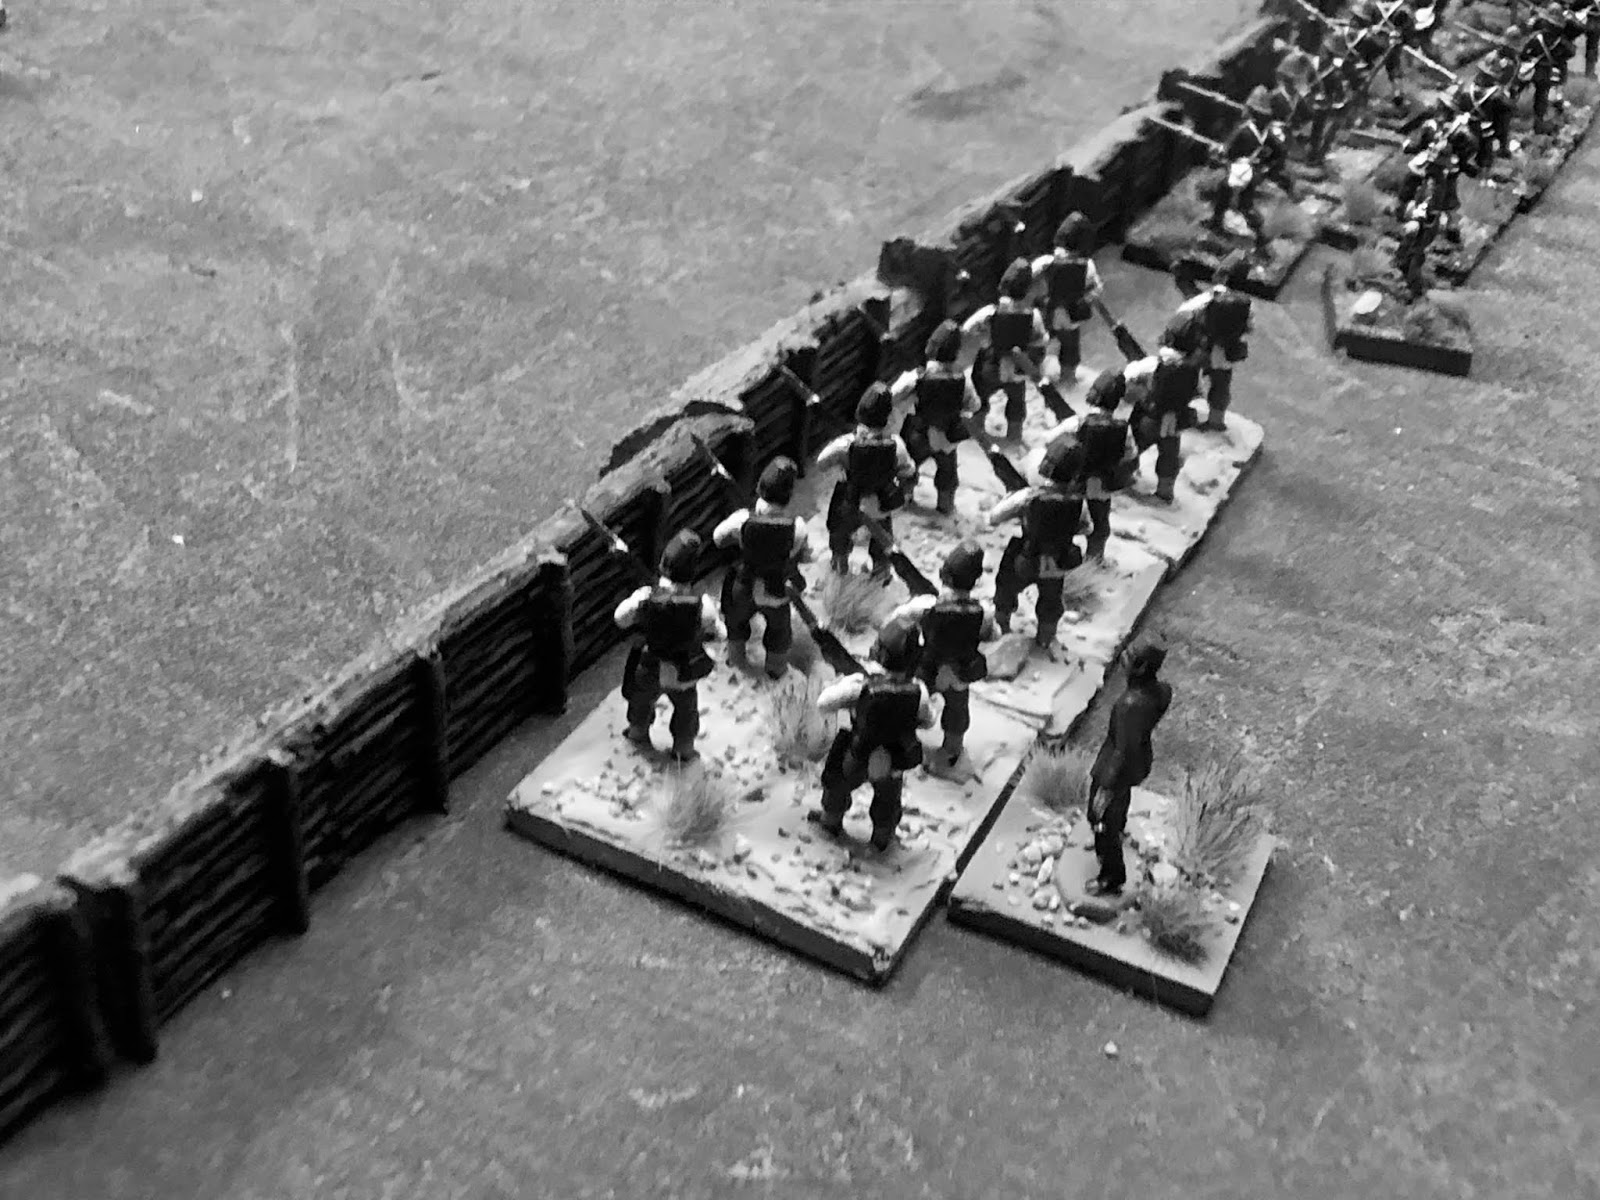
Recently, I ran a game based on the new rules,
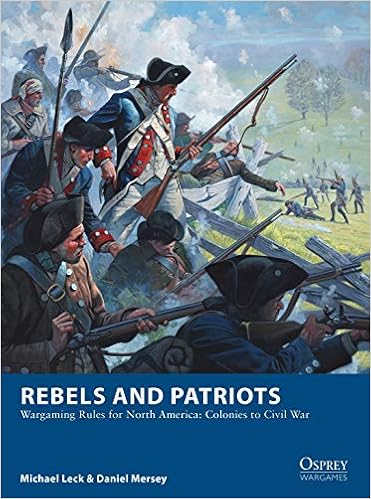
Rebels and Patriots by Michael Leck and Daniel Mersey.
The rules cover small scale warfare in North America from the time of the French and Indian War to the end of the American Civil War. Having played numerous games with
The Men Who Would Be Kings I expected similarities in the gaming mechanisms used and they were.
There are enough differences however that required me to run an experimental game to make sure I got the rules right. After all, similar does not mean same.
I selected their first suggested scenario as my test. The scenario pitted two equal point value forces against each other for the control of a small ridge. In that scenario there is very little terrain and as a result it's a bit easier to get your mind around what the author's intended.
I pitted a Loyalist\Native force of 24 points against a Rebel\Patriot force of 24 points.
The Loyalist\Native force was built around Butler's Rangers (12 figs) as Light Infantry, Johnson's Royal Greens (6 figs) as Skirmishers, a small unit of Loyalist militia (6 figs), 2 war bands (12 figs each) of Mohawks and two war bands of natives (18 figs each) from the Iroquois Confederacy.
The Rebel\Patriots consisted of the 2nd New Hampshire Continentals as Light Infantry (18 figs), 4 militia units of 12 figs each and one unit (6 figs) of Skirmisher sharpshooter riflemen.
Somehow I got all the point values to add up to 24. (One of the strengths of the rules is that each category of troop type can have as many as 6 modifications to the basic modifications.)
I set up the units and told the players they could deploy them one at a time in any way they saw fit. Their goal was to take and hold the control point on the ridge in the middle of the table. I walked them through the rules to explain the differences from TMWWBK.
I took each turn slowly in an effort to get the rules right as the author's intended instead of making up house rules before we knew the basic rules.
The pictures from my iPhone are so-so and I had little time to pose shots and get a true feel for the action.
The Loyalist\Native commander decided to try a double envelopment of the ridge by using the numerous bands of natives. The Loyalist units would take the ridge and hold it. The best unit on the Loyalist side was the Butler's Rangers and they were positioned dead center.
The Rebel\Patriot commander also deployed his best unit, the 2nd New Hampshire dead center. Each flank consisted of two units of militia and his left flank held the deadly rifle skirmish unit with a range of 24".
Butler's Rangers and the Royal Greens took the control point early on virtually uncontested. They were held there by the 2nd New Hampshire with both sides content to trade fire (for now).
The right flank native units had a difficult time passing an activation test and thus could not co-operate with the two Mohawk units advancing on the Loyalist left. The Mohawks, who did not have cover (not that it would have mattered) took immediate causalities from the rifle unit. In the rules light infantry and skirmish infantry always count "open ground" for their targets-hence the Mohawks could not hide even if they wanted to.
The Loyalist commander wanted to close with the natives because they had a significant advantage in melee.
The native units could never get it together for a combined unit attack. The militia on both flanks could and did and so shot the native units to pieces long before they could get close enough to use their tomahawks to any affect. One unit got to within 3" of a militia unit before it was routed.
In the meantime as the 2nd New Hampshire faced off against Butler's Rangers the Loyalists lost the skirmisher Johnson Royal Greens to the deadly rifles and their small unit of unenthusiastic Loyalist militia.
The 2nd New Hampshire did not attempt to close with the uphill Butler's Rangers. The Loyalist\Native force was totally destroyed except for the rangers.. The rangers would have been easily surrounded so the Loyalist commander called it a day.
The game was 24 points per side but the result was as lop-sided as it could be. The Rebel\Patriots lost only two figures to the Loyalist\Natives who lost virtually everything.
Below are some of the better pictures that I took during the action.
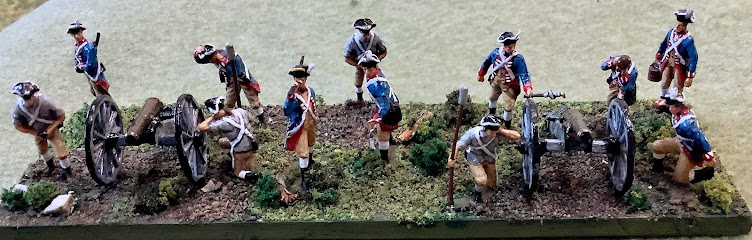
It's important to note that almost the entire Rebel\Patriot force was painted more than 40 years ago. The figures are all Airfix from the George Washington's Army set with many conversions. The one exception is 12 figures from the Revell\Accurate set and they were painted by me recently.
It was special to be able to use the old figures for this period.
 |
| Newline Mohawks led by an Italeri Joseph Brant. |
 |
| The deadly rifles screening the Revell\Accurate militia unit. The riflemen are Airfix conversions! |
 |
| Airfix Johnson's Royal Greens in the foreground, a small unit of (Newline) militia behind them and Butler's Rangers (BandBMiniatures) just about to crest the ridge. |
 |
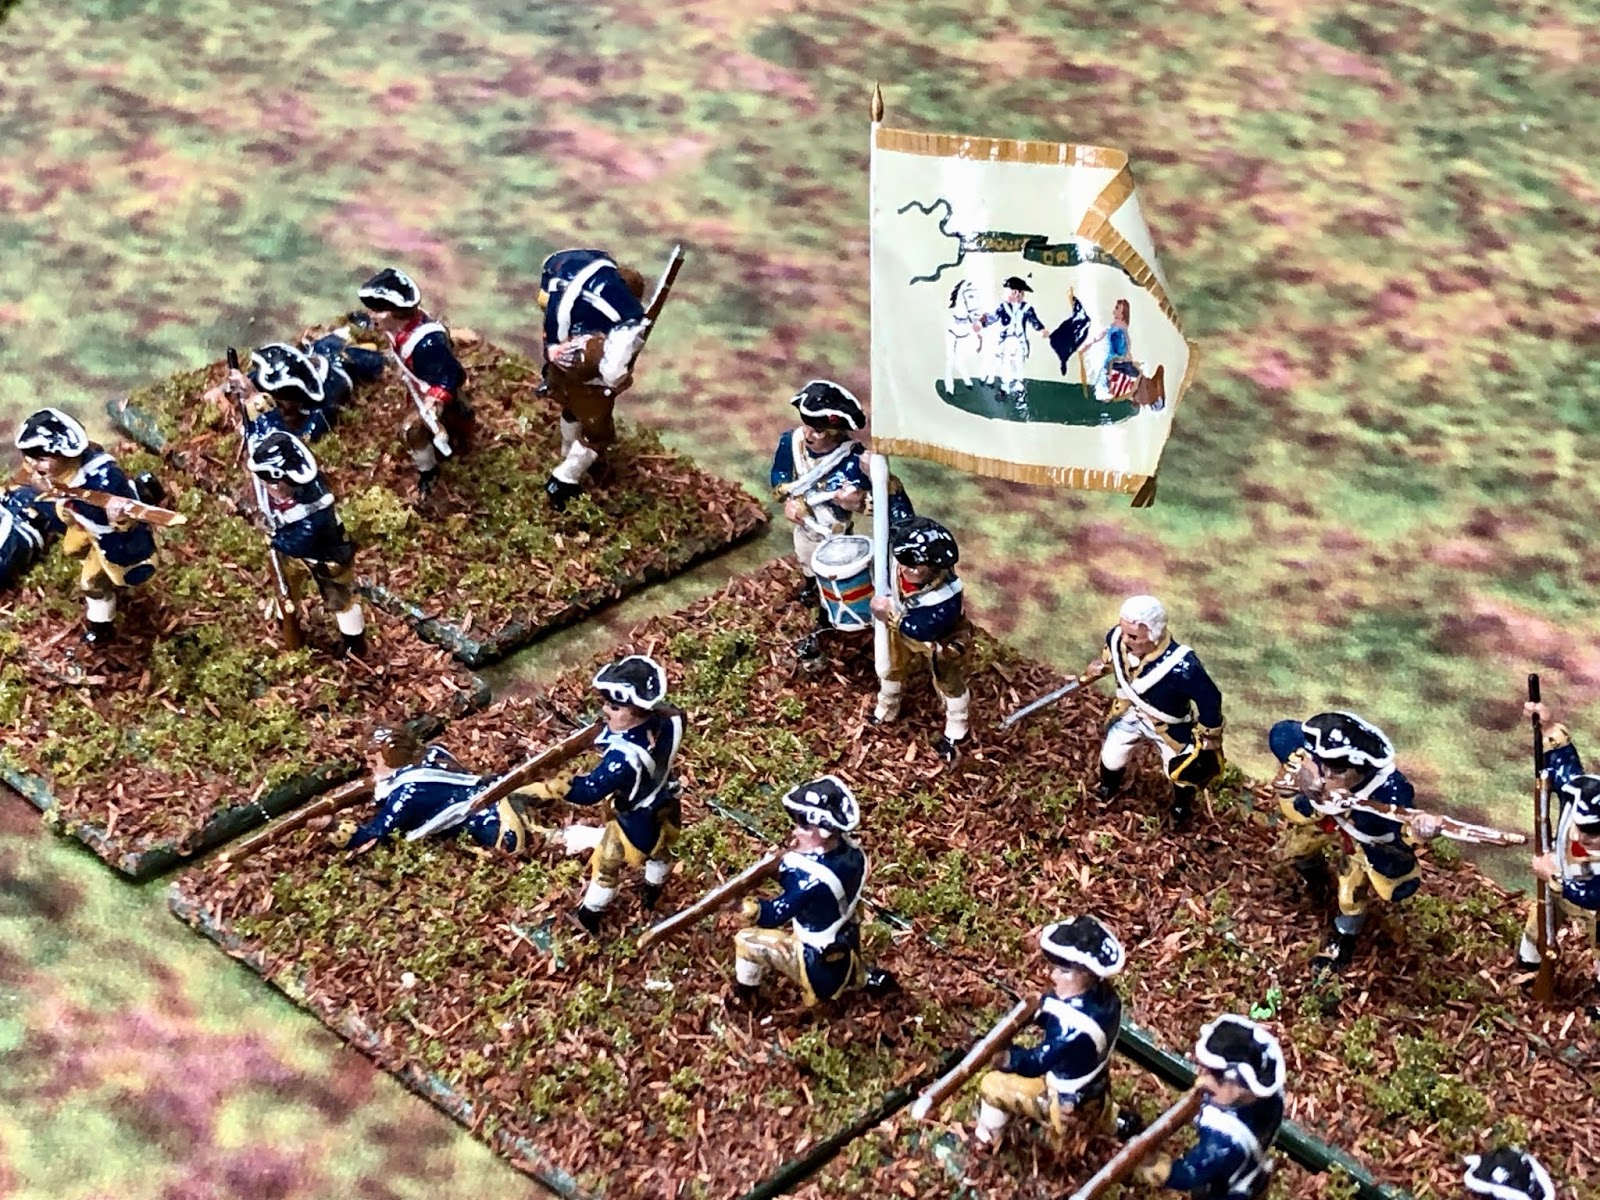
| The 2nd New Hampshire was a Continental unit that took part in the Saratoga Campaign. They were rated as Light Infantry in the game. These are Airfix figures painted over 40 years ago and lacquered for preservation sake. |
 |
| Don't Tread on Me! The native units facing them didn't get the chance to tread. (more Airfix figs) |
 |
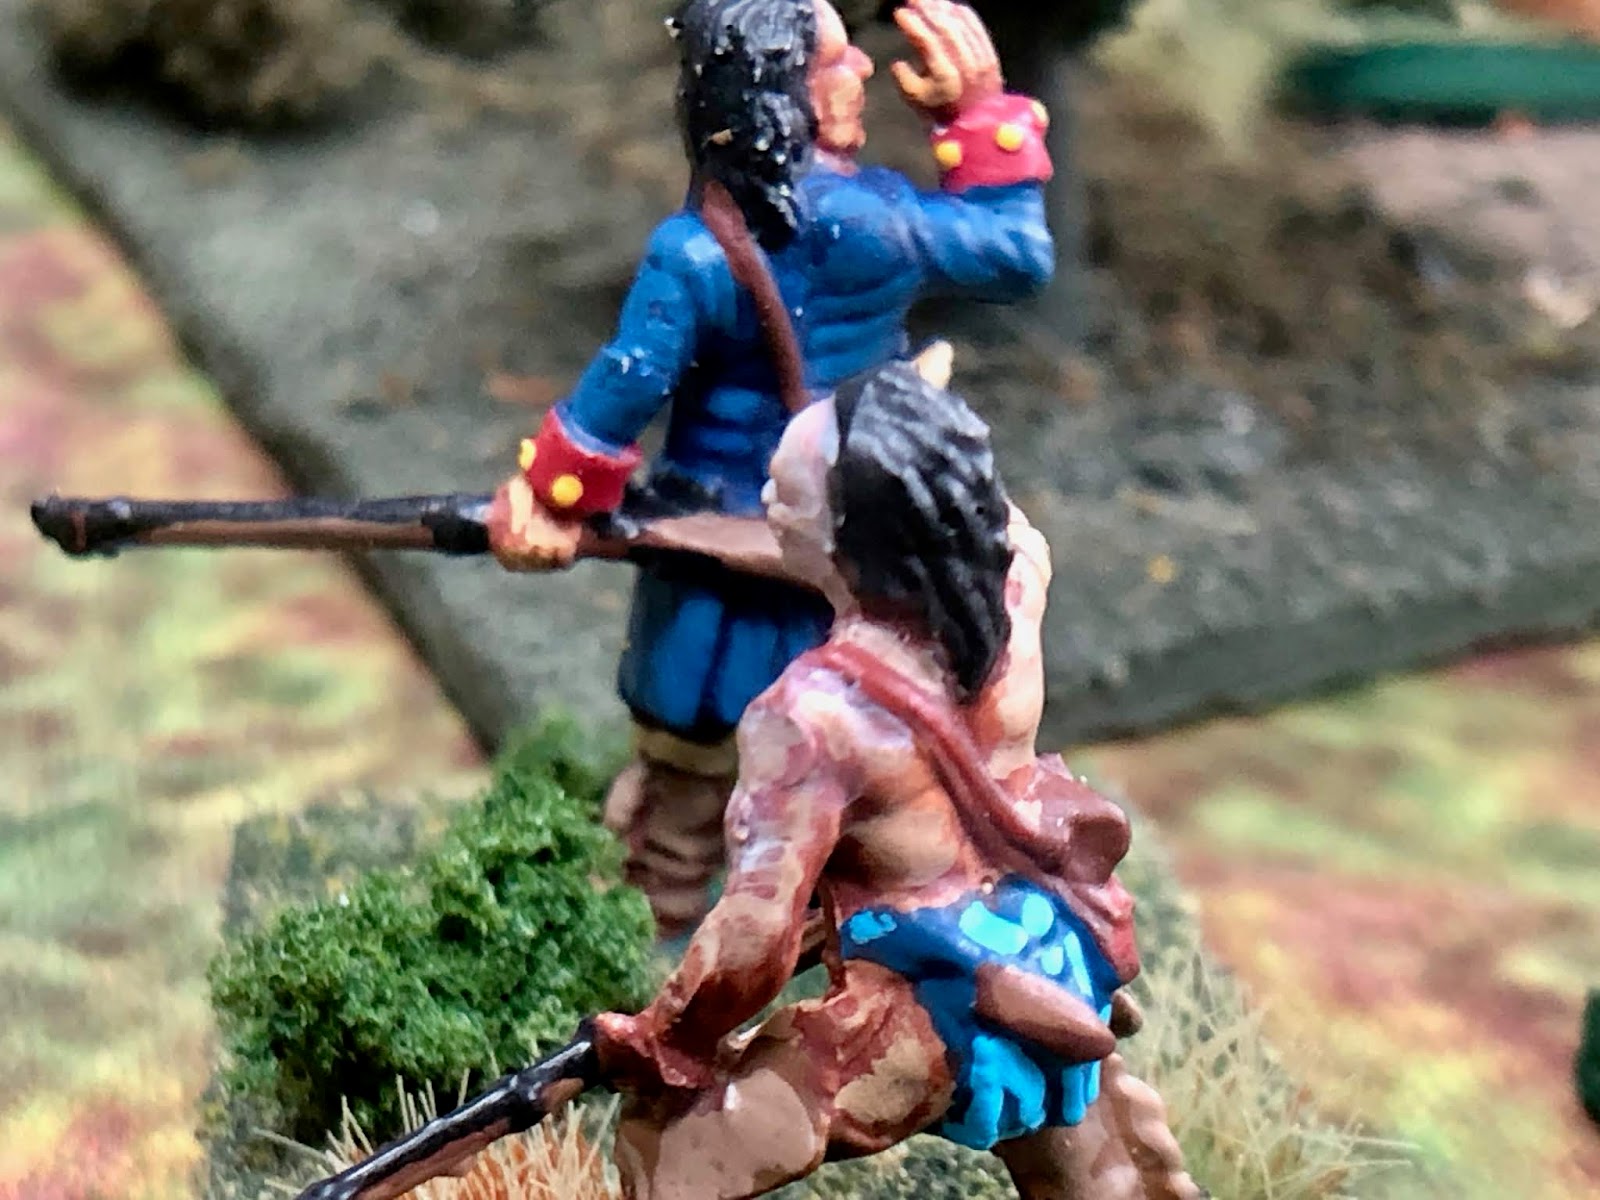
| Very intimidating! Italeri Native Americans painted to be part of the Iroquois Confederacy. Jospeh Brant managed to get 4 of the 6 tribes of the confederacy to support the British during the War for American Independence. |
 |
| A better shot of the Royal Greens. They had the misfortune of facing the Patriot rifles. Some Italeri Mohawks off to the right of the picture and some militia behind. |
 |
| The Mohawks never got close to the two units of militia and one rifle unit. The rifle unit was positioned to bring fire on the flank and center and did so with remarkable effect. It was an expensive point value unit however. |
 |
| About 2\3 of the table that shows the face off between the Butler's Rangers and the 2nd New Hampshire. The natives on the far flank can't get it together and went in piecemeal. |