Saturday, November 21, 2020

Scruby American War of Independence


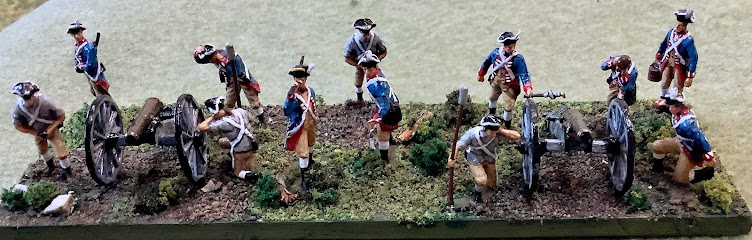
Scruby figures in 20-25mm scale were meant to be compatible with Airfix and although crude by today's standards they were popular. Since I have a bit of nostalgia in me I decided to rebuild part of my lost collections with Jack Scruby figures since I value the old "toy soldier" look they possess.

I found that most Scruby figures are still available through Historifigs.com, an outfit in my home state of Wisconsin.

Below are pictures of what I have thus far for my AWI collection.

The Germans from the Principality of Brunswick Wolfenbuttel. Almost 6000 soldiers were supplied for the campaign. Few returned to the their native land.

The collection is organized around the Osprey Rules, Rebels and Patriots.


The crazy quilt of German States around the time of the American Revolution

Brunswick Jaegers. One company of around 150 were supplied as part of the Light Infantry Battalion Barner. 


Brunswick Infantry Regiment Von Specht. Grenadier Company to the left.

Brunswick Infantry Regiment Von Specht.

The 21st Foot, the Royal North British Fusileers. They were part of the Saratoga Campaign.

The Queens Rangers, one of the premier Loyalist or Tory formations. They were not at Saratoga.

The Queens Rangers had a Hussar Company, pictured left. The British Dragoons are part of the 17th Light Dragoons. 


The Queens Rangers wore distinctive head gear and like most Tory units were clad in dark green. Later in the war many Tory units switched to red, but not the Queen's Rangers.


My Scruby British contingent, the 21st Ft, a light company and the 17th Lt. Dragoons

Brunswick Infantry Regiment Von Specht with the Grenadier Company.


Brunswick Infantry Regiment Von Specht with the Jaeger Company.

I have a few AWI Musket Miniatures which are not available anymore. They were marketed as 25mm but are close enough to integrate with the Scrubys. I buy them up when I can find them. They are better quality than Scruby. It was a fine line!


Friday, November 13, 2020

WW1 Palestine, Trial By Fire

This is the second post where my friend Jim and I have tried a set of World War One rules titled Trial By Fire.

The set is homegrown and really is a composite using mechanisms from other sets. It's written by a Turkish gentleman and is rather comprehensive; yet simple once you get the hang of it.

Although the emphasis seems to have an Ottoman flavor the rules are suitable for any combination of armies and enemies. The rules were published back in 2016 on Blogger (link above) and my only complaint is that the author has not added anything to what I think is a fine set of rules that are playable.

The rules are flexible with scale, as the author does provide a supplement for those who like a skirmish feel to games and those who like Division\Corps level games. Our preference is Battalion\Regiment and that seems to be the author's preference as well.

For this game we chose Palestine 1917. The armies pictures are newly painted and organized. As a second game test I was curious how a frontal assault on a semi-prepared position would work out.

I'll try to tell the story with the pictures below but first here is the scenario description and OB.

Scenario Palestine, 1917


An Indian Battalion reinforced by a British\Australian Support group has seized a small rail station that has interrupted the Turkish line of supply to a town down the road.


The Turks have responded with local forces in an attempt to drive the Commonwealth forces away.


Commonwealth OB


Main Force


1st Bn Rajput Infantry: Maneuver: 3 Battle Skill:3 Endurance:4

            4 companies, 1 Mg


Support


1st Squadron Australian Light Horse (Lewis LtMg) Maneuver:4 Battle Skill:4 Endurance:4

1st Platoon AC Yeomanry Maneuver:4 Battle Skill:4 Endurance:3

1st Co, 1st Bn Staffordshires + Mg Maneuver:4 Battle Skill:4 Endurance:4

Royal Horse Artillery Batt. Maneuver:4 Battle Skill:4 Endurance:4


Ottoman OB


Main Force


Local Response Forces

Combined Turk\Arab Bn, 4 Co’s plus MG: Maneuver: 3 Battle Skill:3 Endurance:3

2 Squadrons Cavalry: Maneuver: 3 Battle Skill:3 Endurance:4

1 Batt Lt Art.: Maneuver: 4 Battle Skill:4 Endurance:4


Reinforcement Support Force


Turkish Infantry Bn, 4 Co’s plus MG: Maneuver: 3 Battle Skill:3 Endurance:5

Off board Hv Art with limited ammo; (Available on a roll of 1-3) 


Victory Turks


Major Victory seizes the rail station itself.

Minor Victory takes the high ground to the flank of the station in an attempt to encircle.


This is a pre-game shot and doesn't show the rail line that was added later. The armored car is a Lancaster of unknown origin. It was an eBay find. The unit to the left of the picture is a British company while the unit behind the walls is Indian.

Turkish cavalry after they finish off  an Australian Light Horse Squadron holding the hill. The Turkish infantry did most of the work!

A better shot of the Lancaster.  The Australian Light Horse and AC were pickets. The Australians did not withdraw in time but the AC did.

The Turks arrive on the British\Commonwealth flank. One interesting aspect of the rules is that they allow for "squads" small speciality units like light mgs, snipers and mortars. In this case it's a Turkish sniper squad.  It managed to get a hit on the Aussie Light Horse.

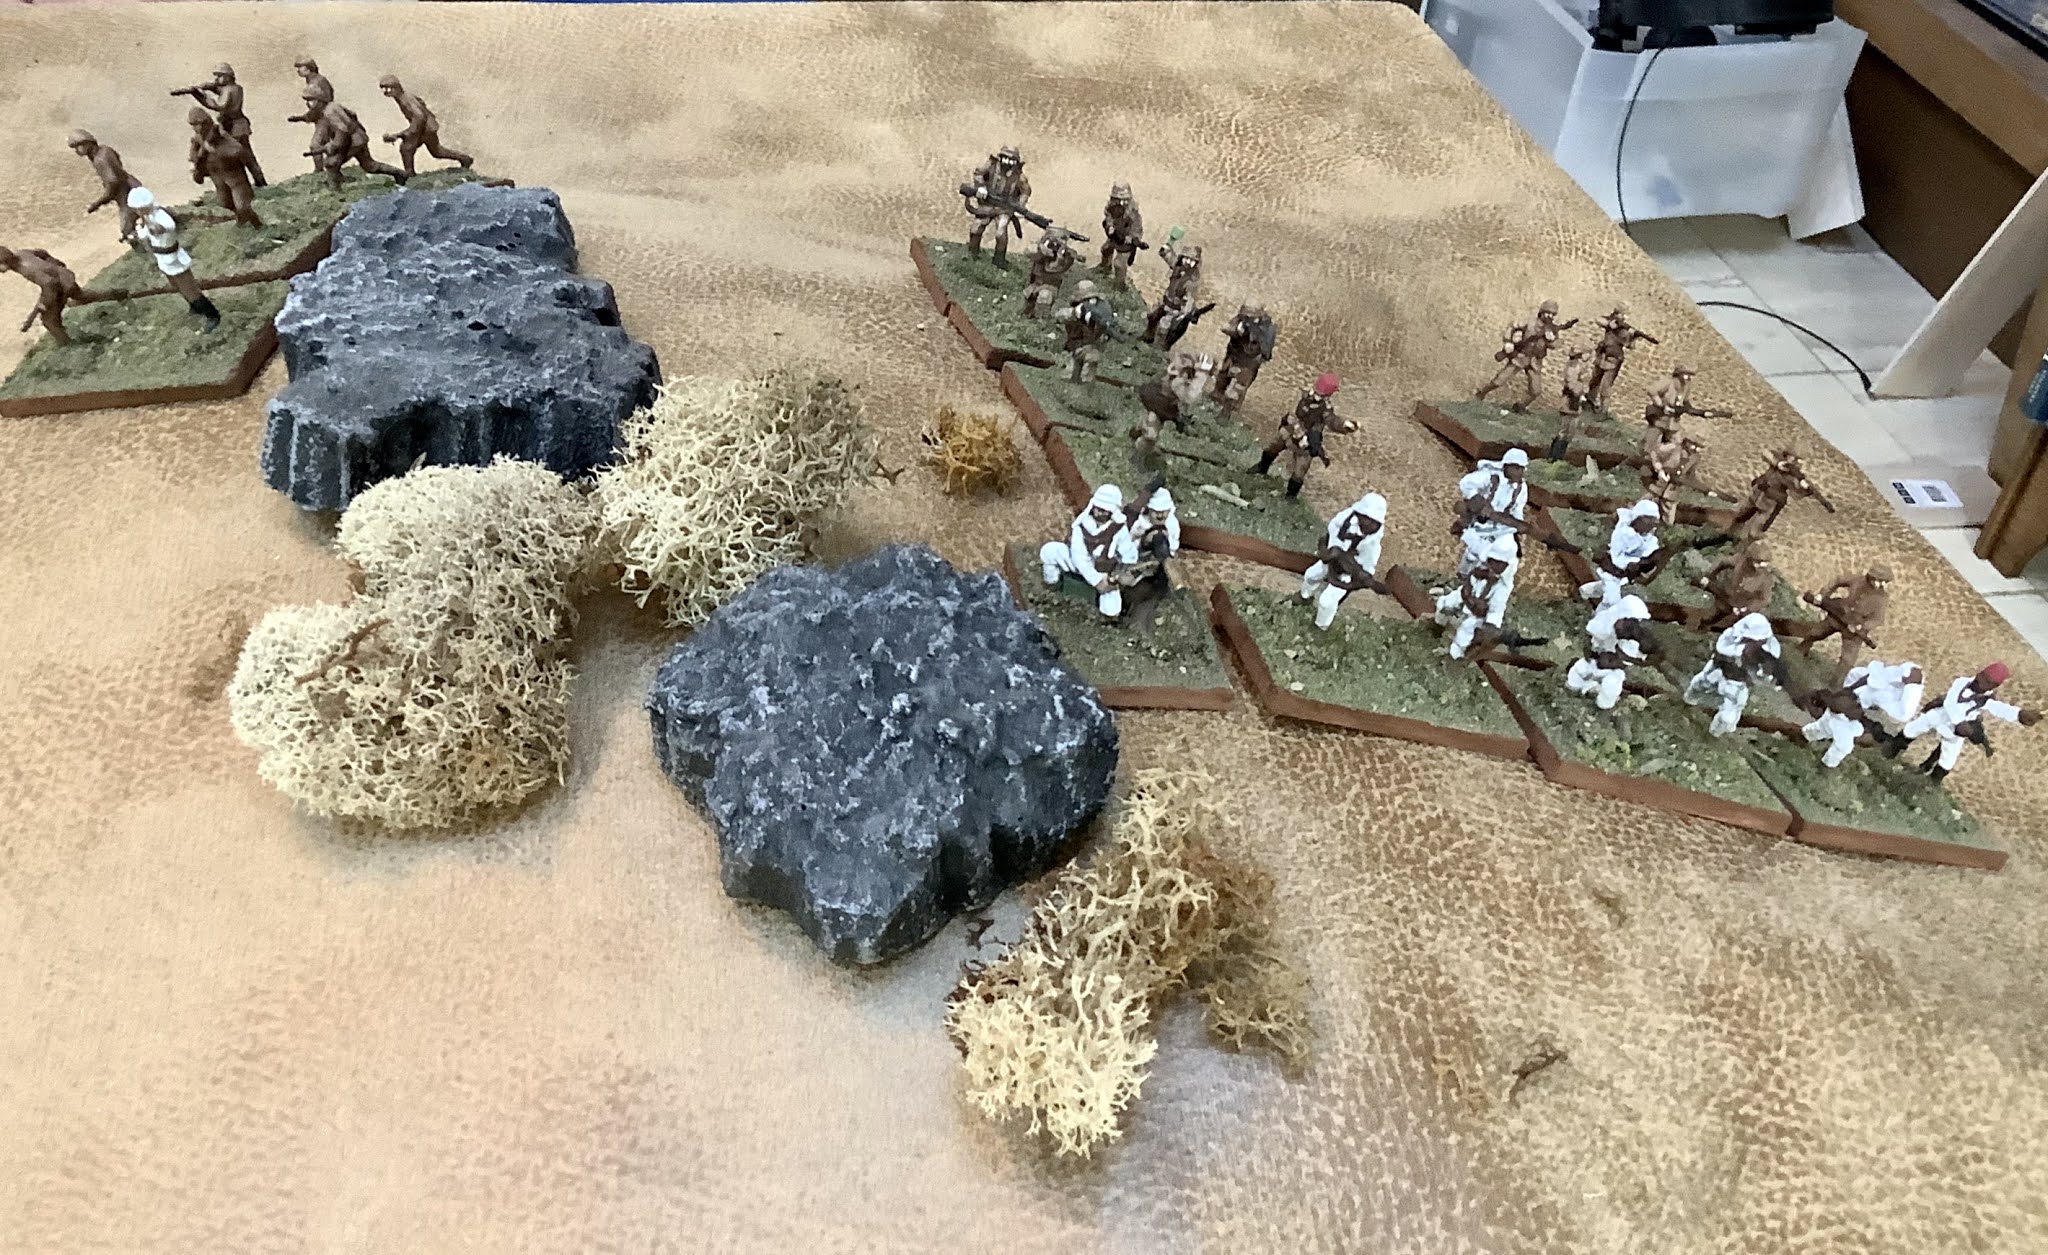
The Turkish right consisted of a composite force of Turkish and Arab infantry. Their quality was not quite the same of the regular Turkish battalion on the other flank.

A Royal Artillery section supported by an Indian Infantry Company. The brush makes for "target unclear" in the rules.

Another Indian Infantry Company this time supported by a HvMg squad.

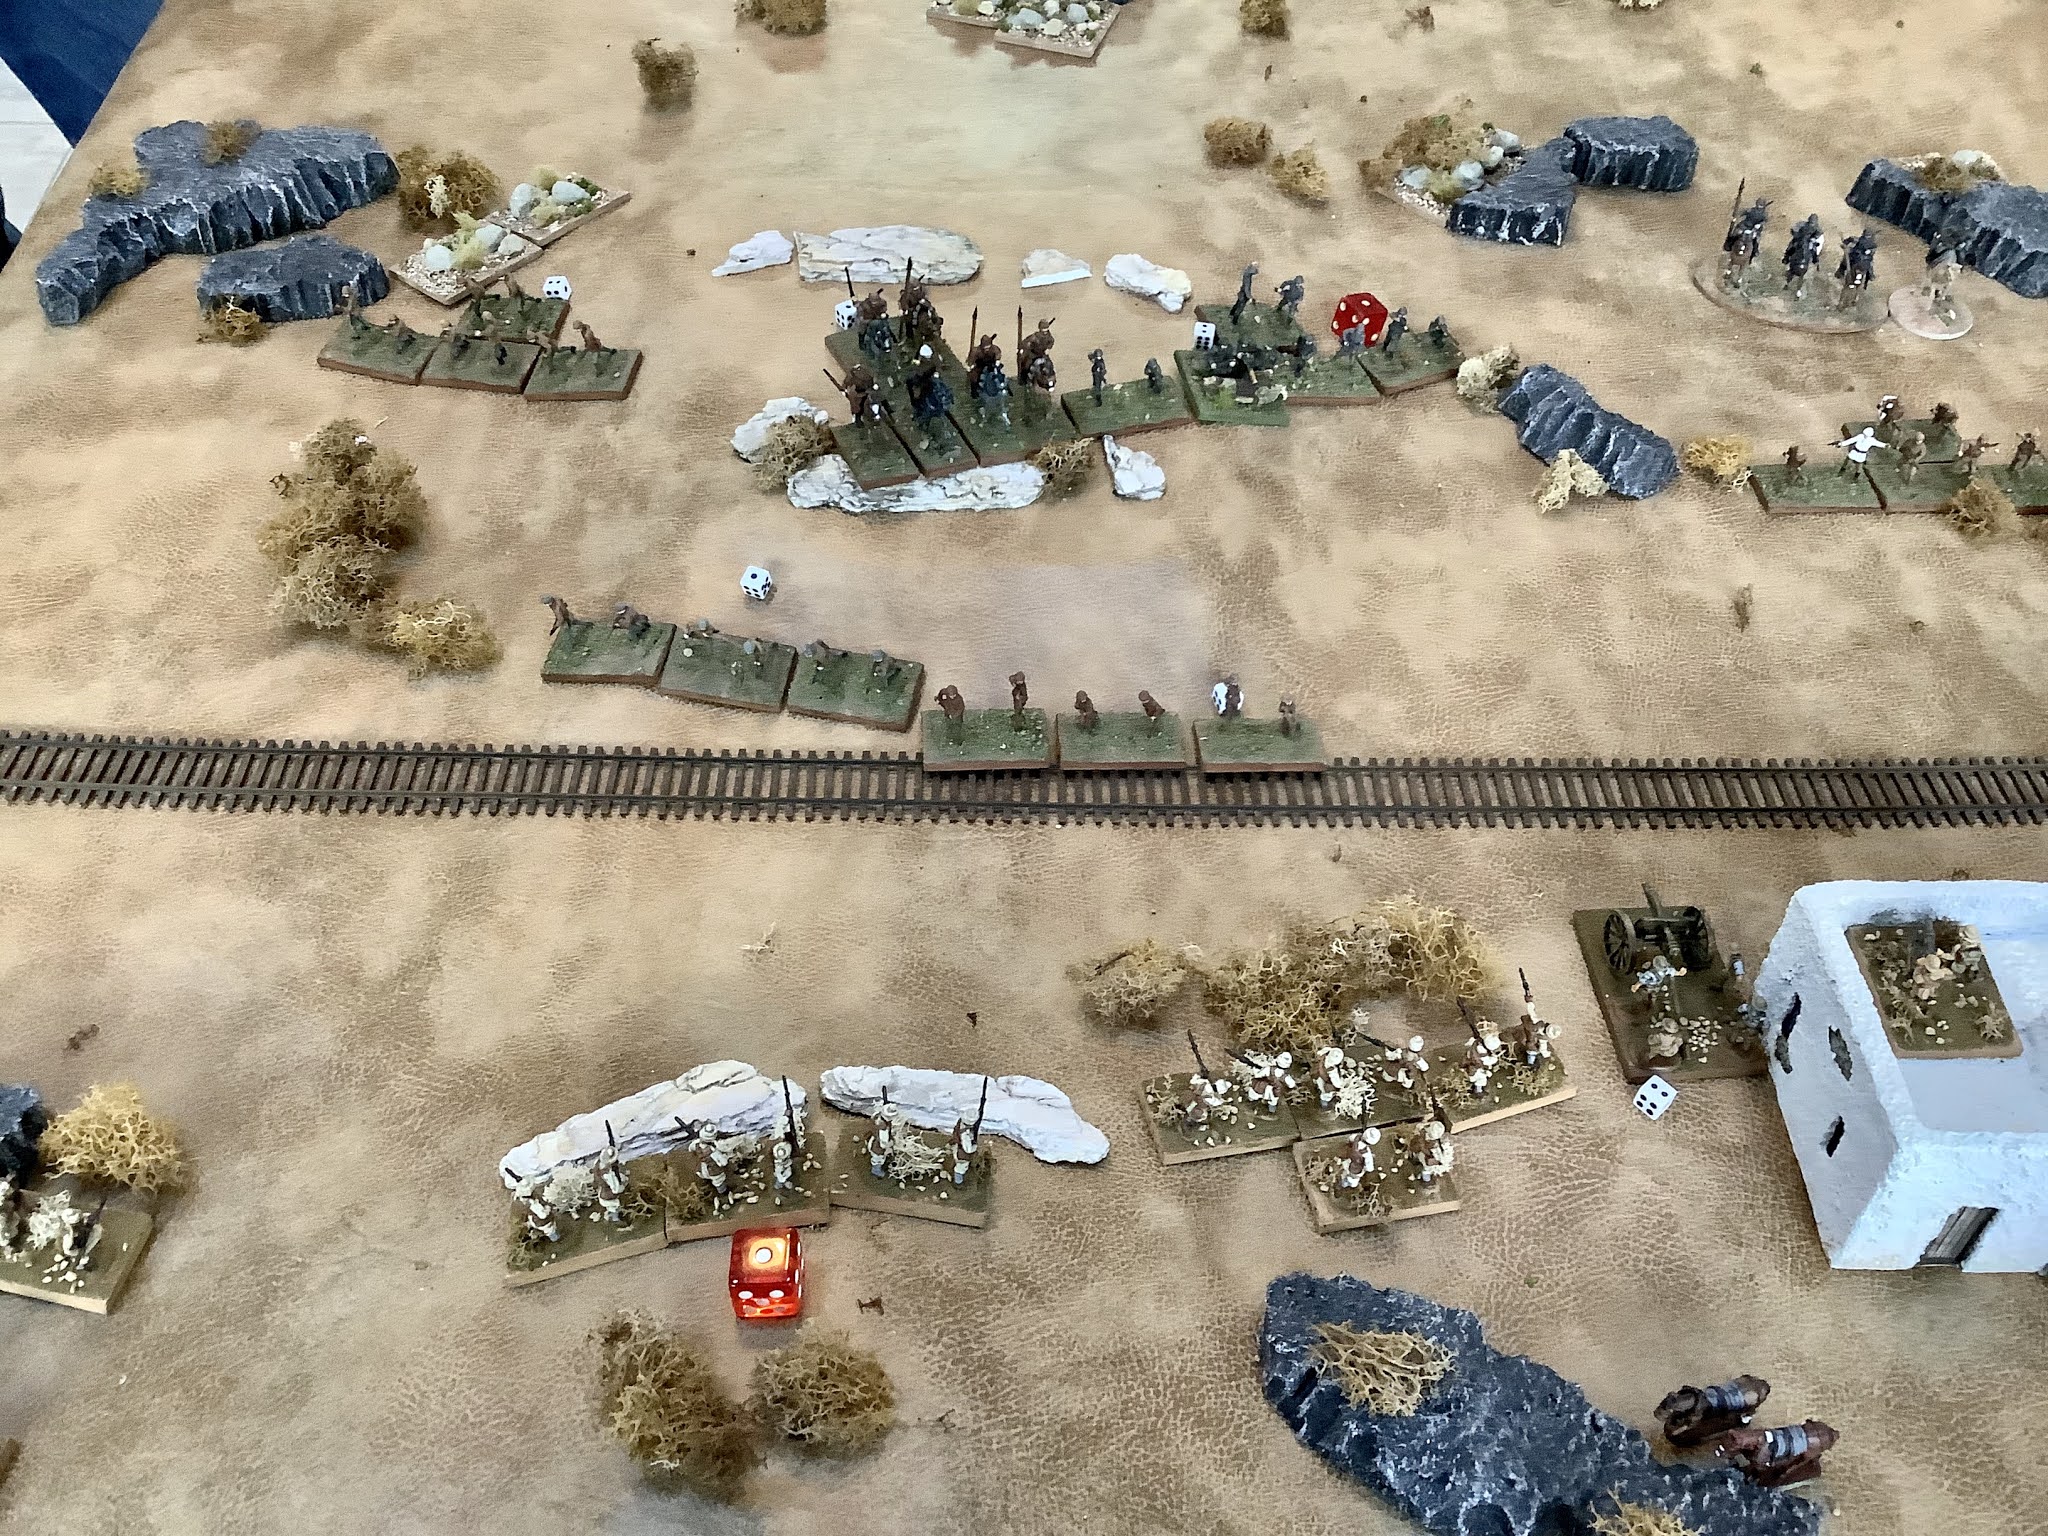
My 4' by 4' table

The Turkish assault on the British\Commonwealth right flank. The British company would be destroyed  but the rest of the line was solid with the building and wall being tough to crack.

The Aussie Light Horse squadron on picket. They are supported by a Lewis LtMg.

An Indian Company in the main line of resistance.

The Turkish right flank. They would get the furthest and destroy the Australians. They would run out of gas at the rail line which was held by the Indians.

The lead Turkish cavalry unit would be sacrificed as the infantry got closer to the Australian position. The second cavalry unit would eventually over run the remnant of the Australians.

Pesky sniper squad

The Australians stayed too long  but held up the Turkish advance for quite a while.

Another shot of the Turk left flank with the Arab company out front

The British company that  died. Units not in cover do not last long. An attacker needs at least 3 to 1 plus support to carry a position.

The RHA section in direct fire mode. It would do some damage but counter battery fire plus rifle fire would take it out,

The fine looking Ottoman cavalry at the beginning of the game.

There is a place for mounted units in Trial by Fire.

The Indian battalion was my core unit and it suffered only a few losses. The support units took the brunt.

As good as a trench and as hard to take!

The Aussies on the hill have been overrun and the Turkish infantry is crossing the tracks. That's as far as they can get. At some point there is open ground and the defender has a big advantage.

I had a lot of fun painted up the Australian Light Horse. The figures are by HAT as were just about all the other figures in the game.


Friday, September 25, 2020

Celt Invasion of Greece 279 BC

We finally were able to get around the Covid plague and play an actual face-to-face game.  As documented elsewhere on this blog we use a set of rules called DBABR-that is, my version of DBA, which may or may not bear much resemblance to DBA depending on your point view.

Unless we are doing a pick up type game I like to adapt a Command and Colors Ancients scenario to the the game system.

A couple of features worth mentioning in my DBABR are the use of double stands to represent an element. This is done for the purpose of looks ad doesn't affect game play. We simply get to use 100 or more figures per side in a game.

Another feature that comes about because of the CCA scenarios is having more than 12 elements in your army. As you can see from the OB's below both sides exceeded the DBA norm.

The other feature is a morale system related to the number of recoils an element suffers. 

So, for those of you interested I've included the basics of the CCA scenario along with the OB I converted from the map. It's not that hard to equate the CCA counters with DBA elements after a little practice. The result is not exactly a historical reconstruction but it's more interesting than a pick up game


 Historical Background

In 279 BC a large Celtic (aka Gauls) army descended on Greece. Part of this force under the leadership of Bolgios attacked towards Macedonia. The Celts offered the King of Macedonia, the recently crowned Ptolemy Ceraunos (See Battle of Corupedium), peace terms in return for money. Ptolemy, confident in the once all conquering Macedonian troops, refused and offered battle. His army was soundly defeated and his head removed forcibly from his body by the victorious Celts.
The Macedonians would look to the Son of Demetrius, Antigonus Gonatus, to become their saviour (See Battle of Lysimacheia).

Taken from Ancients - Commands and Colors System website.
https://www.commandsandcolors.net/ancients/


OB Macedonian (Dice, die roll plus one) 


3 Ps (O)

1 Lh (O)

1 Kn (S) Companions

3 Pk (1 S Agema, 2 O)

3 Sp (O)

2 Ax (O)

1 El (S) Ptolemy Ceraunos

14 elements


Core: Pk, Sp, Kn =7


Must lose 8 elements including 3 core, Ptolemy counts as two elements


OB Celts


8 Wb (3 Wb are S noble soldurii, others O,) Brennus with Druids and one element of soldurii

2 Ax (O)

3 Cv (S) One is noble soldurii Akichorios

3 Ch (S) soldurii

2 Ps (O)

18 elements


Command Break Down


Brennus (die roll)


2 WB Soldurii

3 WB

2 CV

2 Ch

1 Ax

1 Ps

11 elements


Akichirios (die roll)

1 WB Soldurii

2 WB

1 CV Soldurii

1 Ch Soldurii

1 Ax

1 Ps

7 elements


Core: WB, Cv, Ch=14 elements
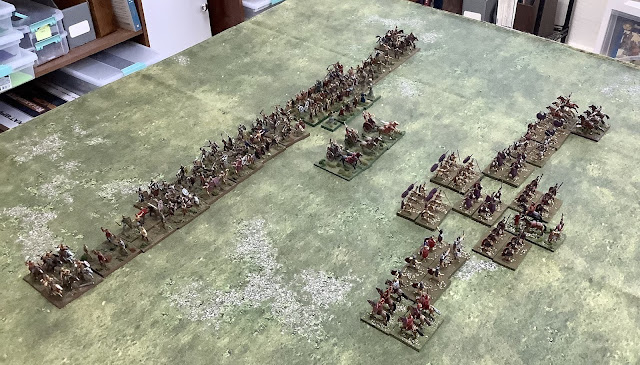
 

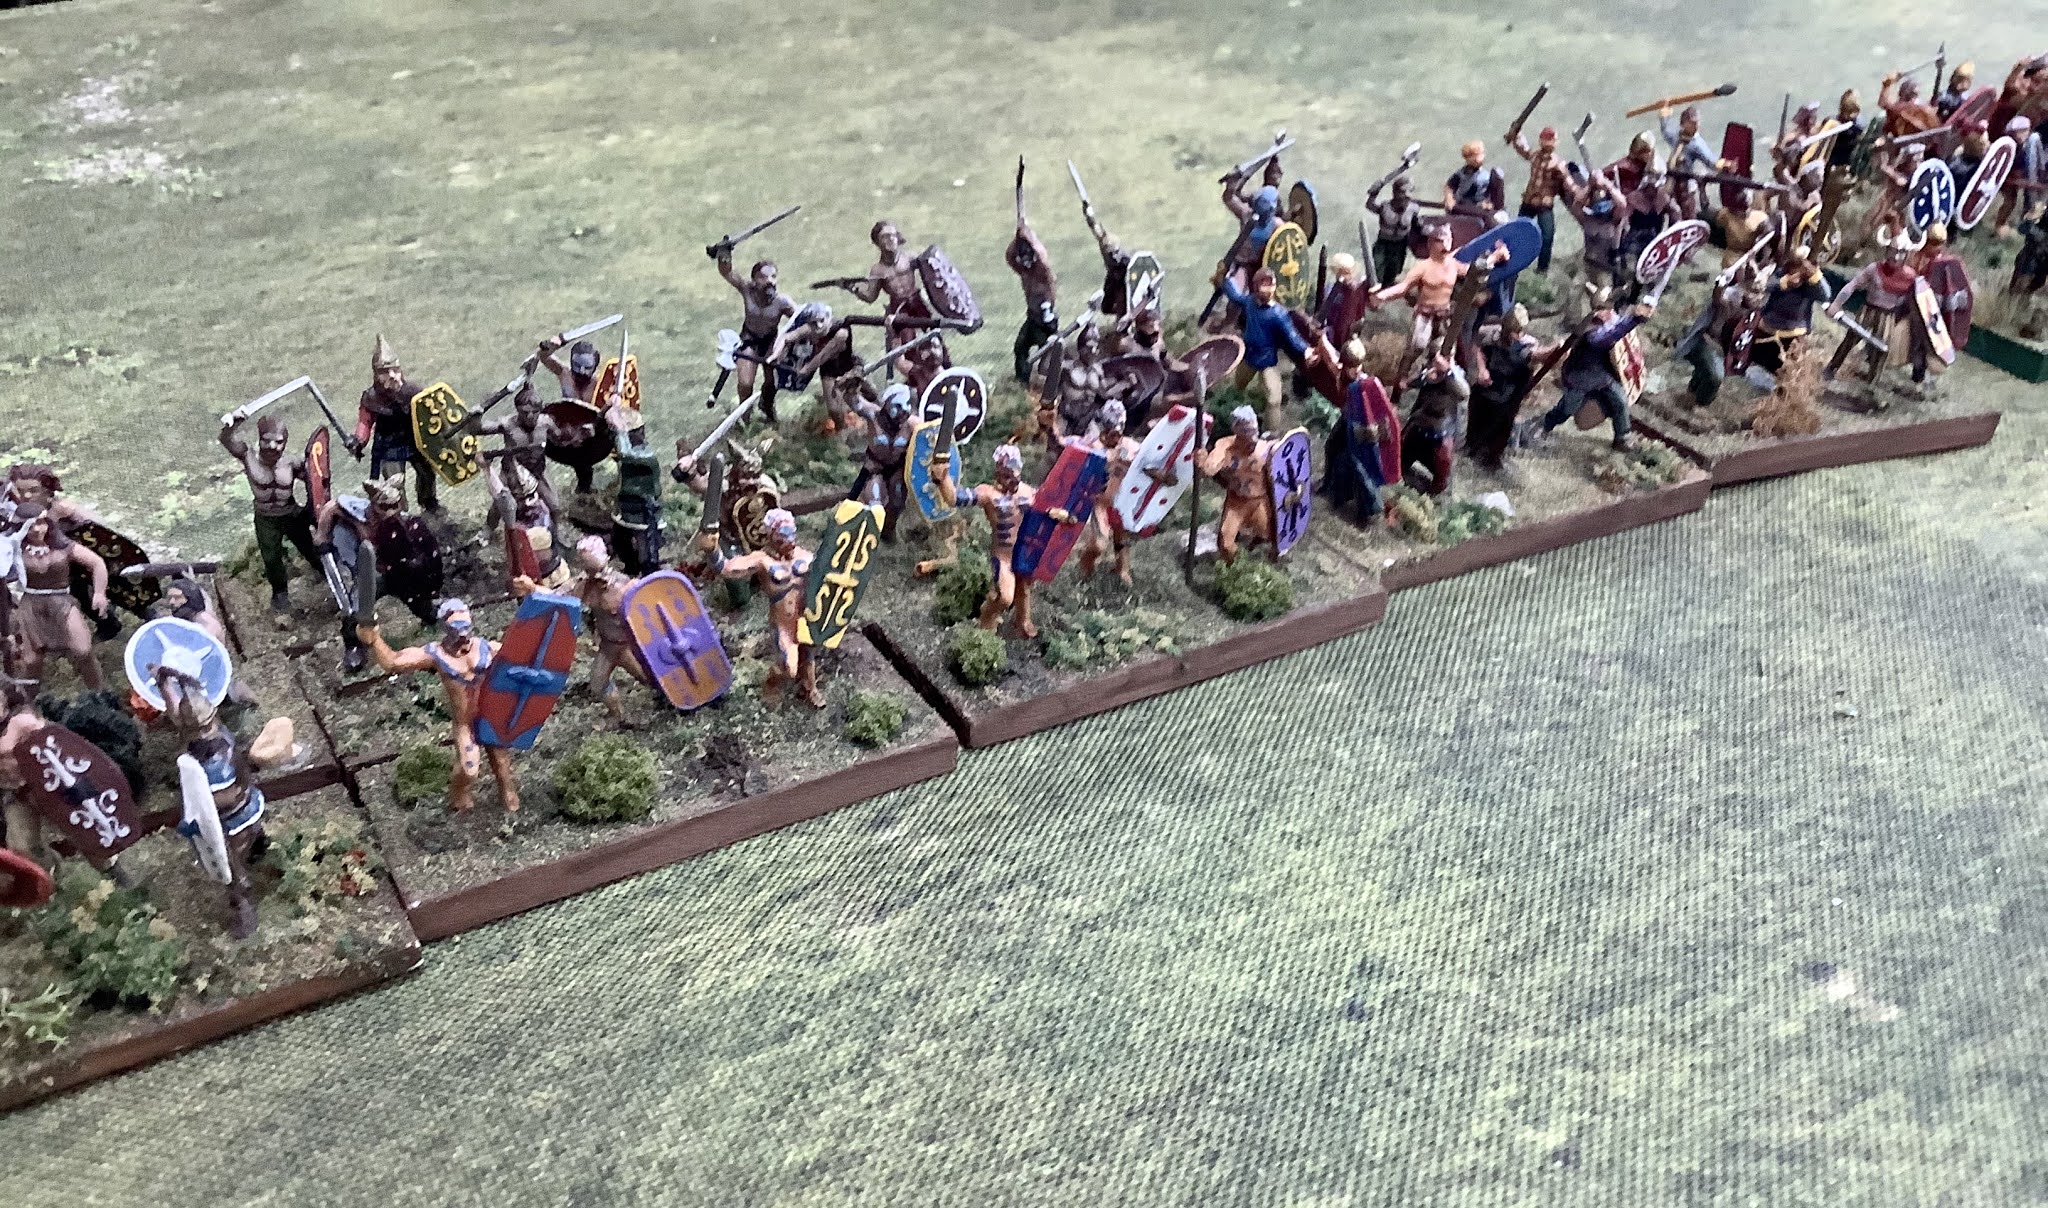
This picture has nothing to do with the game. I just wanted to line up my Celtic collection with my Polybian Roman collections.
.

Closer look, not a game 

Same here, just a closer look.

My Celts are my largest army for DBA. There are almost enough for other rule sets that use larger armies.

I'm in the process of expanding my Polybian Romans. Most of these are Hat but the Triarii are Newline. The expansion will include more Newline and shield transfers for all!

The other half of my Polybians thus far.

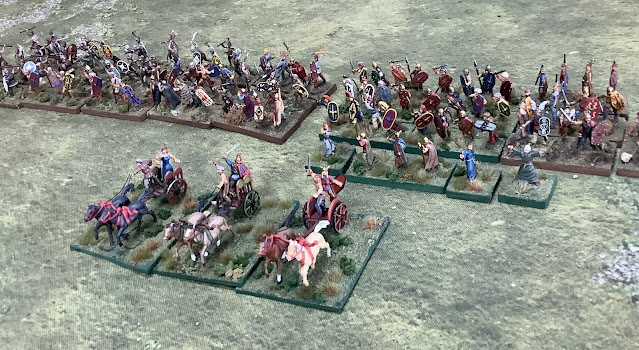
Finally a game picture...This is the far right flank of the Celts. One of the chariot elements has already been destroyed as it charged into the phalanx next to the elephant. I have an uncontrolled advance rule for war band types. Some times it works out nicely; other times not so much. The remaining chariot managed to hold it's own agains the Elephant. The Macedonians were heavily outnumbered so this flank remained relatively static until the end of the game. The Celts had the high ground here and didn't get another uncontrolled advance until very late. At that point Ptolemy Ceraunos died and the Macedonians were pretty much surrounded.

The Celtic horse would prevail against the peltast types they faced and outflank the phalanxes. 

Some of the Celt WB's were soldurii meaning nobles and their immediate retainers who were more heavily armored than normal. They had a better chance of holding their own against SP; but weaker versus pikes. Here two soldurii WB's and one normal WB have the opportunity to flank a SP phalanx, which they would do eventually.

This is right before the final peltast type unit gets swept away by the Celtic horse. One hoplite phalanx has disappeared leaving the second in peril. I avoided the pikes whenever possible but it was possible to get to the spear type units.

My friend Mike's command figure. In this game Ptolemy was part of the Elephant element so this fine figure just added great color to the game.

Celts should have a lot of Druids, both male and female. Their chants made bold warriors bolder just as they struck fear into the Macedonians. 

This is clearly the strongest part of the Macedonian line. There are pike phalanxes interspersed with spear phalanxes. I was fortunate to gain the high ground and not get an uncontrolled advance that would have taken me headlong into the bristling hedgehogs. As it was a couple of units did get caught and were crushed. Stay away from pikes!

Nice view of the Macedonian power. I held out just long enough to get around the Macedonian battle line and takeout enough core units to get the victory.

When Celt units did get a recoil the Macedonians were rarely in a position to capitalize on it.

Too many blood thirsty Celts and not enough Macedonians. Historically, that was the case. Ptolemy was far to confident that he could handle the invasion. Now his head decorates a Celtic spear.

The thick of it; but the game was decided on the flanks.


The CCA games are rarely balanced; nor do we think they should be. My opponent said he made the mistake of not pushing against the Celt center where he had the advantage. The idea would be risk the flanks to a more numerous enemy and hope you can crush the enemy center. It could have worked and probably was the only chance he had.

For my part the initial uncontrolled advances hurt me but for most of the game the Celts behaved-that is until the very end and it that case it helped me. Having absolute control of a WB type army is not much fun imo. I like a good dose of fog-of-war.

The game was a good time and opportunity to get out of the Covid rut.