What is the difference between a wargame simulation and a wargame in general?
I've been playing Richard Borg's Battle Cry with my two grandsons. Ian is fourteen, and Cameron is nine. Although Cameron's knowledge of the American Civil War is limited, he has no trouble with the mechanics of Battle Cry. Battle Cry is an abstraction on one hand but a simulation on the other- a simulation that roughly recreates ACW battles.
I wondered if I could create a simulation of the cornfield scenario for Battle Cry on the tabletop and get Cameron involved in his first Rebels and Patriots game.
The answer is both yes and no. The no-part recognizes that Rebels and Patriots is a glorified skirmish scale, not written for a game based on regiments and brigades. Having said that, I used it successfully to represent larger scales. And so that's the yes part. You can do it, but that doesn't mean it's the best way. (It was not, just for the record.)
I used the map of the Cornfield Scenario from Battle Cry and the order of battle to create the simulation.
The scenario is unique in that two of the most famous brigades in the ACW faced off against each other in and about the cornfield at Antietam. The Texas Brigade was part of Hood's Division, which the Texas\Arkansas units were a part of. At Antietam, the brigade consisted of Hampton's Legion (not in my game), the 1st, 4th, 5th Texas, and the 3rd Arkansas. The brigade lost over 80% of its strength at Antietam.
The Texas Brigade would face off against the famous Iron Brigade, which consisted of the 2nd, 6th, and 7th Wisconsin and the 19th Indiana. The Iron Brigade also suffered severely at Antietam, so much so it was joined by the 24th Michigan after the battle.
The Battle Cry scenario focuses on Hood's counterattack to retake the cornfield and hold the west and east woods. Historically, the cornfield would change sides fifteen times during the bloodiest day in the ACW.
In my simulation, I copied the idea from Battle Cry, which was that the Union forces were surprised by the Confederate attack. The first two turns would be heavily weighted in favor of the Confederates. IMO, in retrospect, I over-engineered that aspect.
Most of the figures are from Musket Miniatures in 22mm but are supplemented by plastic 1\72 from Revell,
If I had to play the game again, I'd opt for a bigger table and use my ACW rules, which have been heavily modified from the old Rally Around the Flag rules.
 |
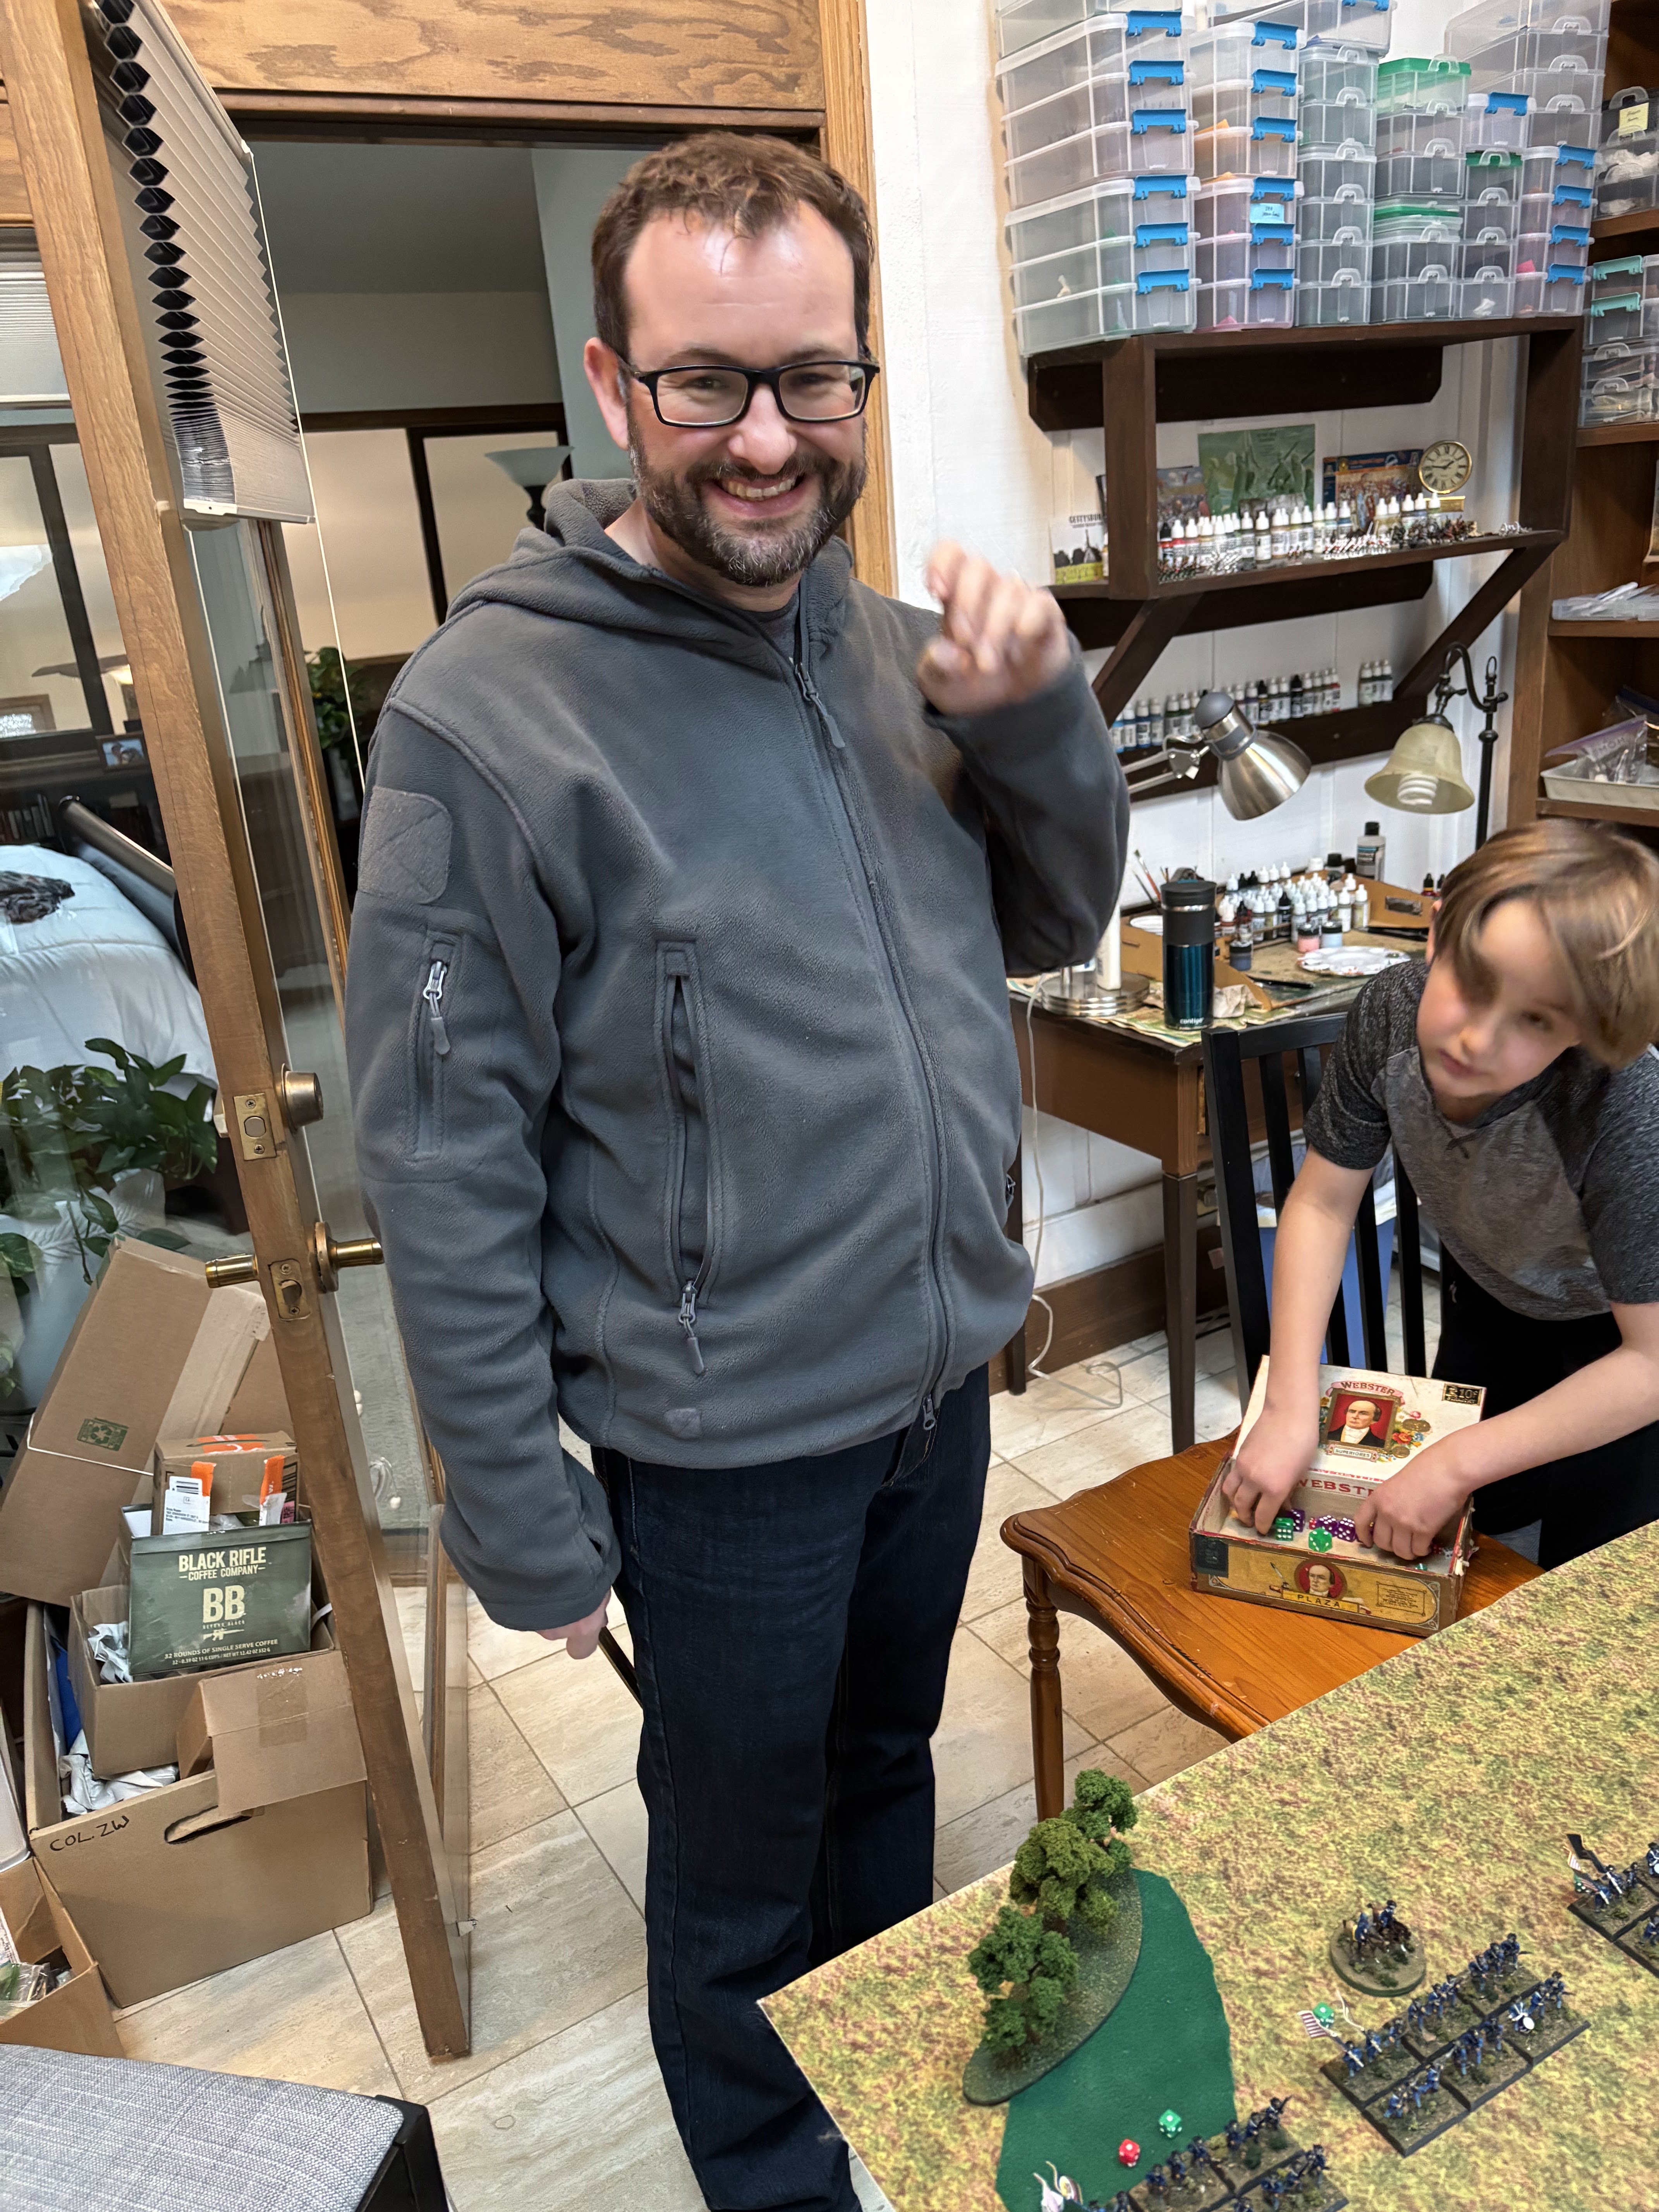
| My son Justin, with his youngest son Cameron, getting ready to roll some dice, Justin's other son Ian picked the Confederates, so Justin commanded the Union. |
 |
| My oldest grandson, Ian. Ian had played Rebels and Patriots before and so needed little advice from G'pa. I served as the gamemaster, trying to keep the simulation a simulation. |
 |
| Cameron again. The game moved far too slowly, especially at first, to hold a nine-year-olds attention. Cameron was patient and happy to be a part of what the guys were doing. |
 |
| The center of the Confederate line was the 4th Texas, led by Hood. |
 |
I used my Cutler's Brigade of Gettysburg fame for the brigade that was supposed to hold its ground and take the West Woods.
|
 |
| The Union center was held by Battery B, 4th US and the 2nd Wisconsin, affectionately known as the "Raggedy Ass" 2nd. |
 |
| The 6th and 7th WI and the 19th Indiana hold the Union right flank. |
 |
| I did not name the Confederates in either woods since the focal point is the cornfield. |
 |
| The Texas units cover the cornfield end to end while the 3rd Arkansas is in reserve. |
 |
| The Confederate brigade in the West Woods. |
 |
| A nice shot of the Iron Brigade and Battery B. Brigadier John Gibbon is attached to the 6th Wisconsin. |
 |
| A small breakthrough in the upper left fence line is in the making. The 3rd Arkansas is seeking to exploit it. |
 |
| The Union tries to force a new line. |
 |
| Up close and nasty! |
 |
| The crux of the battle. |
 |
| The Rebs are in the East Woods. |
 |
| And making some progress... |
 |
| The start position of the Texas Brigade. Their front is well covered by a strong skirmish line. |
 |
| The Iron Brigade is not move much, but the 2nd Wisconsin was virtually destroyed. |
 |
| The scenario was over-engineered, and the Rebs had too many advantages. The fence line and a "breakthrough" were the victory conditions. |
 |
| Early in the game, the Reb skirmish line is engaging. |
 |
| Nice pic of my Cutler's Brigade that I used for the Union left flank. |


3 comments:
Enjoyed this post as my grandson are coming to the age where the hobby may interest them (almost 8 and almost 10).
Good to see some youth in the hobby! Regards, Pat
They enjoys g'pas mini games but love BattleTech and MEM44. There is so much competition these days that historical games that require, painting, organzing and a large table hardly have a chance.
Post a Comment